
Hi! Last month we walked through tons of tips for baking cakes. If you haven’t been able to check it out yet, you can take a look here! Now we get to do the really fun part, stacking the cake and decorating!
Buttercream
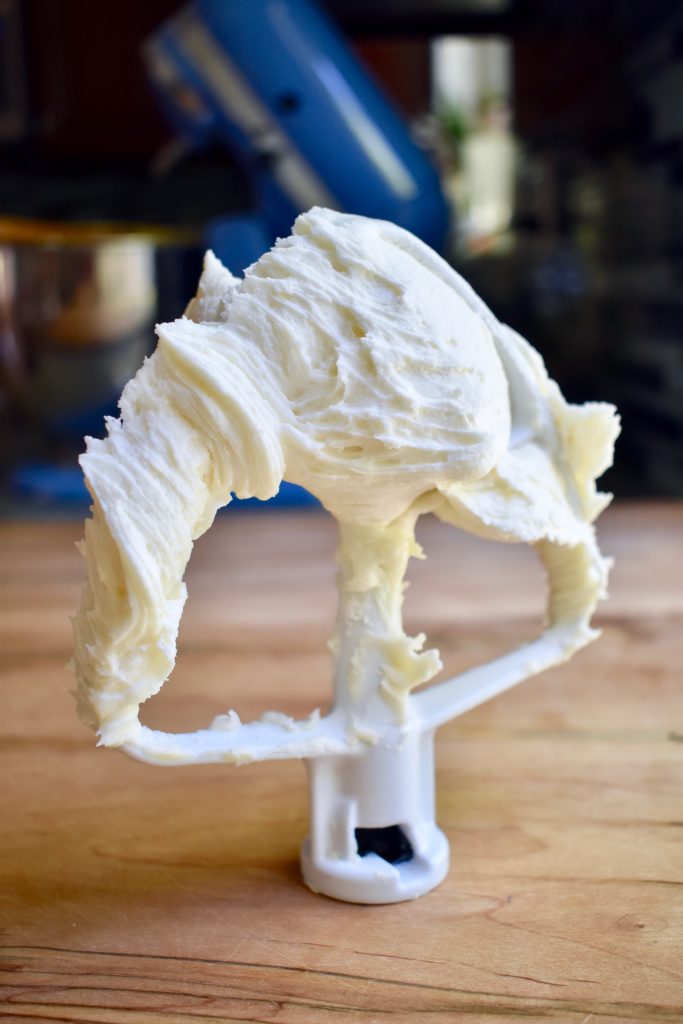
Before doing anything else, we need to make some icing. There are so many types of icing out there, but American buttercream is my personal favorite. It’s super simple to make, and you can find and save my recipe at the bottom of this post! This is a vanilla buttercream that a sweet friend once shared with me; it’s now my go-to. [Shoutout to you, Christina!]
The smooth texture makes it perfect for decorating and it tastes delicious.
Tools
There are a few tools that you might find helpful when stacking and decorating your cake, but they are definitely not all necessary. Don’t let not having a special tool hold you back from baking. Improvise and be creative with whatever you have in your kitchen!
These are some of the tools I like to use:
- Cake board
- Rotating cake stand
- Piping bags
- Piping tips
- Icing spatula (straight and offset)
- Straight edge icing scraper (mine is actually a dough scraper)
Stacking the Cake
Alright, we’ve talked buttercream and tools, so now it’s time to start putting the cake together! To start, place a cake board on your cake stand. It’s a good idea to use a cake board that is one size larger than your cake so that you can easily pick up and move the cake after it’s assembled. Smear a small bit of buttercream in the center of the cake board to help hold the cake in place as you get started.
Place the first leveled cake layer right in the center of the cake board. Then, use a piping bag fitted with a large round tip to make a border around the top edge of the cake. This will help hold your filling in place, especially if it is a different consistency or color than the outside icing.
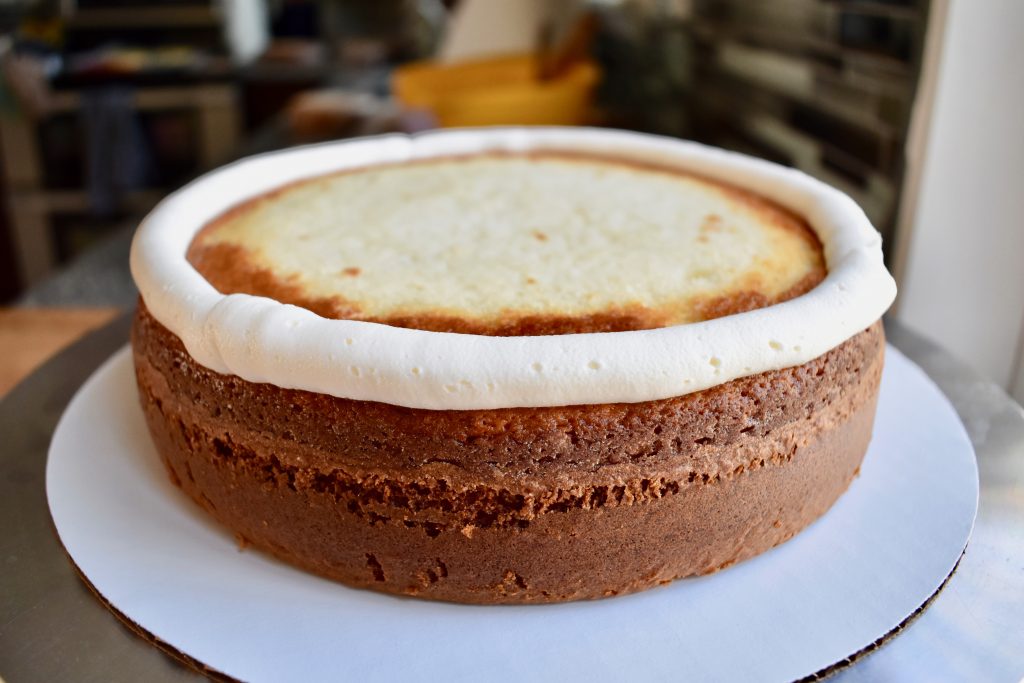
Next, cover the cake layer with your filling of choice. In these photos I am using the same icing throughout the cake. However, you could just as easily substitute a different flavor icing or fruit filling or ganache… so many possibilities! For an 8 or 9 inch cake, I use about 1 cup of icing between each layer. As you spread the filling, be sure to get eye level with the cake and make sure everything is even. The more level you are now, the more level your cake will be later!
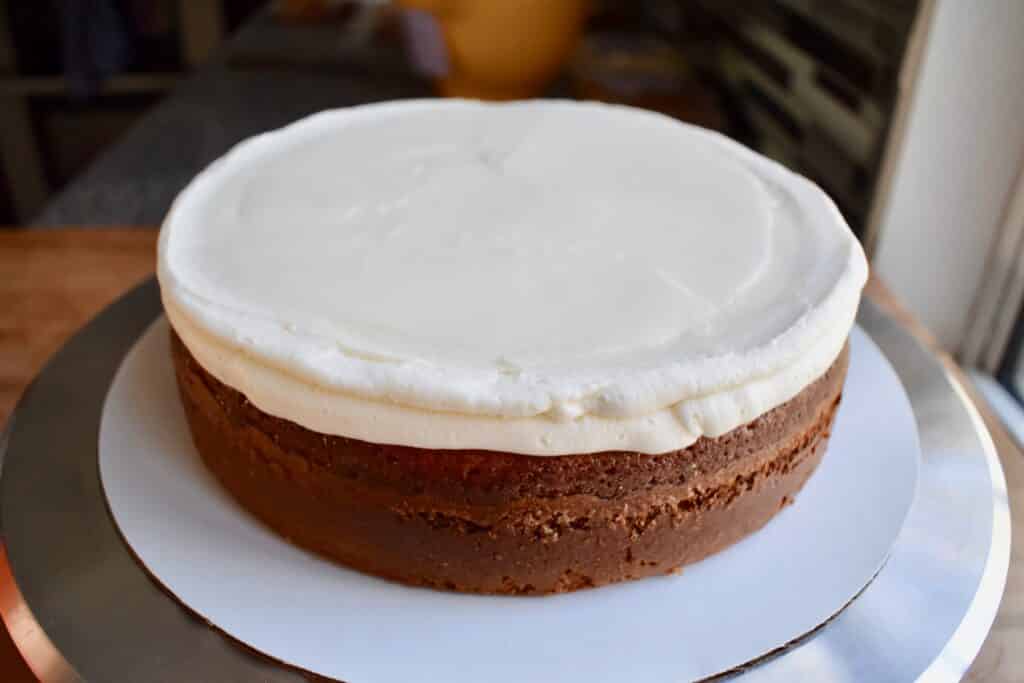
Place the next layer of cake on top and repeat the filling process until you only have one cake layer left.
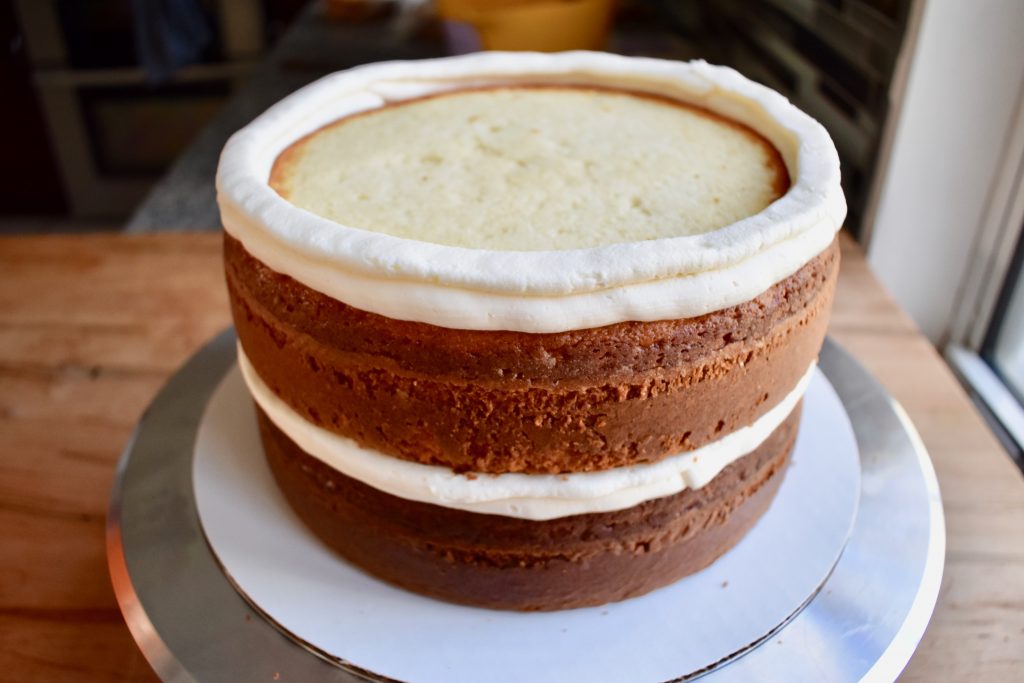
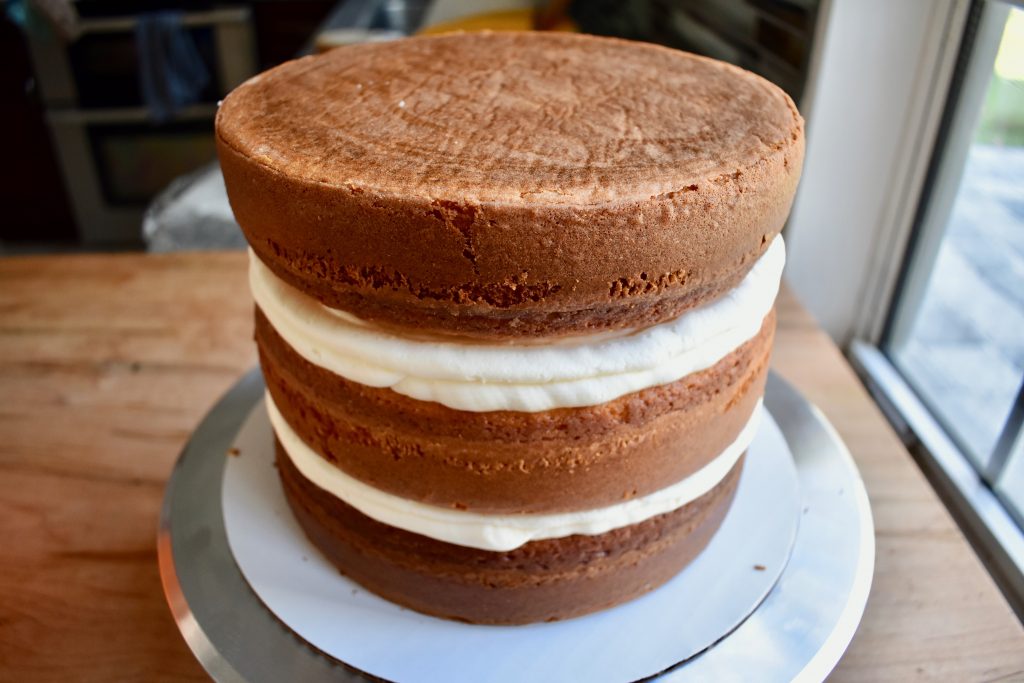
When you place the final layer on top of the cake, put it on upside down. What was the bottom of the layer should now be a nice flat surface on the top of the cake.
Dirty Ice
Alright, you’ve stacked the cake! Next we are going to “dirty ice.” This is just a quick, thin layer of icing covering the sides and top of the cake that helps catch any cake crumbs and lock the cake in place.
First, I use my piping bag to fill in any gaps where the layers meet.
Then, using your icing spatula, scoop a bit of buttercream out of the bowl and slowly add it to the edges and top of the cake, smoothing as you go. It’s ok for this to be a little rough and for cake crumbs to move around. That is why we do this step! Once the cake is covered with icing, use your spatula or icing scraper to quickly smooth the edges and top.
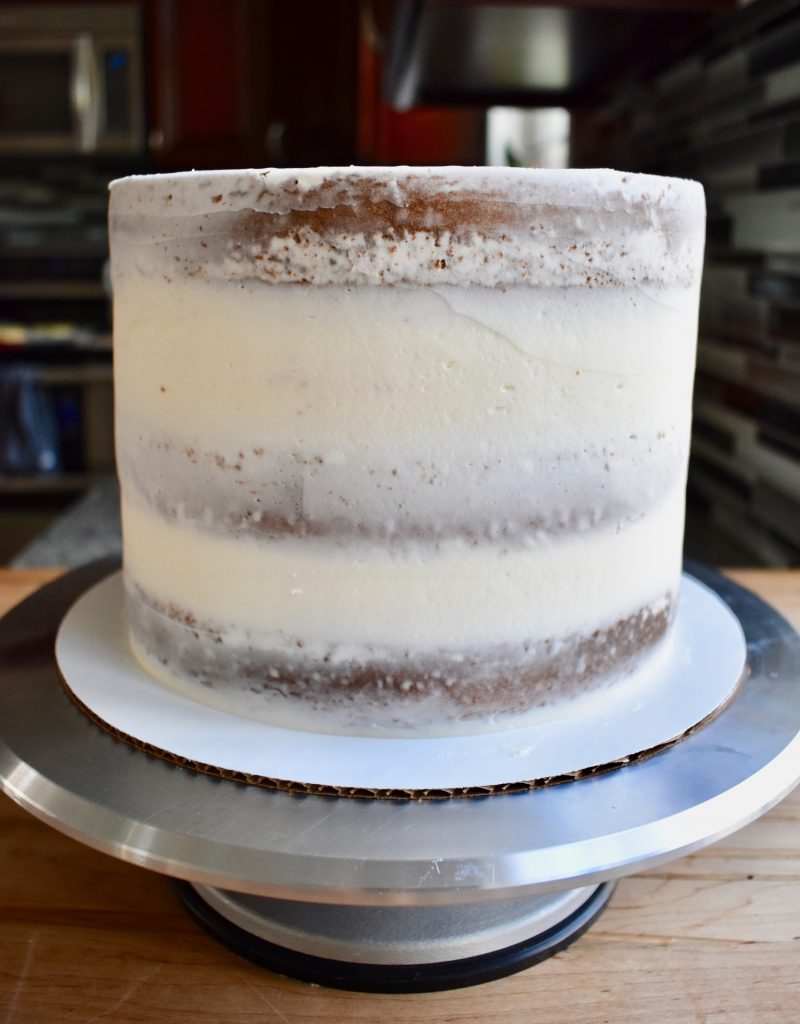
Place the cake in the freezer for about 15 minutes. This allows the icing to harden and the cake to really settle into place. It will be so much easier to ice your cake once it has hardened a bit in the freezer.
Frosting
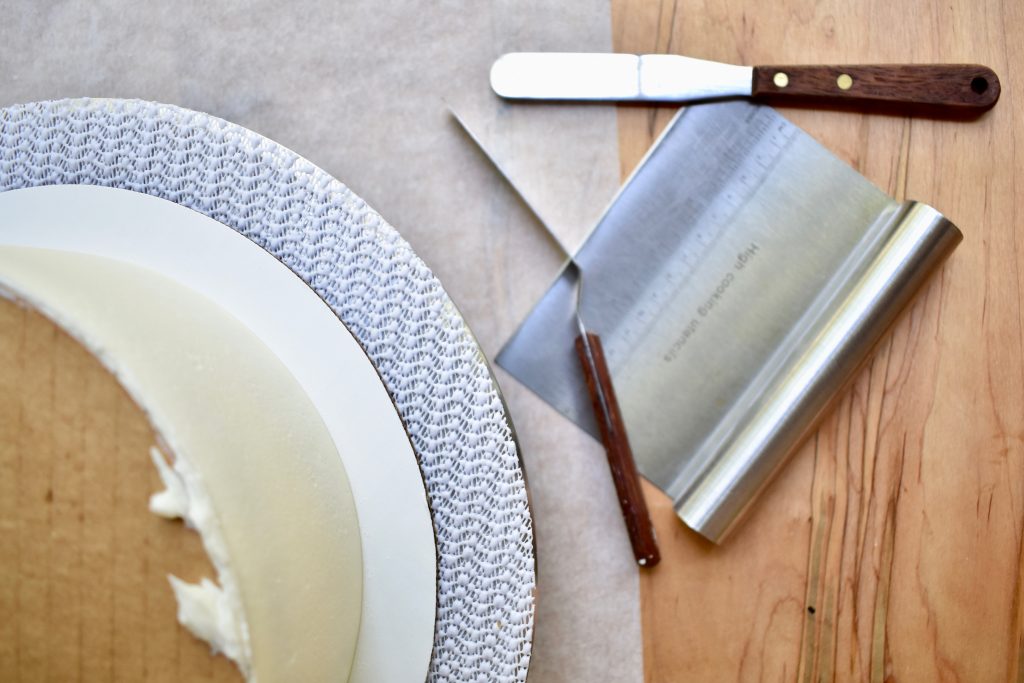
For frosting the outside of the cake, I use a technique I picked up from Courtney over at Cake by Courtney. This is a method to get a really crisp edge and smooth sides and top. It sounds a little unconventional, but placing a cake board (that is the same size as the cake) temporarily on top of the cake allows you to create even, straight sides and a clean, crisp corner on top. Let’s follow along with some photos…
1. Place the cake board (cardboard side up) on top of the cake
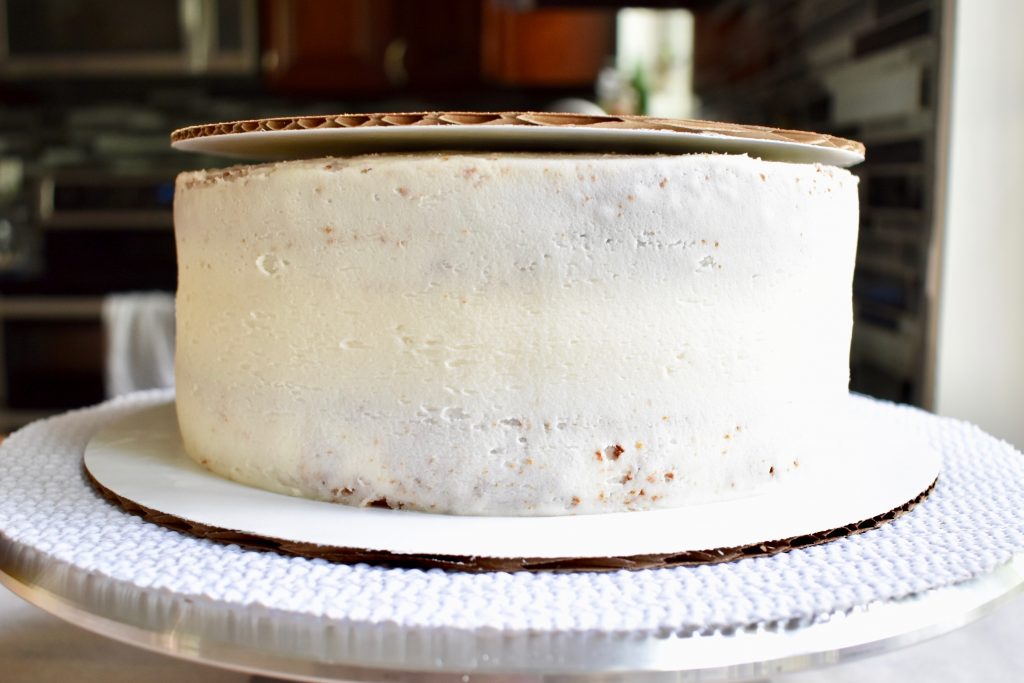
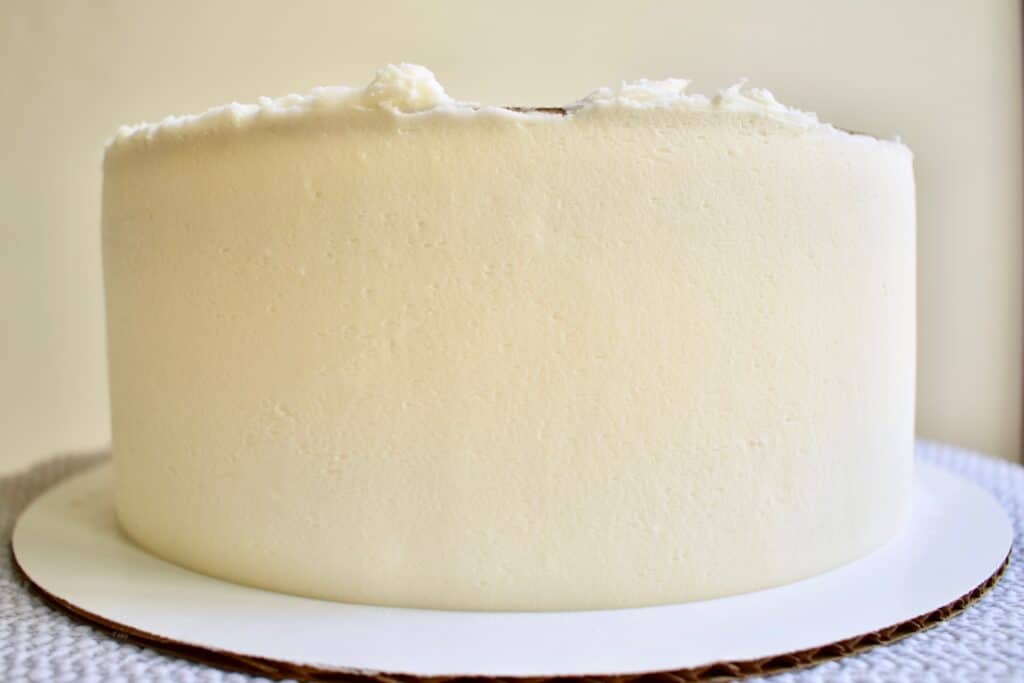
2. Holding the cake board in place with one hand, add icing around the top half of the cake. It’s ok if the icing overlaps the cake board; this will hold the board in place.
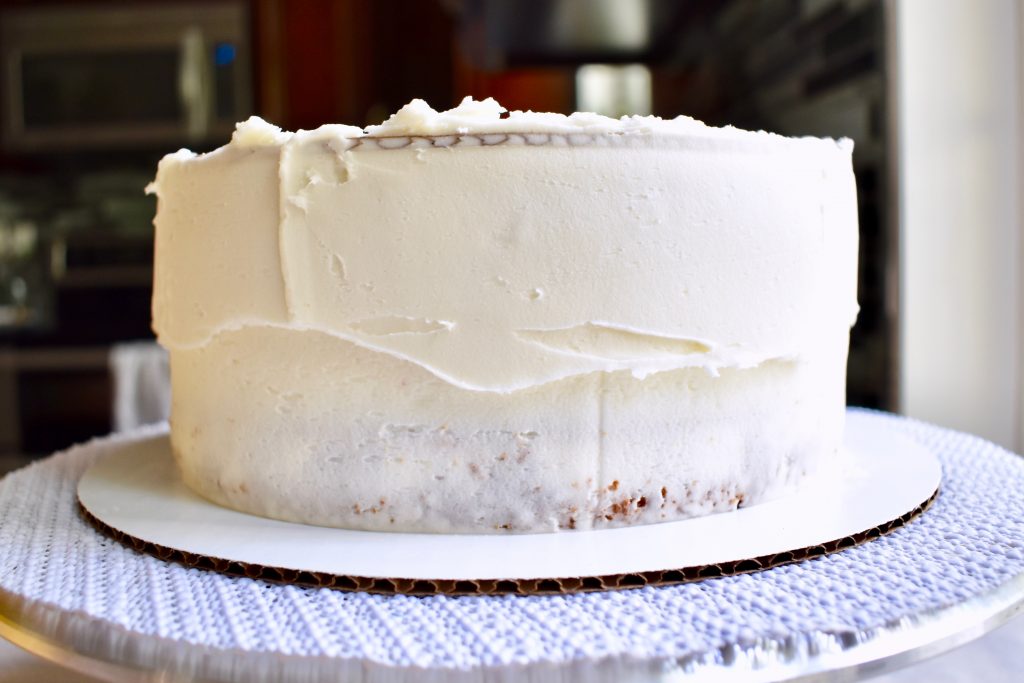
3. Now that the cake board is fixed in place, go back and add icing to the bottom half of the cake.
4. Using an icing scraper with a straight edge, slowly rotate the cake stand while holding the scraper closely against the side of the cake. Hold the scraper at about 45 degrees to the cake so any excess icing will fill any gaps in the icing as the cake rotates. This part takes some practice and patience, and definitely more than one spin of the cake stand! After the first time around, fill in any gaps with more icing and then smooth it out again. I usually have to go around at least 4-5 times before I get to a stopping point. *This step is where the cake board on top comes into play! The cake board will act as a sort of barrier to make sure your icing scraper doesn’t angle in as you move around the cake. That way, you can get a nice sharp edge on top in a few steps.
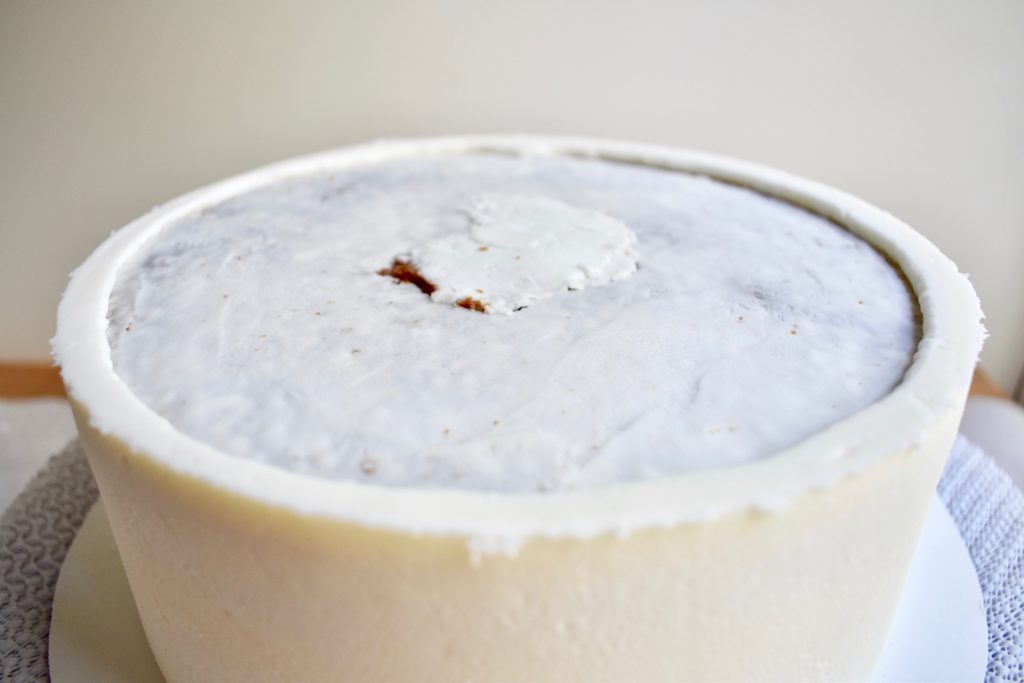
5. Place the cake back into the freezer for about 15-20 minutes. You want the icing to be nice and firm so that it doesn’t get impressions while removing the cake board.
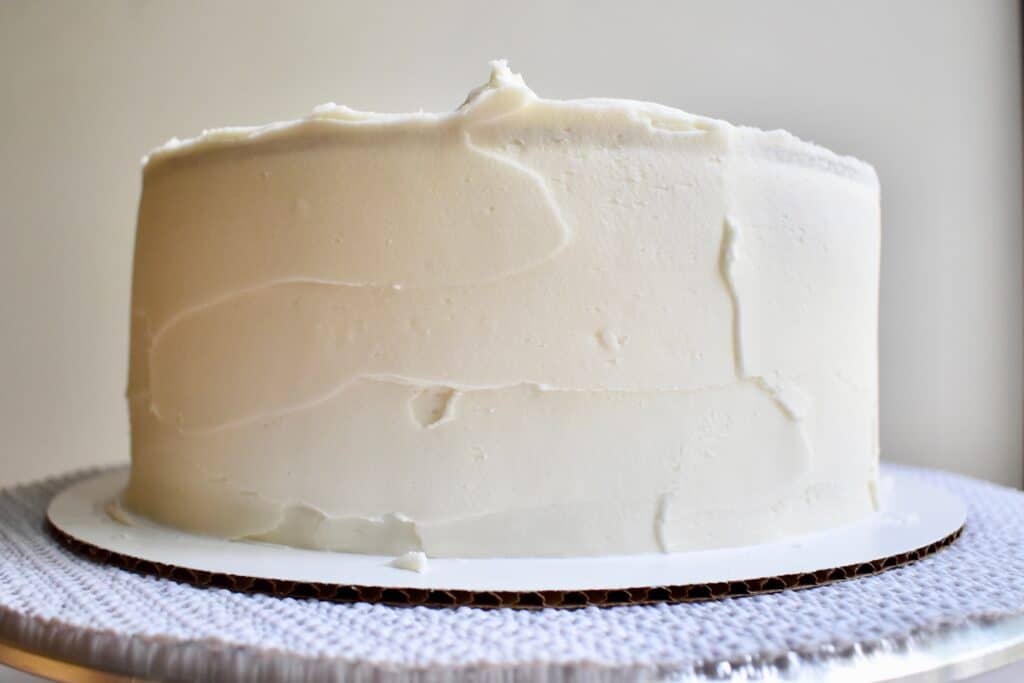
6. After taking the cake out of the freezer, use a sharp knife to carefully remove the cake board. Slide the knife in just under the cake board and slowly circle the whole cake before lifting the board.
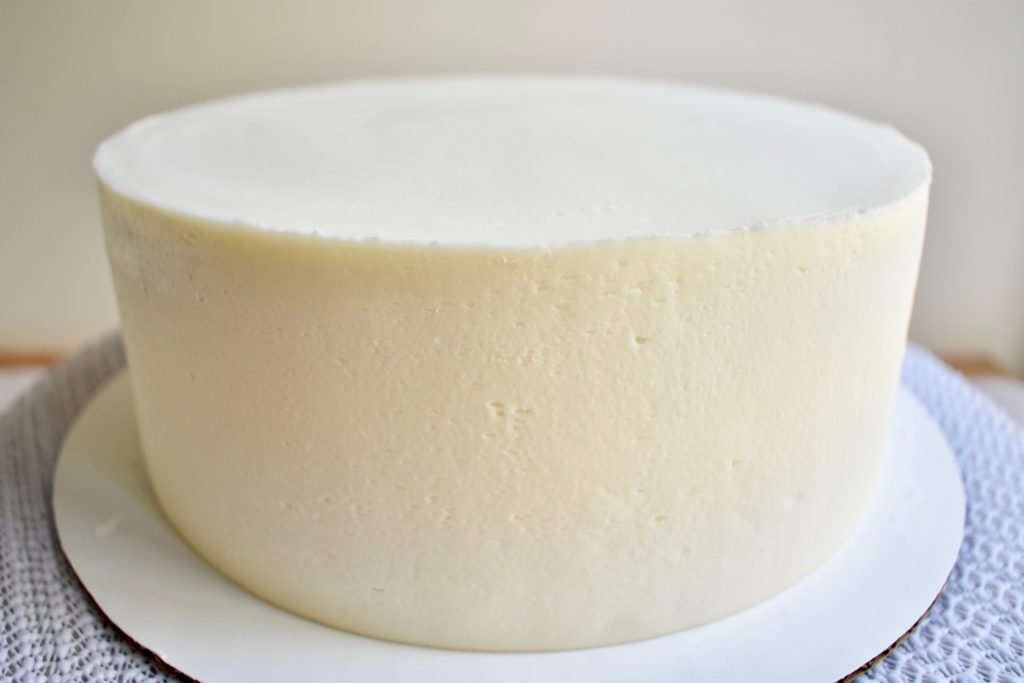
7. Last, use an offset icing spatula to fill in the top of the cake with icing. Start in the center of the cake and work your way to the outer edges. Then gently smooth the icing. Since the cake is still quite cold, you should be able to clean up the edge without damaging the crisp corner.
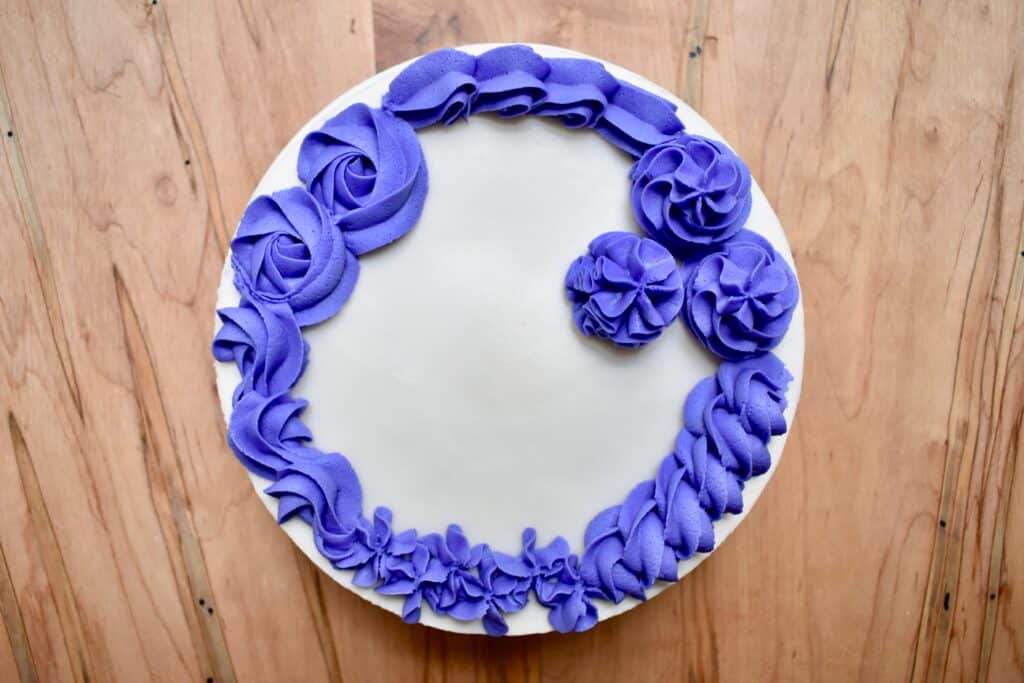
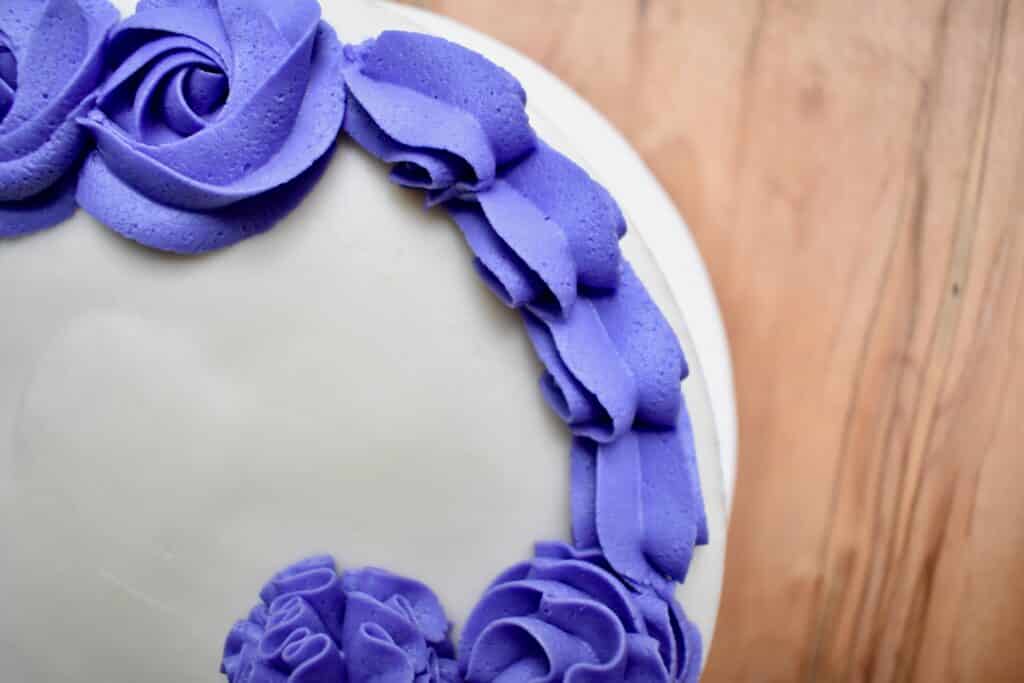
Decorating with a 1M tip
There are a world of options when you get to the decorations. You can customize your cake with color and texture to suit any type of event. One of my favorite (and honestly the most impressive & easy) ways to decorate is using a Wilton 1M tip. This is a large tip that opens into a star at the point. It is so versatile! I piped all 6 of these options using the same tip!
After filling your piping bag with icing, twist the end closed and hold the bag securely while piping. For each of these designs, apply even pressure to the bag as you pipe, release pressure, and then lift the bag away.
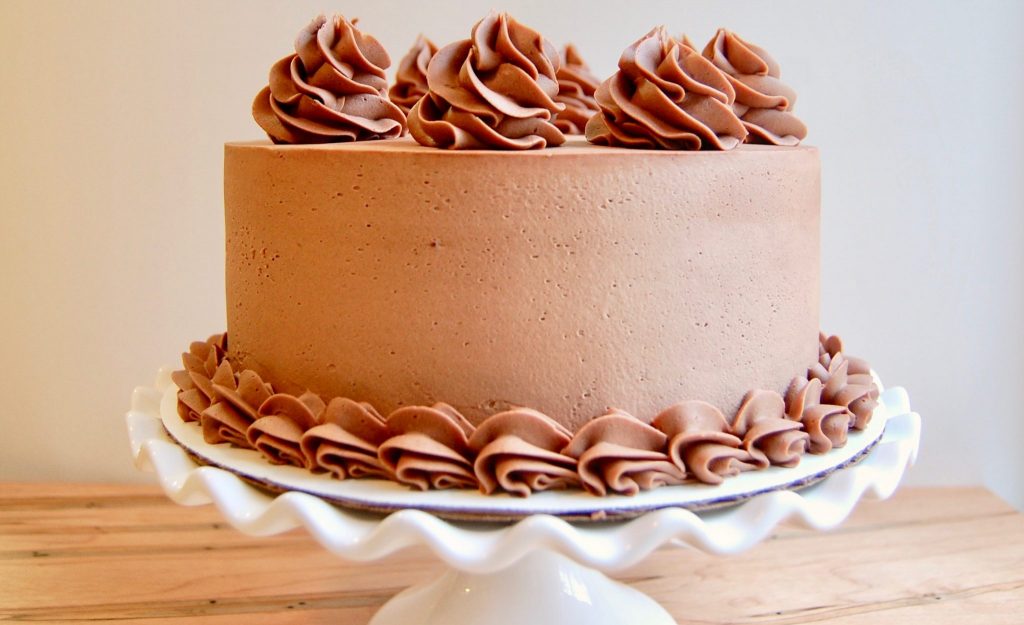
1. Shell border
Holding the piping bag at a 45 degree angle to the top of the cake, apply pressure, move the bag slightly upward and then pull down and to the right while slowly releasing pressure until you touch the cake again. Begin the next shell on top of the last shell’s tail. Repeat until you make your way around the cake!
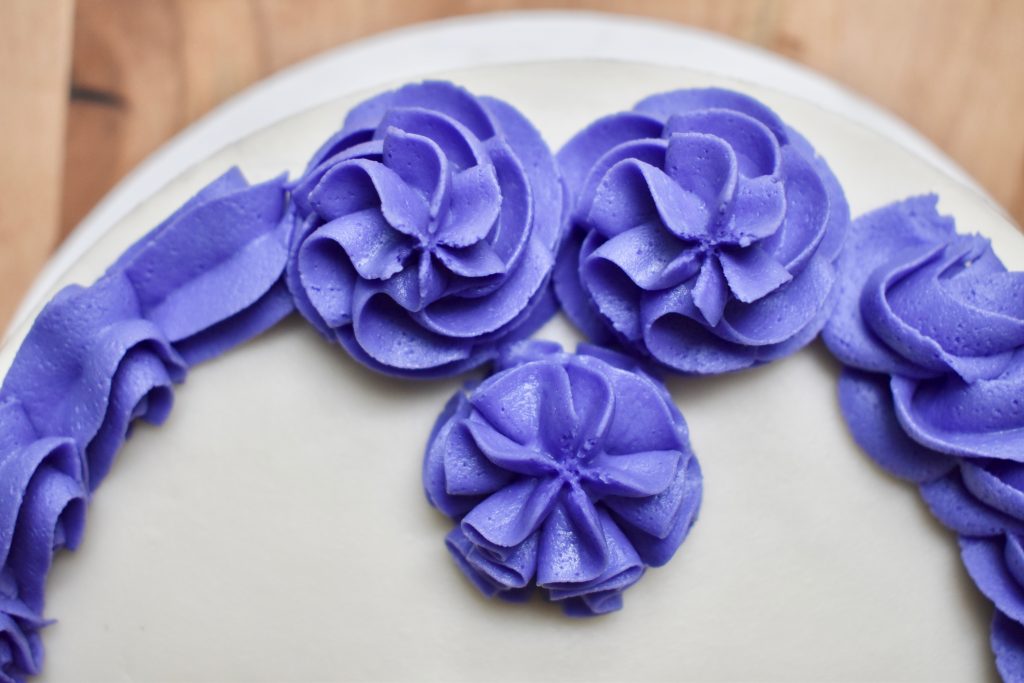
2. Rose
Holding the piping bag at a 90 degree angle to the top of the cake, apply pressure and slowly move the bag in a clockwise direction until you make a complete circle. Release pressure and lift the bag.

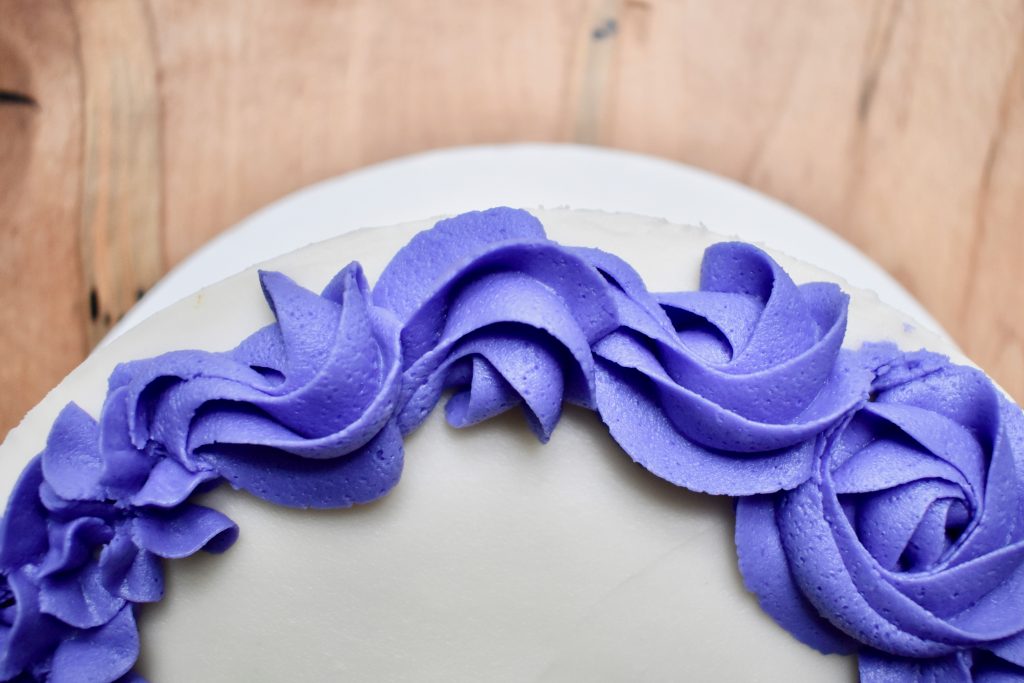
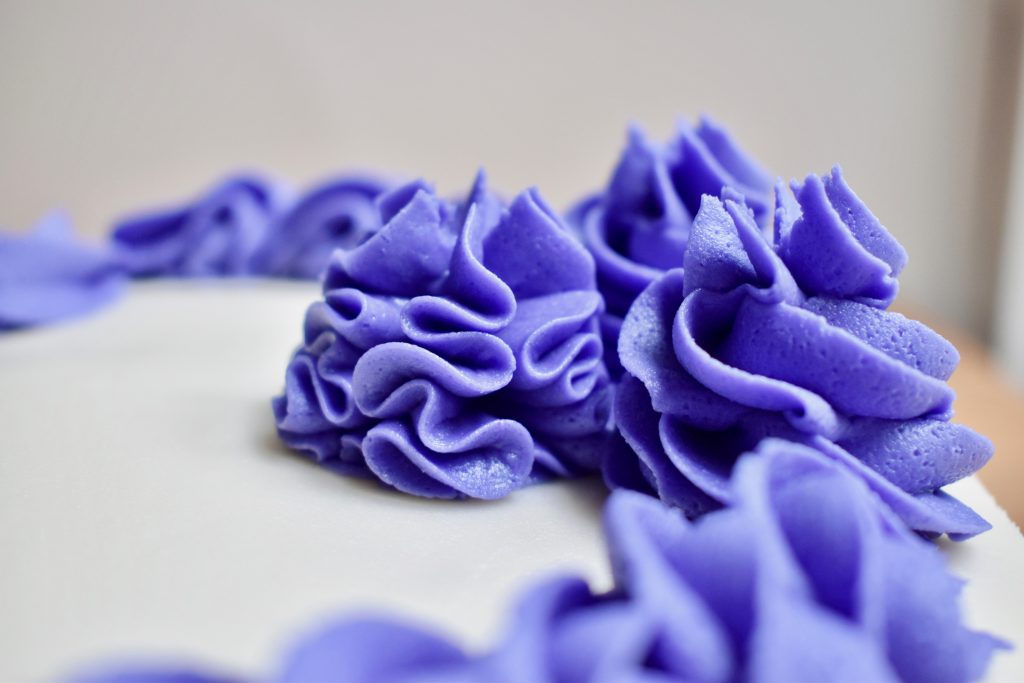
3. Alternating swoops
I love this design, but I always have to concentrate a little extra while piping it!
Holding the piping bag at a 90 degree angle to the top of the cake, apply pressure and slowly move the bag in a clockwise direction – starting at 9 o’clock and moving to the right around to 6 o’clock. Then move the piping bag down to create a sort of tail. Release pressure and lift the bag. Begin the next swoop on top of the last swoop’s tail. Holding the bag at 90 degrees, apply pressure and slowly move the bag in a counter-clockwise direction – starting at 3 o’clock and moving to the left around to 6 o’clock. Then move the bag down to create a tail and release pressure. Continue the design by alternating direction on each swoop.
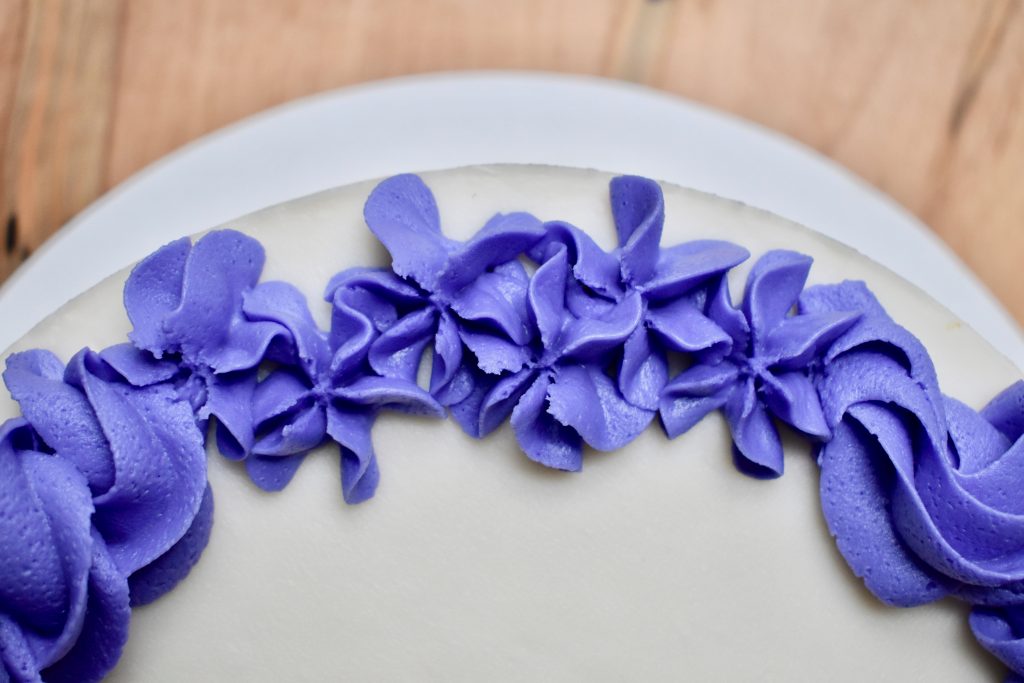
4. Star
Holding the piping bag stationary at a 90 degree angle to the cake, apply pressure for a few seconds, release pressure, and lift the bag.
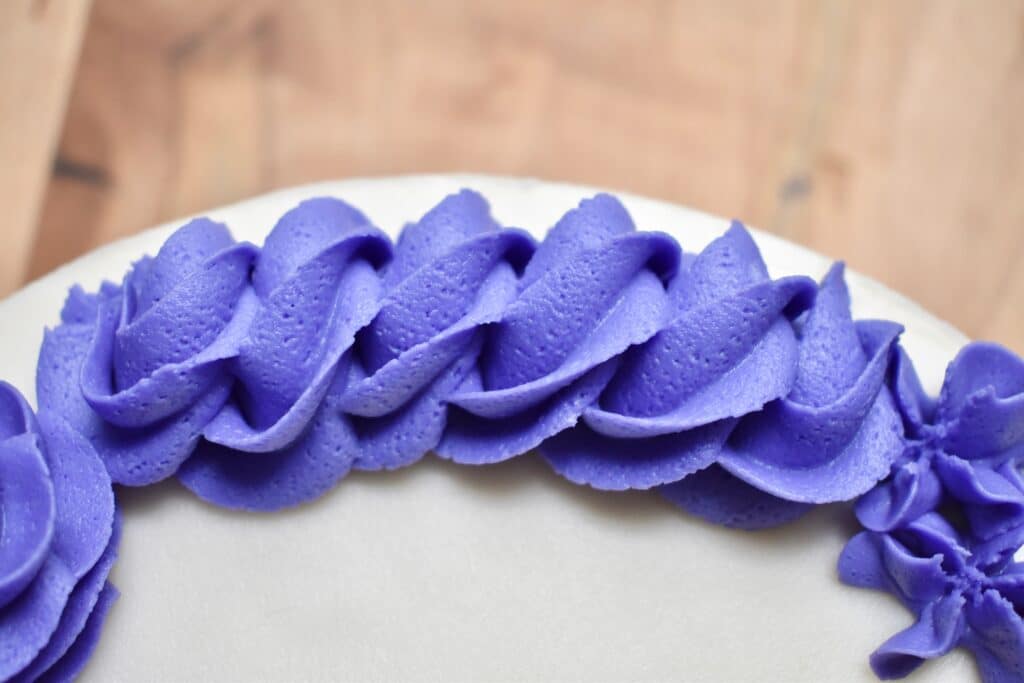
5. Rope border
Holding the piping bag at a 30 degree angle to the top of the cake, begin applying pressure and move in a vertical clockwise motion while slightly moving the piping bag towards the right. Each circle should rest on the previous one as you move along the edge of the cake.
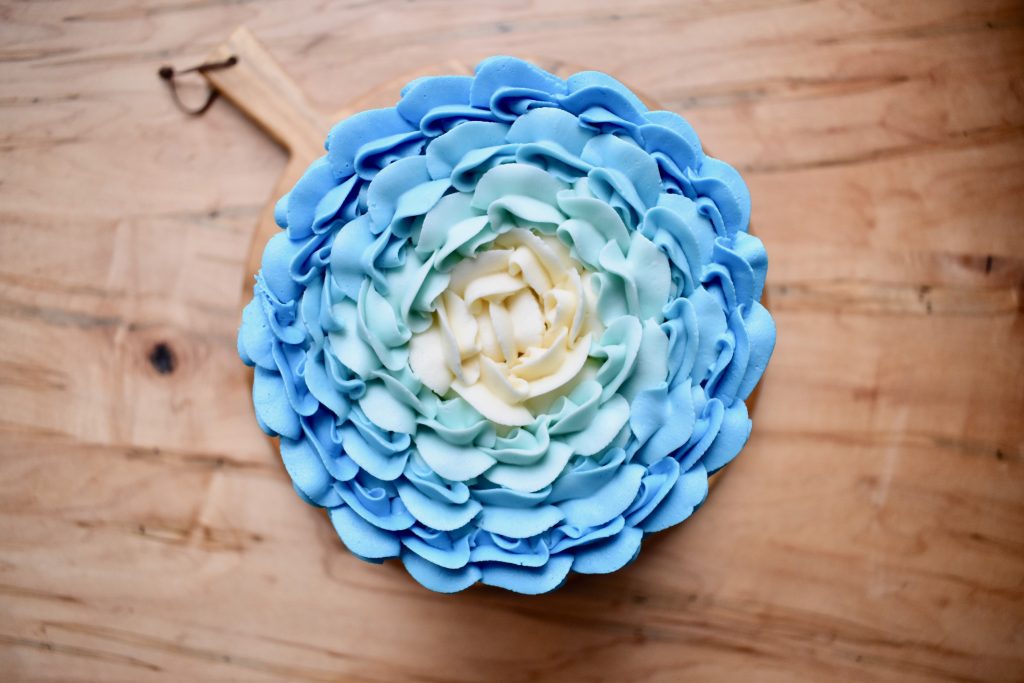
6. Swirl
Swirl 1 (on the outside edge of the cake) is made using the same motion as a rose. After completing the bottom circle, continue the motion vertically making each circle smaller than the one below until you end in a point on the top. Release pressure and then lift the bag.
For swirl 2 (in the middle of the cake), hold the piping bag stationary at a 90 degree angle to the top of the cake and apply slightly more pressure than normal while slowly moving the piping bag up as icing builds. When you reach the desired height, release pressure and then lift the bag away.
You can add depth to your design by repeating and layering the same technique. Or create an ombre look by changing the icing color. Or use two different techniques on the same cake. There are just so many options!
Have fun decorating, and I would love to see your cakes! If you make this buttercream or use these frosting and piping techniques, let us know by using #bakingwithPTE!
Praying you stay safe and healthy, friends.
Anna
Vanilla Buttercream

A delicious buttercream with smooth texture that makes it perfect for decorating cakes.
Source: thelittlebluemixer.wordpress.com
Course: Desserts
Cuisine: American
Prep Time: 15 min
Total Time: 15 min
Serves:
Ingredients
- 1 cup butter softened
- 1⁄2 cup crisco shortening
- 6 cups powdered sugar
- 2 teaspoons vanilla
- 4 teaspoons water (or milk)
Directions
- Using a stand mixer, cream together butter and shortening.
- Gradually mix in about half of the powdered sugar.
- Mix in the vanilla.
- Alternate mixing in the remaining powdered sugar and water.
- Enjoy!
- For extra smooth consistency, (1) sift the powdered sugar before mixing in and (2) stir the finished buttercream with a wooden spoon for a few minutes. This will help get out any air bubbles in the icing and create a smooth finish on the outside of the cake!
Powered by![]()