I don’t make sugar cookies too often, but when I do this is always my go to recipe. It uses simple ingredients that are probably already in your refrigerator and pantry, and the product is definitely a show stopper. Walking into the kitchen while these cookies are baking immediately takes me back to autumns past and great times with friends and family. So, what better way to celebrate a change in seasons than with a yummy treat you can share with everyone? And who doesn’t love a cute little pumpkin!?

Most of the beautifully decorated sugar cookies you might see on your Instagram feed or in your local bakery window are decorated with royal icing. Royal icing creates such a pretty effect, and there are endless options to what you can create. But I wanted to put my own little twist on decorated sugar cookies, so I decided to decorate these with buttercream icing!
In my opinion, buttercream wins in the flavor department, and it’s a tad easier to work with. I even have a few tips to help you make your own pumpkin cookies that look like these!
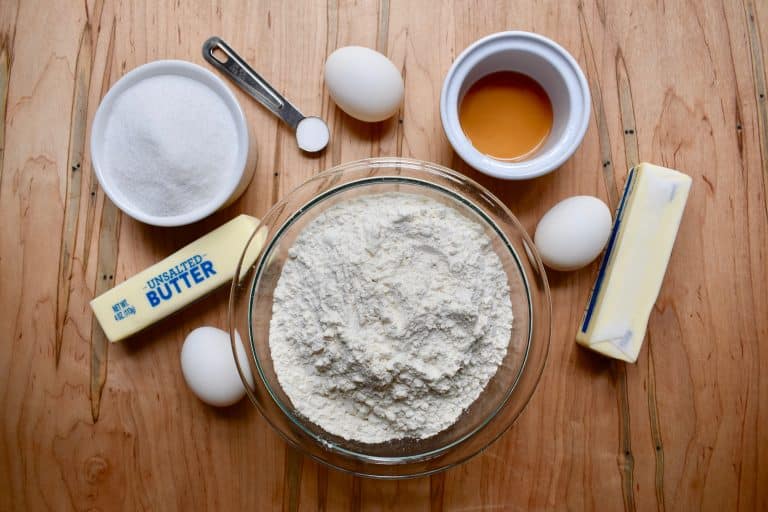
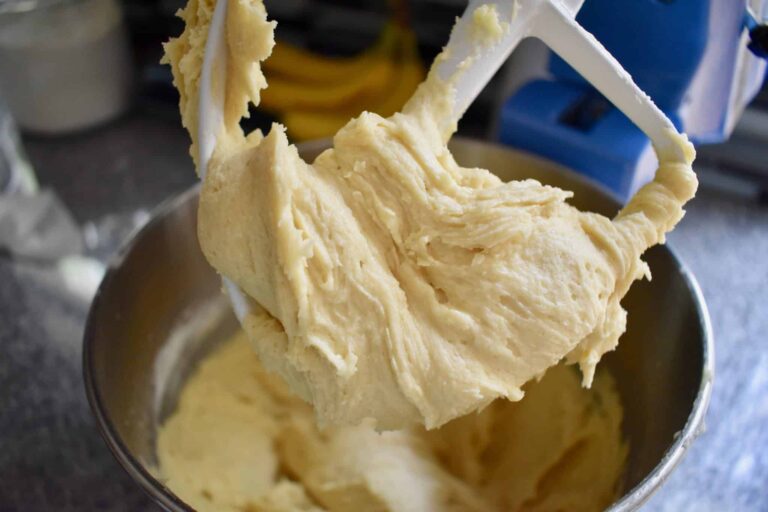
To make the cookies, first cream together the softened butter and sugar. Once the mixture is fluffy, add in the eggs one at a time. It may seem odd to add the eggs in one at a time, but it really does help the dough come together a lot more smoothly. Next, mix in the salt and vanilla. Finally, gradually mix in the flour. Be sure to scrape the sides of the bowl down occasionally to make sure all of the ingredients are incorporated.
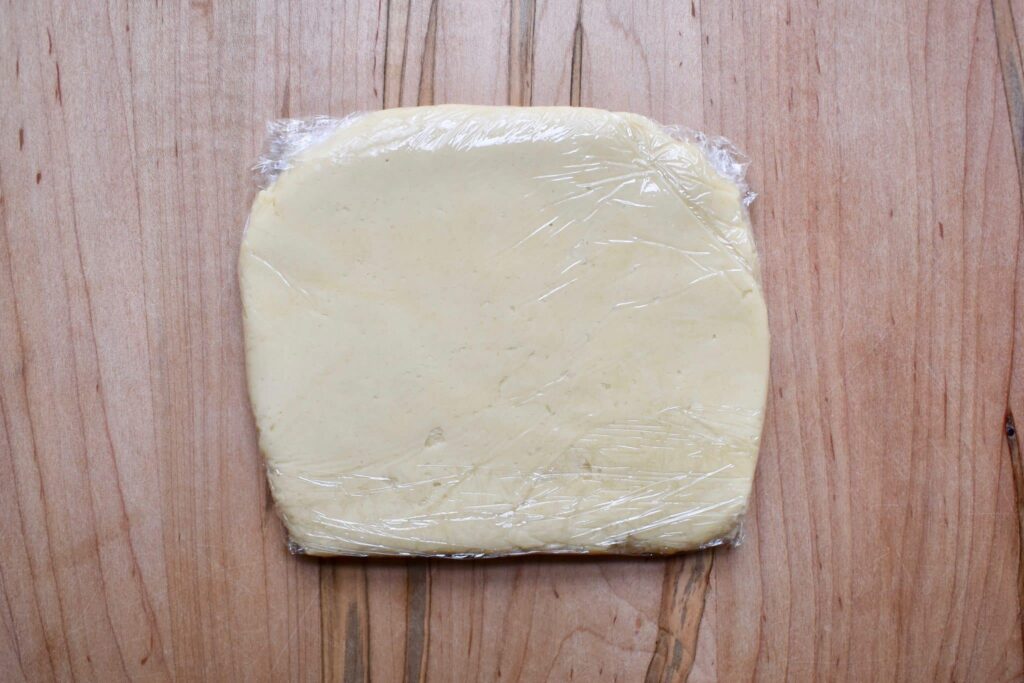
The dough needs to chill for about 3 hours, or you can even leave it in the refrigerator overnight. I have found that the best way to chill the dough is to divide it into 4 or 5 sections and wrap each one in plastic wrap. If you pat the dough down into a circle or square about 1/2 inch thick, it will be much easier to roll out once chilled.
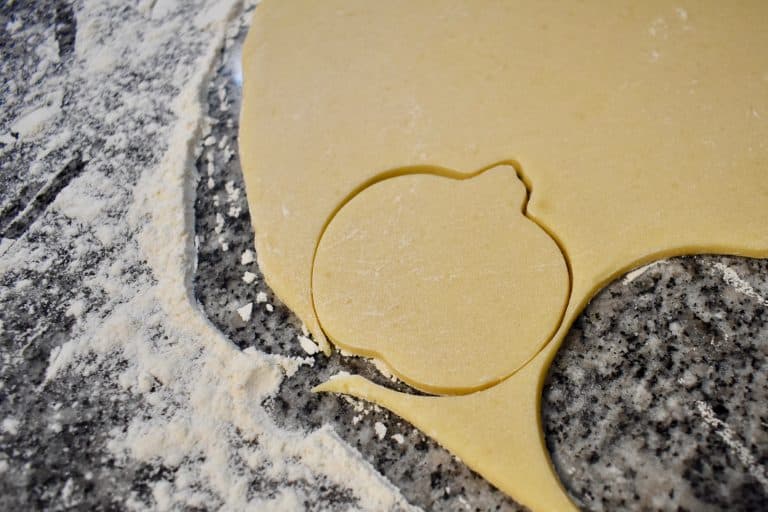
After the dough is chilled, lightly flour your counter top and reserve a small pile of flour to one side to dip the cookie cutters in. The longer the dough stays cold the better; so, only take one section of dough out of the refrigerator at a time. Once you are ready to roll (pun intended!), unwrap the dough, lightly pat it on each side with flour, and set it on the prepped counter. Using a rolling pin, roll the dough until it is about 1/4 inch thick. To help ensure a clean edge on the cookies, dip your cookie cutter in the reserved flour and then gently press down to cut them out!
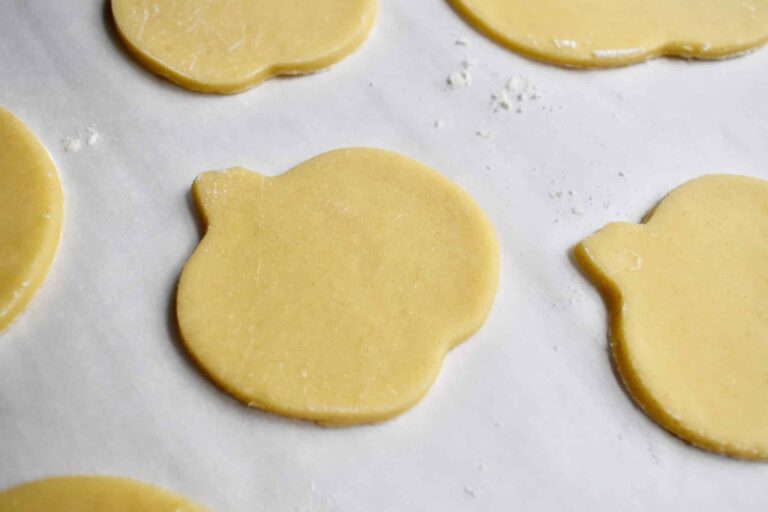
Place the cut outs on a parchment lined baking pan and set them back in the refrigerator for a few more minutes to chill. This will help make sure the cookies keep their shape while baking.
Bake the cookies at 400 degrees for about 10-12 minutes or until they are slightly golden!
While the cookies are cooling, you can whip up the buttercream. Cream together the butter and shortening until it’s smooth and then slowly start mixing in the powdered sugar. After adding about half of the sugar, mix in the vanilla. Then alternate adding the remaining sugar and the water until everything comes together. Feel free to give it a tase test. 😉 You can color the icing however you like, just add the colors slowly so you don’t miss that perfect shade!

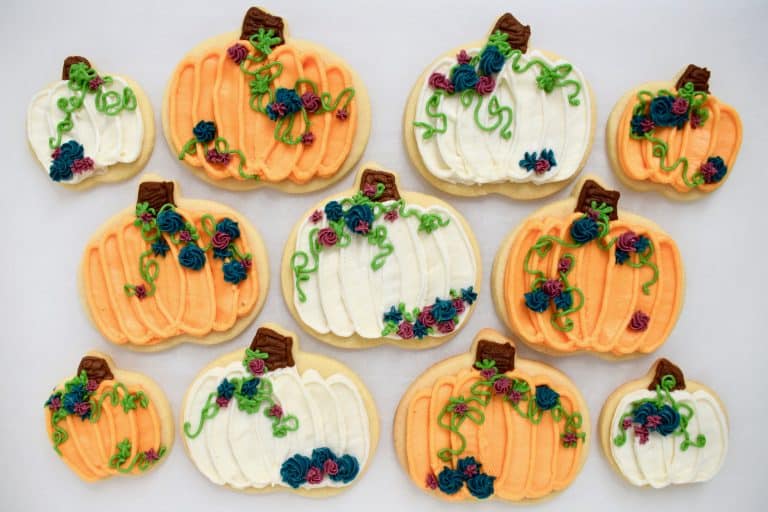
Alright, let’s talk more about how you can recreate this pumpkin look! Here are a few tips to keep in mind as you are decorating. While piping, try to apply even pressure to the piping bag and just go slowly! If you don’t like how it looks, you can always use a toothpick to remove icing or move it slightly. You can also practice with any if the tips on parchment paper or a cutting board until you get the hang of it. Just scrape the icing back into the piping bag and you’re ready to go!
These are the Wilton tips I used:
#104 – orange and white pumpkin base
#3 round – orange and white pumpkin outline
#5 round – brown stem
#2 round – green vine
#16 star – blue flower
#13 star – purple flower
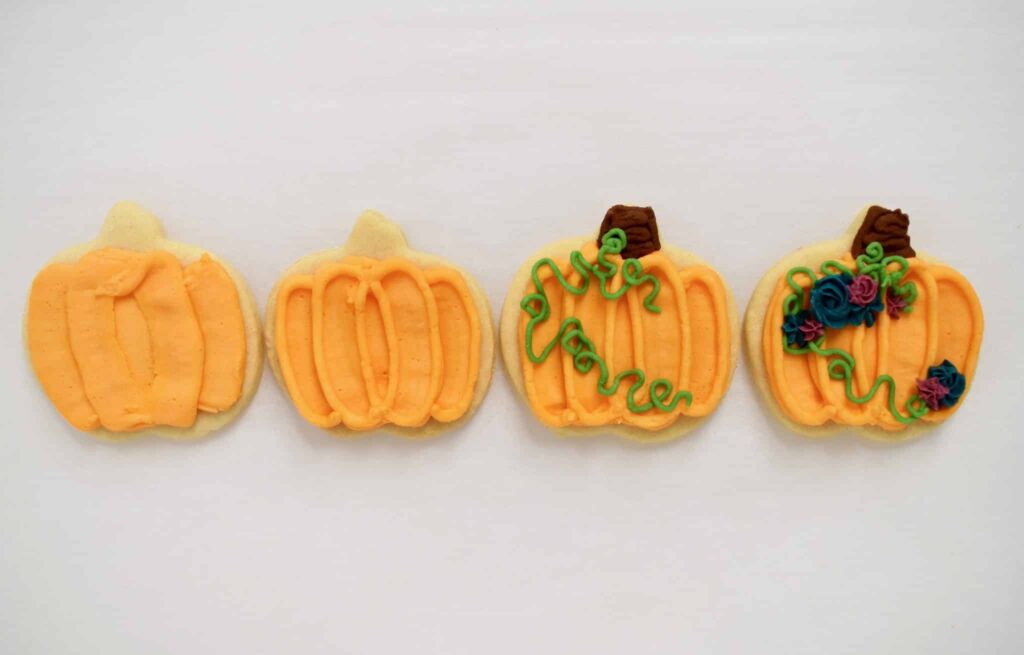
First up, use tip #104 to add the base layer of icing for the pumpkin. I started with a strip of icing vertically in the center of the pumpkin and then worked my way in from the outside edges, overlapping each layer slightly. Turn the piping bag so that the widest part of the tip points toward the outside of the pumpkin on each side.
Next, switch to tip #3 and outline the edges of the pumpkin on top of the icing you just put down. You don’t have to do this step, but I thought it helped to add a nice finished look with a little more detail.
Using tip #5, outline the shape of the stem and then zig zag back and forth until the space inside the outline is filled. Use tip #2 to add some green vines and leaves to the pumpkin. Get creative and weave the vine over the pumpkin however you like.
Lastly, add a few flowers with the small star tips. I used two different methods with the star tip on these cookies. For the round rose look, start in the middle and apply even pressure while moving the tip in a clockwise motion until you make a full circle. For the star look, hold the piping bag straight up and down, apply pressure, pull the bag up, let off pressure, and move the bag away.
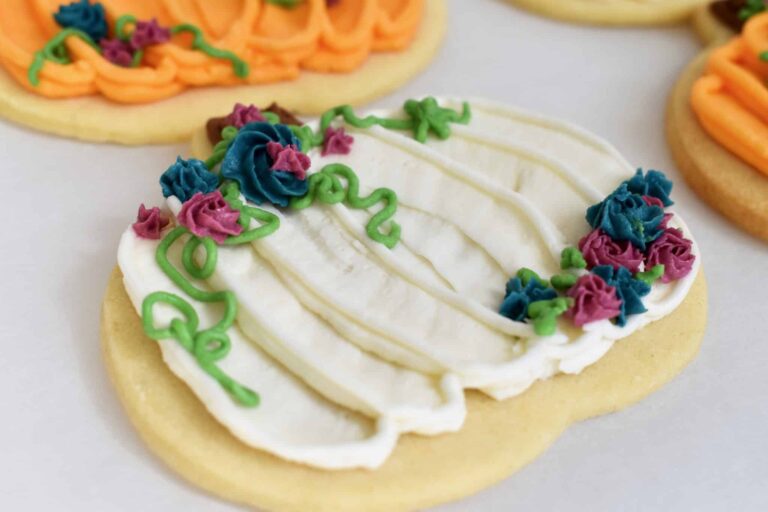
There you have it!
No two pumpkins need to look the same, so you can change it up and see what you like most!

I sincerely hope you enjoy these cookies, and that you make some fun memories in the kitchen while decorating them!
Anna
Sugar Cookie Pumpkins
Walking into the kitchen while these cookies are baking immediately takes me back to autumns past and great times with friends and family. So, what better way to celebrate a change in seasons than with a yummy treat you can share with everyone? And who doesn’t love a cute little pumpkin!?
Source: thelittlebluemixer.wordpress.com
Course: Desserts-Bars and Cookies
Prep Time: 3 hr 20 min
Cook Time: 12 min
Total Time: 3 hr 32 min
Yield: 24
Serves:
Ingredients
- Cookie Batter
- 1 cup unsalted butter softened
- 1 cup sugar
- 3 eggs
- 1 1⁄2 tsp vanilla
- 1⁄2 tsp salt
- 3 1⁄4 cups flour
- Buttercream Icing
- 1 cup butter softened
- 1⁄2 cup Crisco shortening
- 6 cups powdered sugar
- 2 tsp vanilla
- 4 tsp water
Directions
- Cookie Instructions:
- Cream together softened butter and sugar.
- Mix in eggs one at a time, scraping down the sides of the bowl after each addition.
- Add in salt and vanilla.
- Gradually mix in flour until incorporated.
- Divide dough into 4 sections, wrap each in plastic wrap, pat into 1/2 inch thick squares, and chill for 3 hours or overnight.
- Place chilled dough on lightly floured counter and roll out to 1/4 inch thick.
- Cut out cookies and place on parchment lined baking pan and chill for 10 minutes.
- Bake at 400 degrees for 10-12 minutes or until lightly golden.
- Let cookies cool completely before decorating.
- Icing Instructions:
- Cream together butter and shortening until smooth.
- Gradually mix in half of the powdered sugar and then add the vanilla.
- Alternate mixing in the remaining powdered sugar and water.
- Color with food coloring as desired.
- Decorate & Enjoy!

