


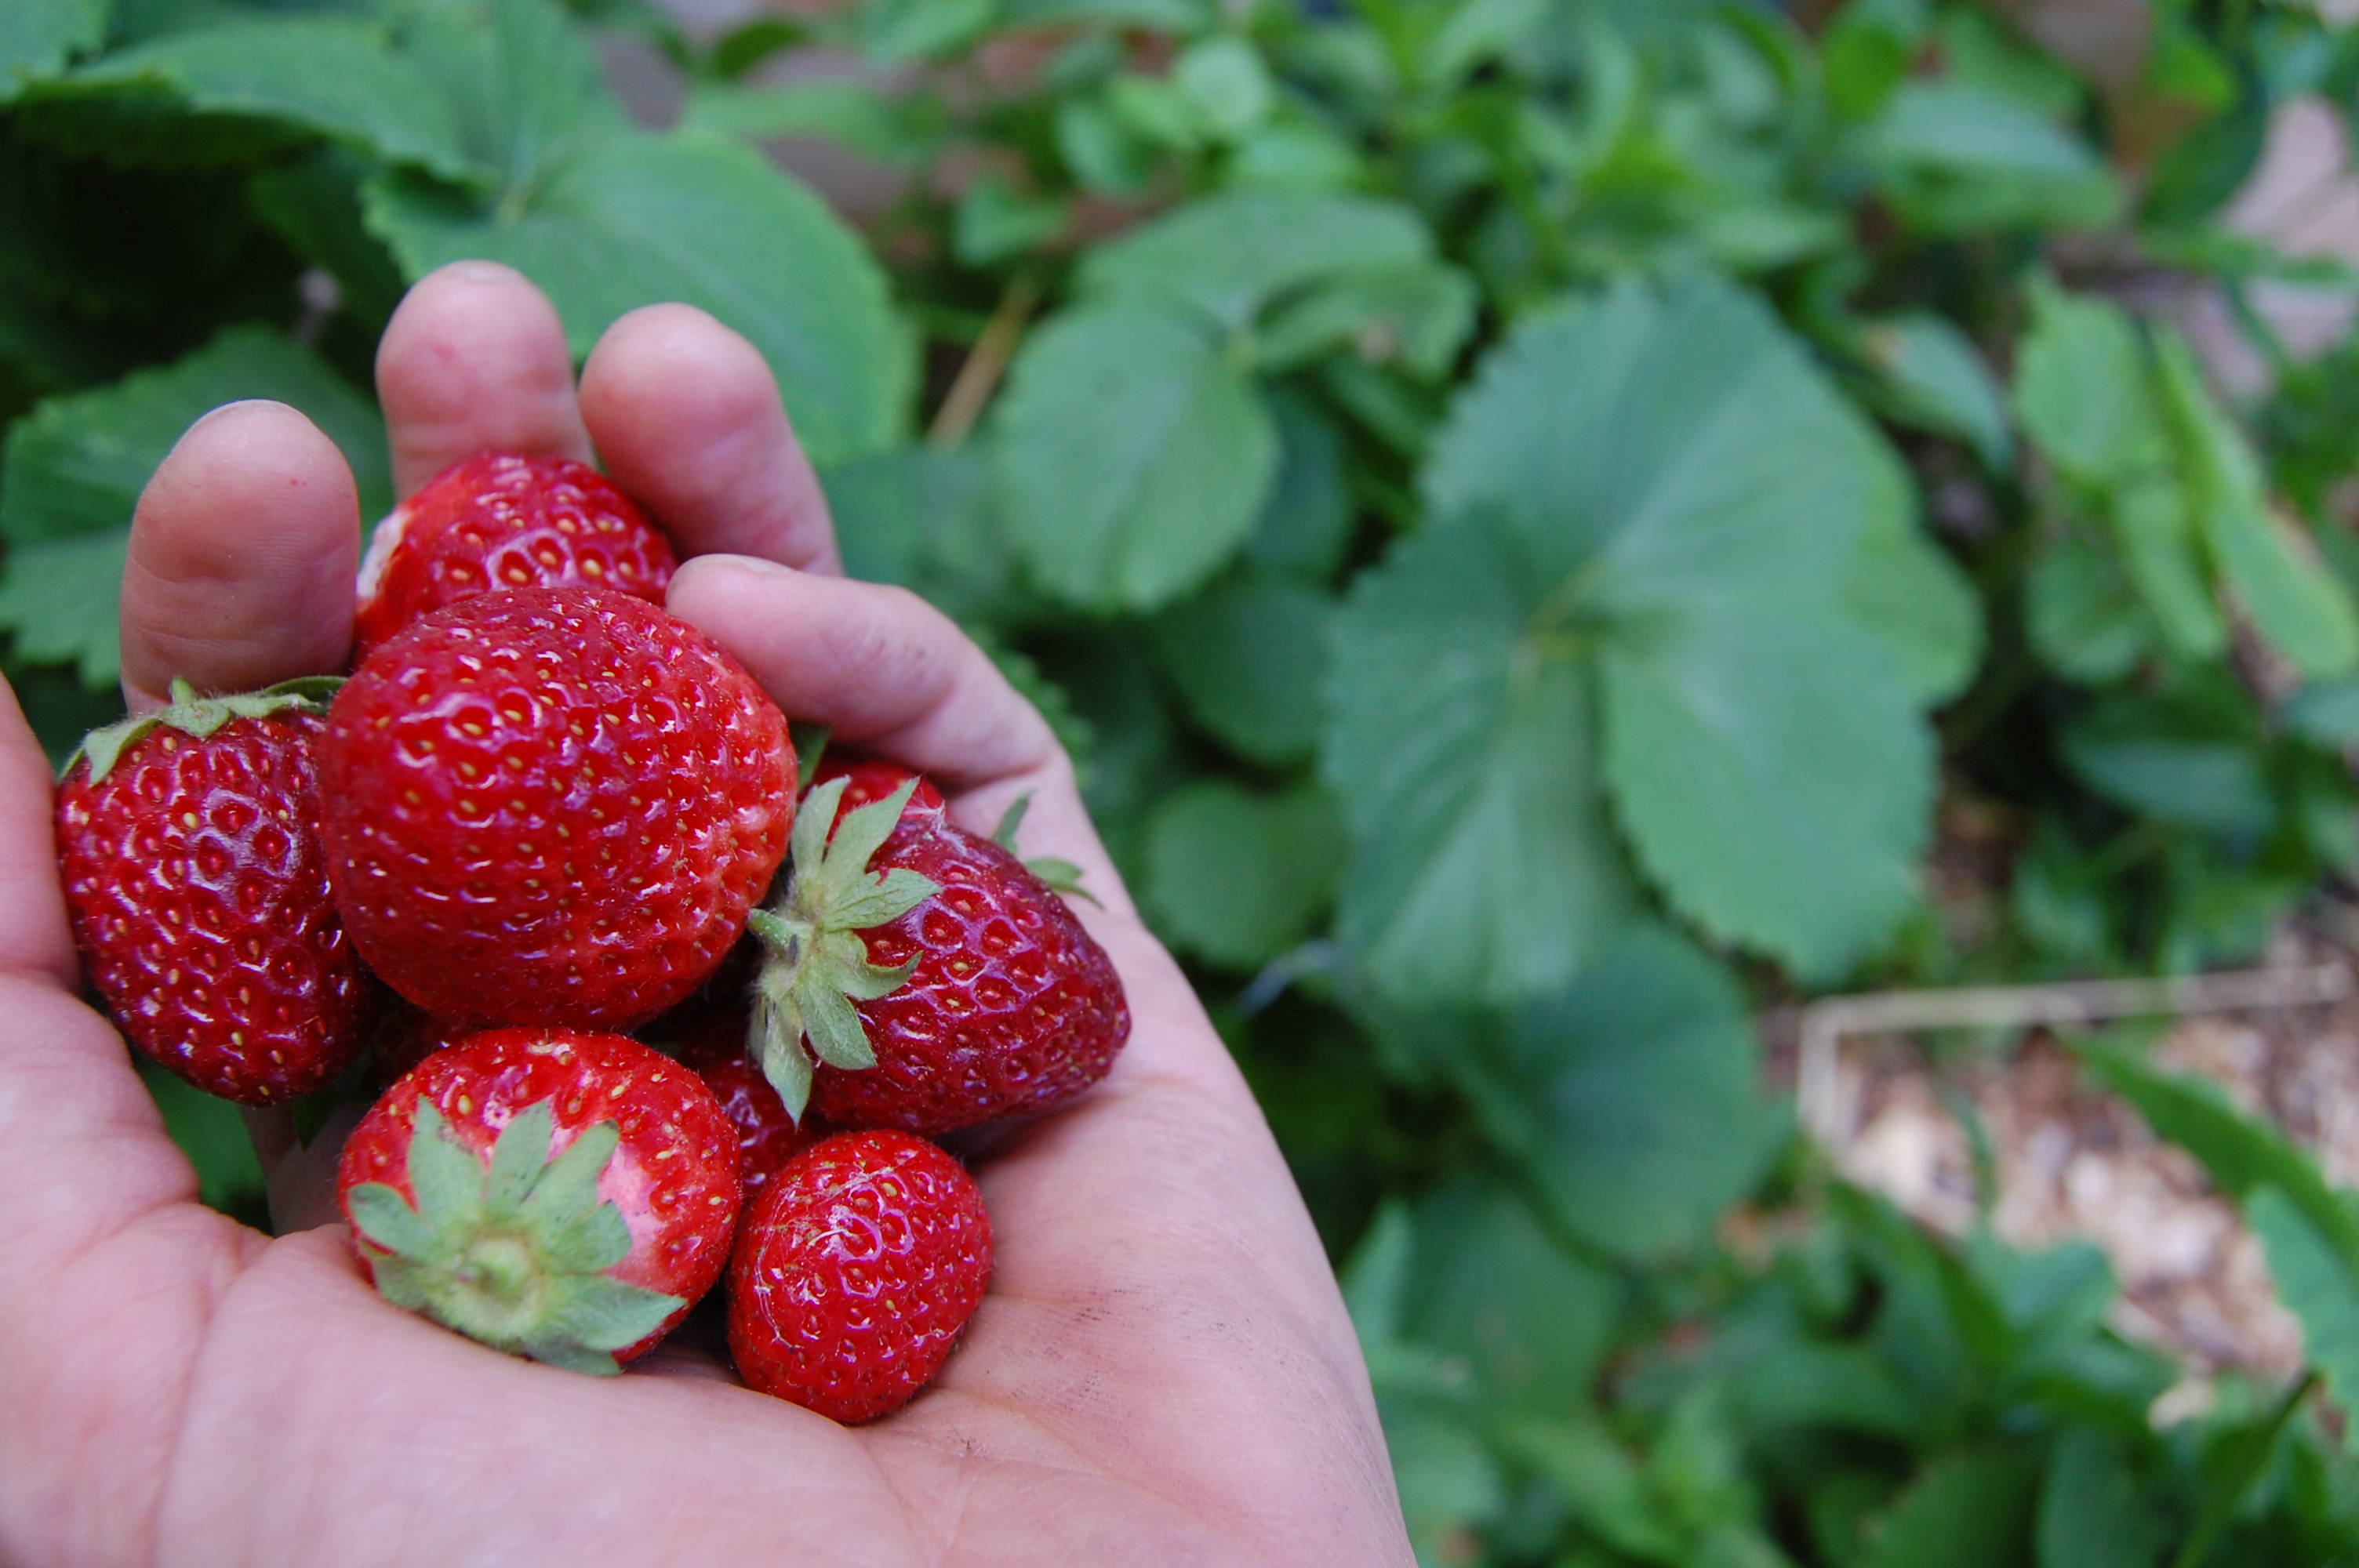
A freshly plucked, sun-ripened strawberry has no rival. Eating fresh fruit in season assures you the best taste, nutrition and environmental stewardship. Now is the time to head to the farmer’s markets and begin searching for local, in-season fruit… I am hopeful to buy some larger bushels to freeze or make into jam this summer. My neighbor has a huge strawberry patch and shared a basketful with us this week! Since our small patch has only yielded a few handfuls, we were so grateful. We’ve been enjoying them over home made yogurt in the mornings – combining the sweet vitamin-rich berries with the probiotics in the yogurt, local honey and some chia seed! Healthy and delicious!

Making your own yogurt at home is very simple and will save you money. I make a whole gallon of milk into yogurt every week – and if I didn’t hide my small starter jar to make the next batch with – even that would disappear!
We have a raw milk share, and I purchase one gallon per week just for the yogurt. I love that it’s from local, grass-fed cows and it has the cream on top. You can use grocery store organic milk as well – it works just fine! I use the half-price milk from my local dairy (only costs me $5 per gallon) and even though I heat the milk (which destroys some of the beneficial enzymes) I love that it’s still the best organic milk you can buy. (The low temp yogurt recipes using raw milk have never resulted in the thick yogurt that I love, so I heat it.)
I was surprised to learn that you don’t need a fancy ‘yogurt maker’ to make it at home. Here are the basic tools you’ll need to make it:
- candy thermometer ($5 in most grocery stores)
- heavy bottomed stock pot
- insulated cooler
- wire whisk
- teapot
- glass jars or containers for your yogurt
Most people have these items (except maybe for the thermometer). FYI – there are lots of different techniques to making yogurt. Basically, you will be adding a starter ‘culture’ (plain yogurt) to some warm milk – and keeping it warm until the friendly bacteria in the starter culture permeates the milk and thickens the whole batch into yogurt. It’s a simple process and very rewarding!
Step 1: Heat your milk until it almost comes to a boil (being careful not to let it boil over). This changes the structure of the milk and allows it to thicken.
Step 2: Cool down your milk by setting your pot of hot milk into an ice water bath (big time saver!). Use the thermometer and take it out of the bath when the temp drops to 112 degrees.

Step 3: Whisk in your plain yogurt starter, making sure the yogurt is well blended into the warm milk. I use 1/2 cup plain yogurt to 1/2 gallon of milk. Once you’ve made one batch, you won’t have to purchase plain yogurt for your next batch. Just be sure to save some!

Step 4: Pour yogurt/milk mixture into sterilized glass jars and cover with lids.
Step 5: Place jars of yogurt/milk mixture into an insulated cooler and add 3 small jars of very hot water as your heat source (I bring some water to a boil in a teapot while my milk is cooling). This will keep your yogurt around 105 – 112 degrees – which is the perfect temp for the good bacteria to thrive.

Step 6: Close cooler and leave, undisturbed for approx 6 – 12 hours. The longer you leave it, the more ‘tart’ it will become. Remove your thickened yogurt and move to the fridge to enjoy!
Fresh strawberry season comes and goes quickly, but I will look forward to how the seasons will change our yogurt toppings… fresh raspberries, then peaches… and hopefully I can put some away to enjoy through the winter!


