HELP! Top Ten Cooking Flubs and How to Fix Them
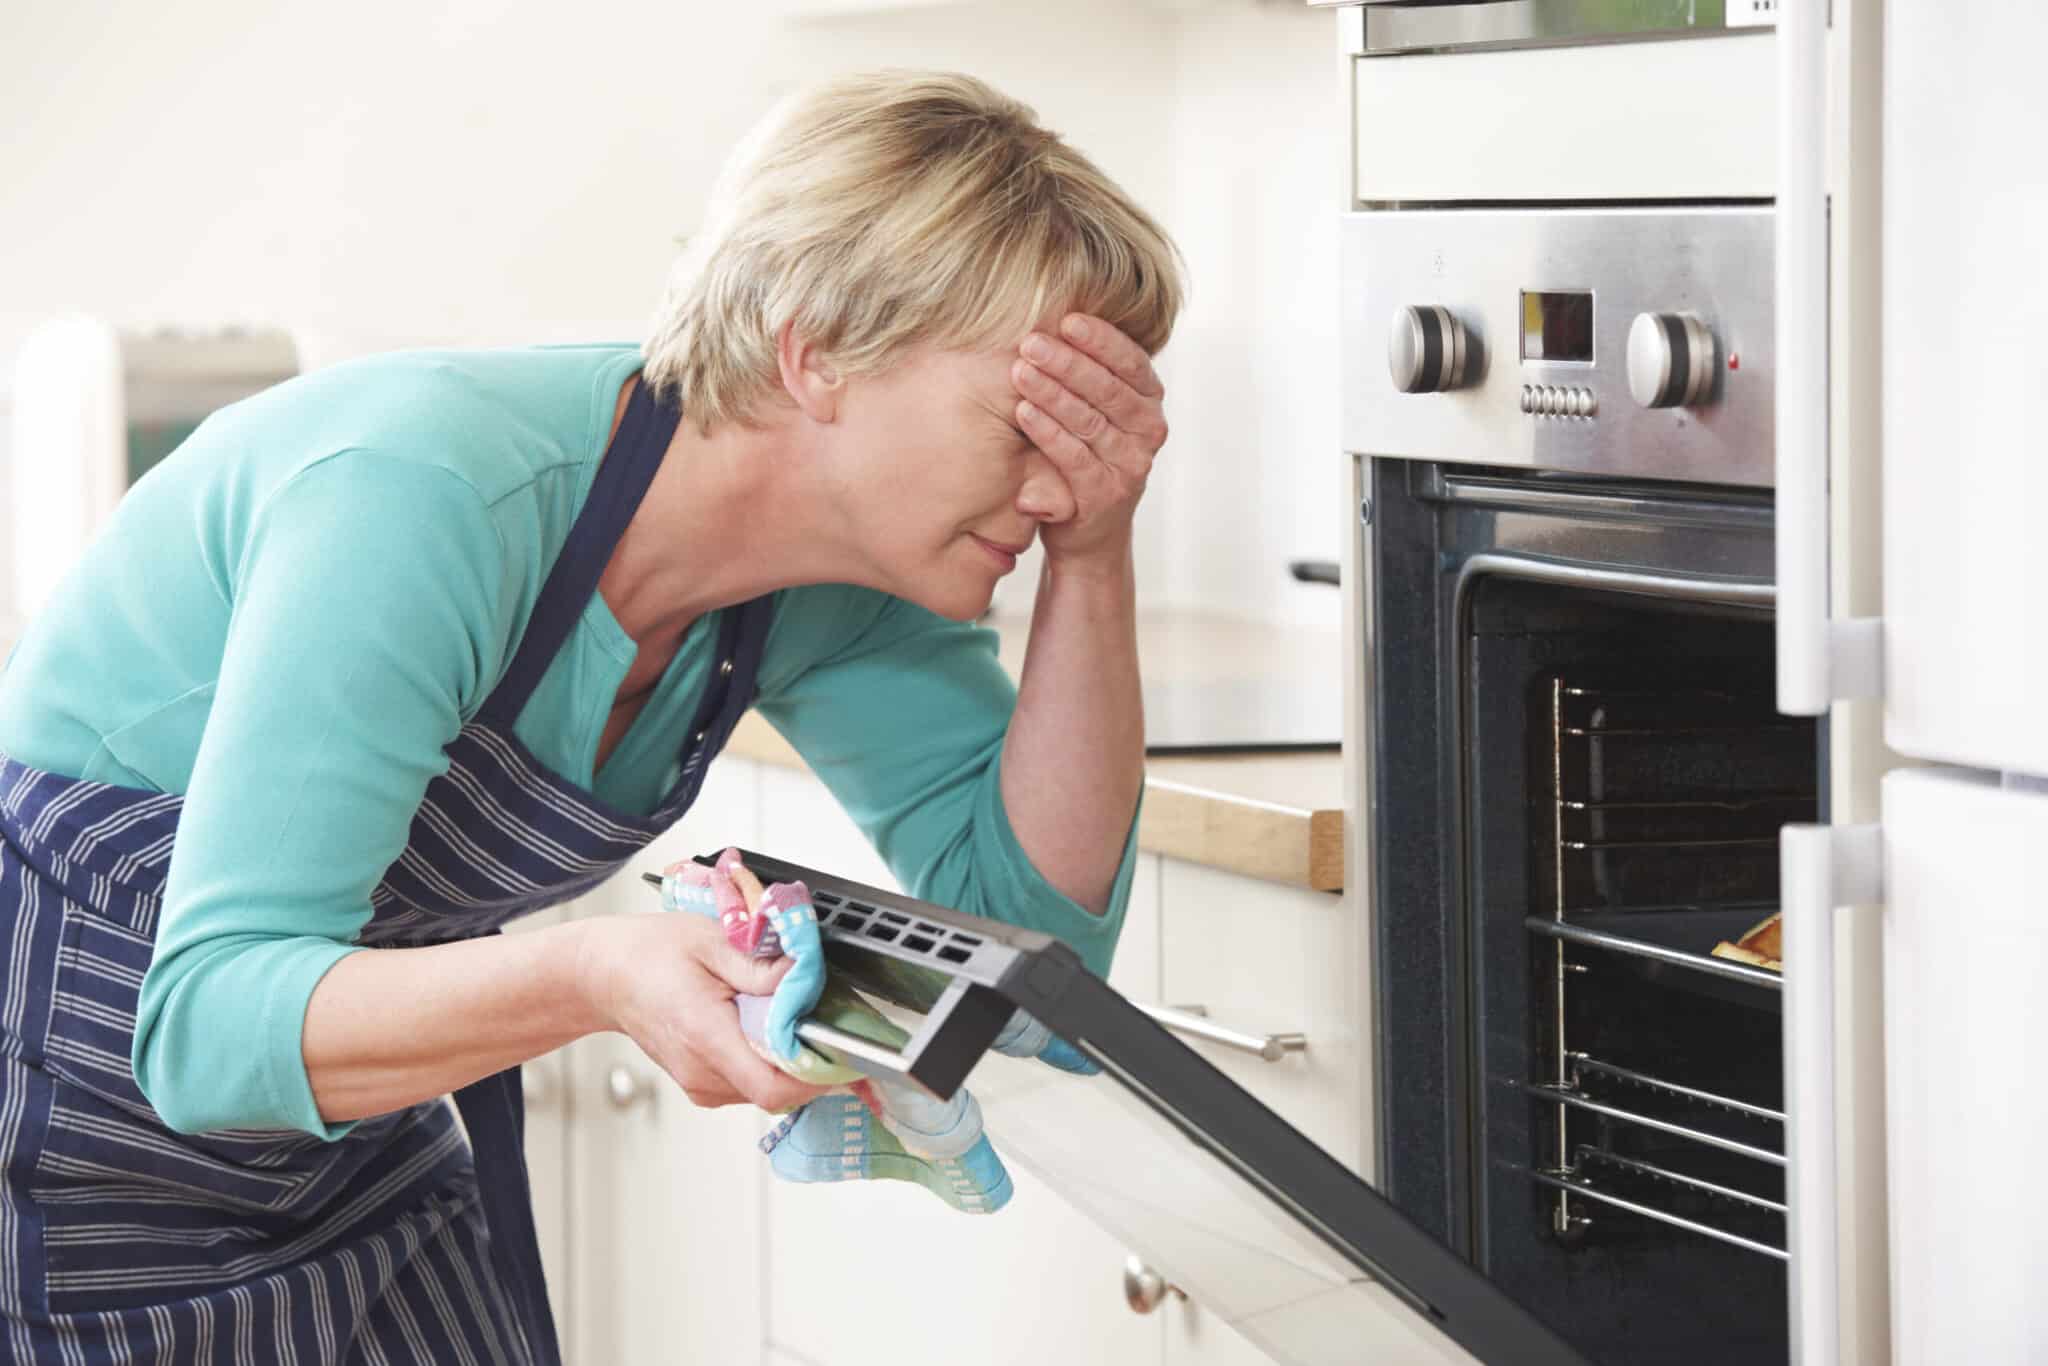
Every cook has one, or two or likely many more cooking blunders that left them embarrassed or boiling mad. We all have our shining moments in the kitchen where we feel like a cooking contest winner. Other times the only way to repair the damage is to call for takeout. The first lesson, according to the late Julia Child, “no matter what happens in the kitchen, never apologize.”
We’ve collected a few prized errors that this author has done more than once and how to fix them before anyone is the wiser.

1. Food sticks to the pan.
It’s not you, it is the pan. Proteins, especially eggs, stick because when the pan is heated it expands and forms tiny cracks. Oozy eggs fill those cracks where they stick and may overcook. What about meats and poultry? High heat causes food proteins and carbohydrates to form bonds and become one with the pan. The solution is two-fold: 1. hot pan, no stick. Preheat the pan. 2. Add oil or fat to create a barrier (it should simmer when it’s hot). Seasoned cast iron pans and non-stick are made to form a barrier between the food and the pan.
2. Limp fried potatoes.
The ideal fried potato is crispy on the outside and soft on the inside. If yours are soggy, it might be the variety of potato. Fingerlings, gold and red potatoes are high in water, which leaches from the potato.
Or you may need a new prep and cooking technique. Soak raw cut potatoes in cold water. Rinse and dry three times. Fry in low temperature (250 degrees) for a few minutes (it crystalizes the starch, for creamy interior). Remove, drain, and up the fryer heat to 350 degrees. Fry a second time until crisp. For hash browns, grate the potatoes, soak in cold water and drain (3 times) the potatoes. Dry well with a towel. Preheat the pan, add oil and pan fry until crisp.
3. Bland tasting food got you down?
Remember the importance of salt and acidic ingredients. Salt makes just about everything taste that much better because it elevates flavor. It also cooks food faster because it breaks down food’s cell walls for quicker browning. If you like salts with different textures, measure by weight not volume. For instance, flaky course sea salts and lighter crystal salts (Diamond Crystal) weigh less than generic kosher salt and table salt (see chart below).
As for acidic ingredient, lemon juice, vinegar and other tart ingredients added just before serving to soups, salad dressings, vegetables and fruit will add a flavor punch that your taste buds will notice.
Salt by Volume: 2 Tablespoons
Coarse sea salt 37g
Table salt or fine sea salt 36g
Kosher salt (Morton’s) 33g
Flaky salt 22g
Kosher salt (Diamond Crystal) 18g
4. Wait, what about food that is too salty?
If your meal tastes like the Great Salt Lake, there are few fixes – soups: add cold water and bring back to a strong simmer. Add a bit more of the other seasonings; proteins and vegetables: squeeze citrus juice or a mild vinegar to mask the saltiness; tone down too salty ethnic dishes like Asian, Mexican or Italian by adding cream, sour cream or plain yogurt.
5. Burned butter.
Cook butter at low to medium temperature to sauté. If you are browning butter, keep a pan of ice water nearby. When the butter just turns toasty brown, dip the bottom of the skillet in the ice water to stop the cooking process. If the brown butter turns black, toss it out. And sorry, it’s a myth that adding oil to butter will up the smoke point.

6. Smoking oils and smoke point.
It’s best to have a few different cooking oils in your kitchen. Each one will have a different smoke point (the temperature fats begin to emit curls of smoke), so reserve certain oils for specific purposes. High smoke point oils (above 400 degrees) for frying include avocado oil, grapeseed oil, canola oil, refined coconut oil, corn oil, sunflower oil and safflower oil. Extra-virgin olive oil and unrefined coconut oil have a lower smoke, and therefore are best for sautéing or low heat cooking. Almond oil, walnut, pecan and pumpkin seed oils are best for drizzling over vegetables, salads and bread dipping.
7. Greasy braised or slow cooker recipes.
Slow cooking draws out the fat in meats and poultry, which means you may see a pool of shimmering fat on the top of the recipe. You can spoon the fat off; set ice cubes on the surface of the dish and the cold will attract the fat (discard the greasy ice); lay a piece of bread on top to sop up the oil or refrigerate the dish overnight. Remove the cold fat and reheat.
8. Broken sauce.
It’s truly sad when sauces break. Can you turn a sludgy mess back to a delicious sauce or gravy? Adding heavy cream and whisking madly can bring a broken sauce back together. If the sauce has been sitting too long or separates in the refrigerator, pour into a blender with a Tablespoon of very hot water and blend well. It will likely return to its saucy goodness.
9. Oh No, overcooked noodles!
If you don’t want to start over, chill the noodles in an ice water bath to stop any further cooking and remove the starch. Or sauté them in oil to lightly brown, toss with a generous handful of grated cheese.
10. Limp lettuce, broccoli, asparagus, celery, carrots, radishes spinach and fresh herbs.
Ice water bath is your best friend when you need to crisp up certain vegetables and herbs. Vegetables lose water in the refrigerator, so soaking in a cold water or ice bath can revive limp vegetables. If you see mold, slime or brown spots in soft vegetables, do not attempt to salvage.
Kimberly Lord Stewart is a food writer, author of Eating Between the Lines and a former caterer. Her worse cooking nightmare happened during a catered event when the ovens broke. At serving time the main course, a chicken dish, was still raw in the center. She quickly switched from oven-baked chicken for 50 people, to stove-top fricassee.
This month, we are sharing advice and information to help both experienced and novice cooks gain more Kitchen Confidence!
More in this series:
Cooking Terms: Defined! Don’t get confused by fancy recipe lingo ever again!
Kitchen Tools Every Cook Should Own. Find out what you need in your kitchen and what to use it for!


