Blog /

Macarons. These are such pretty and petite cookies that look so sophisticated and impressive! But let’s not forget the most important thing here… they are delicious.
To tell you the truth, I have been intimidated by macarons for far too long. I’ve heard so many stories about how tricky they are to make that I didn’t even try! Now, there are plenty of things that can go wrong. And I am definitely not a macaron expert. But these are much more achievable than I thought they would be! And like I already mentioned once, they are delicious. 😉
I finally got up the courage to give macarons a go after my husband came home from work with one for me to taste. Now, let me preface this next part by saying I have had my share of not so great macarons. The worst was probably a way over priced and way too small rose flavored one from a cute little bakery downtown. Ohh, I was so disappointed. It looked beautiful, but it was just… bad.
We finally found a French bakery that has the perfect macarons. Pretty, flavorful, perfect size… but it’s literally clear across the country from us in Seattle. So you can imagine my surprise when my husband comes home from work and tells me he has something he wants me to try. His coworker had made macarons and there was just one left at the end of the day. And lucky me, I got to try it! It was simply delicious. So good, in fact, that I finally decided I had to try making them myself. And you know what? I convinced the hubs to see if his coworker was willing to share the recipe. And he was. And here I am sharing it with you!
So, thank you, Andrew & Lauren! And you’re welcome, Plan to Eat friends!
And here’s a bonus for you, this recipe is here for you just in time for Valentine’s Day! Instead of buying that teddy bear and box of chocolates, make these. You can still get the flowers though. 😉
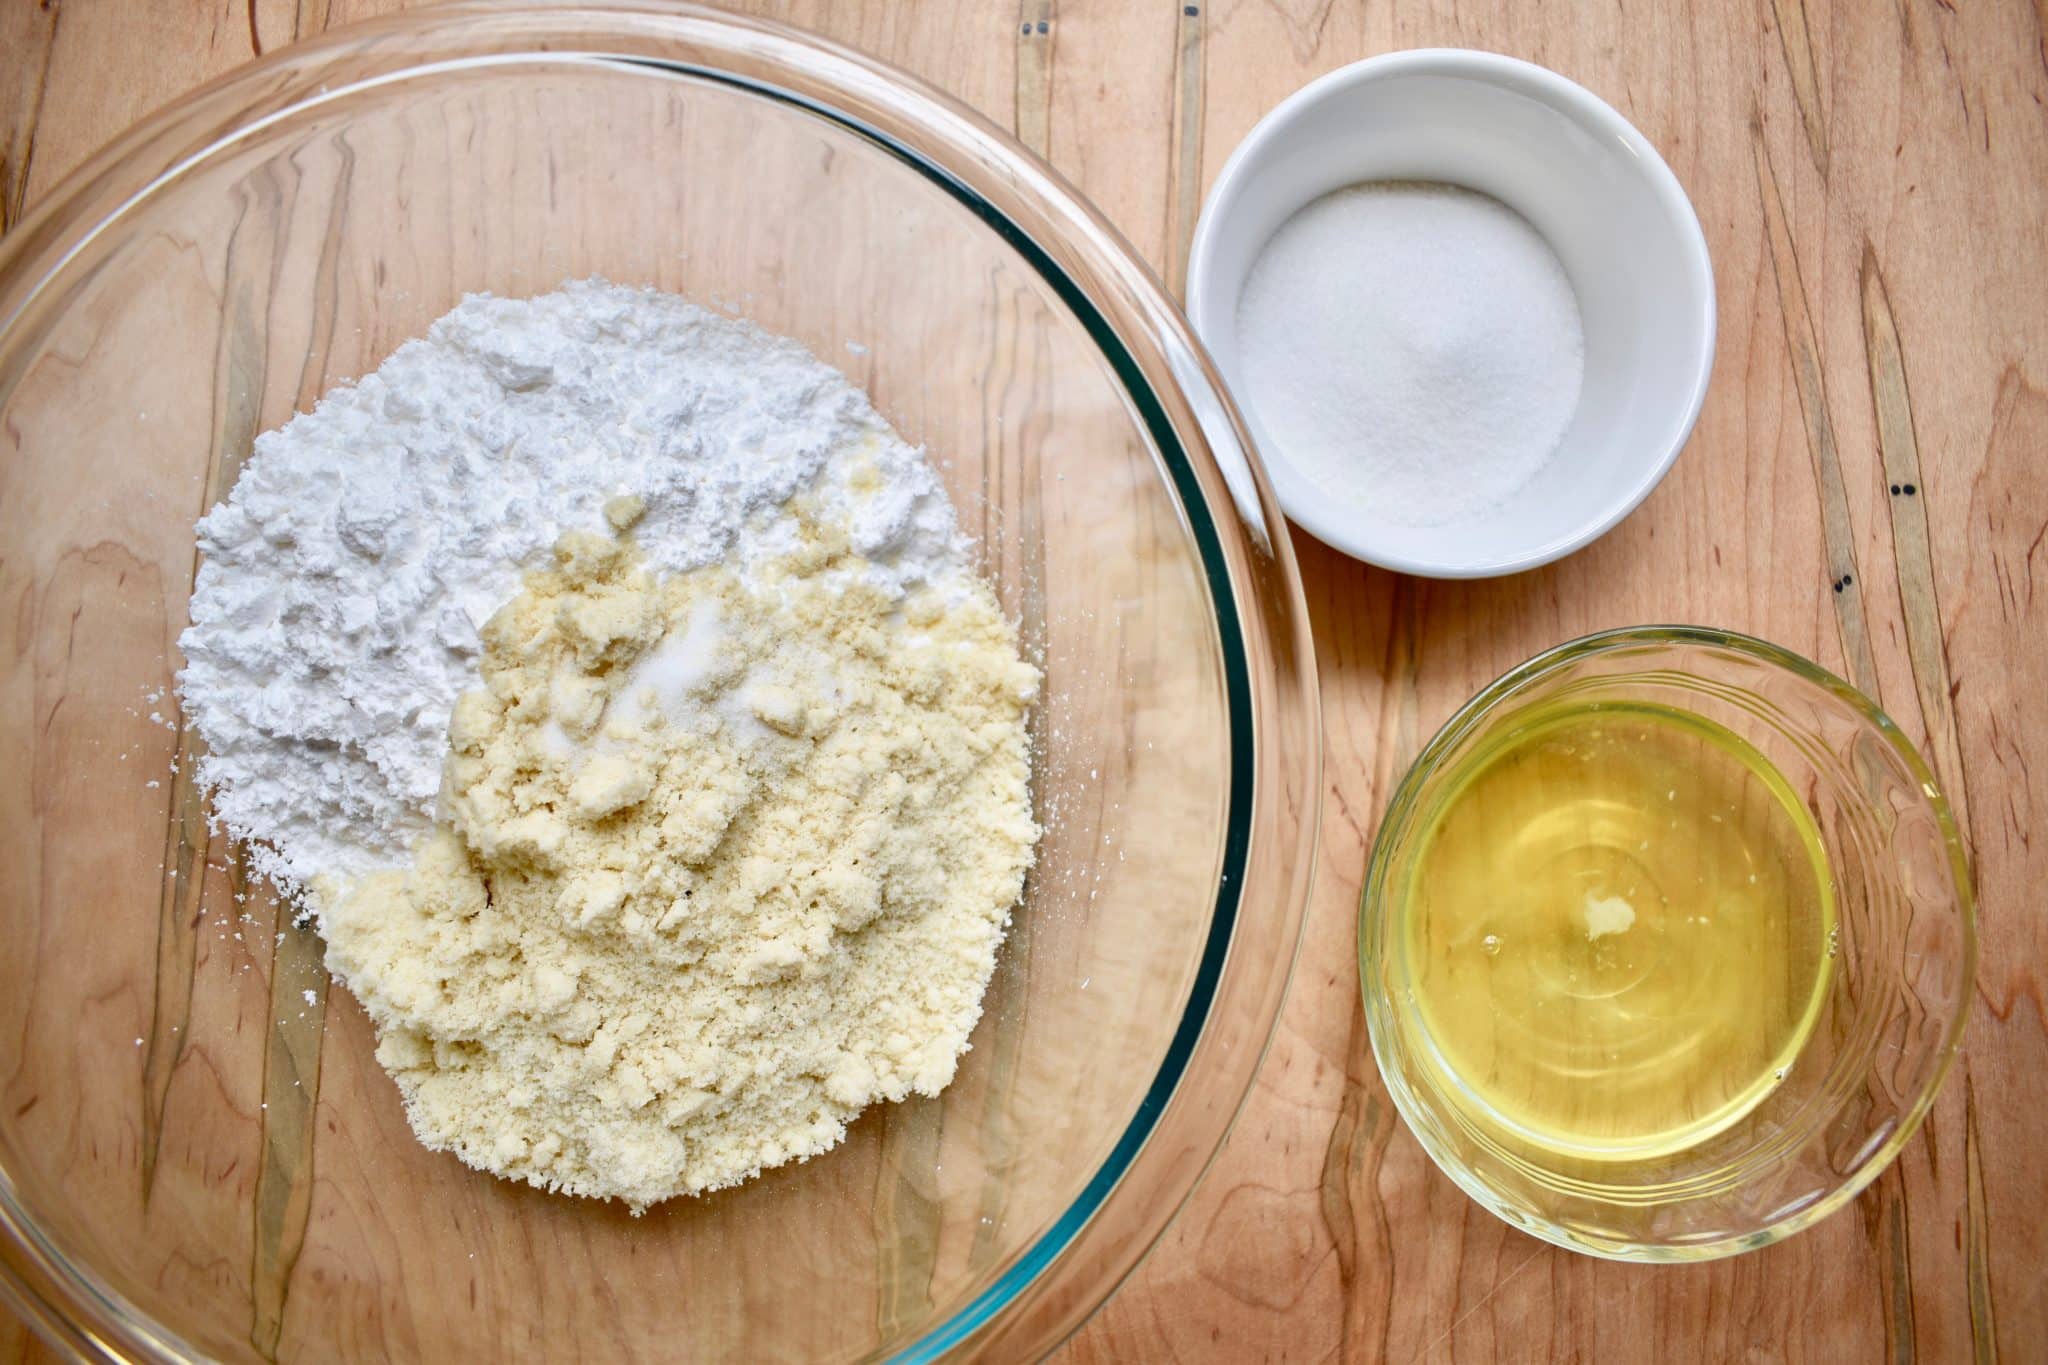
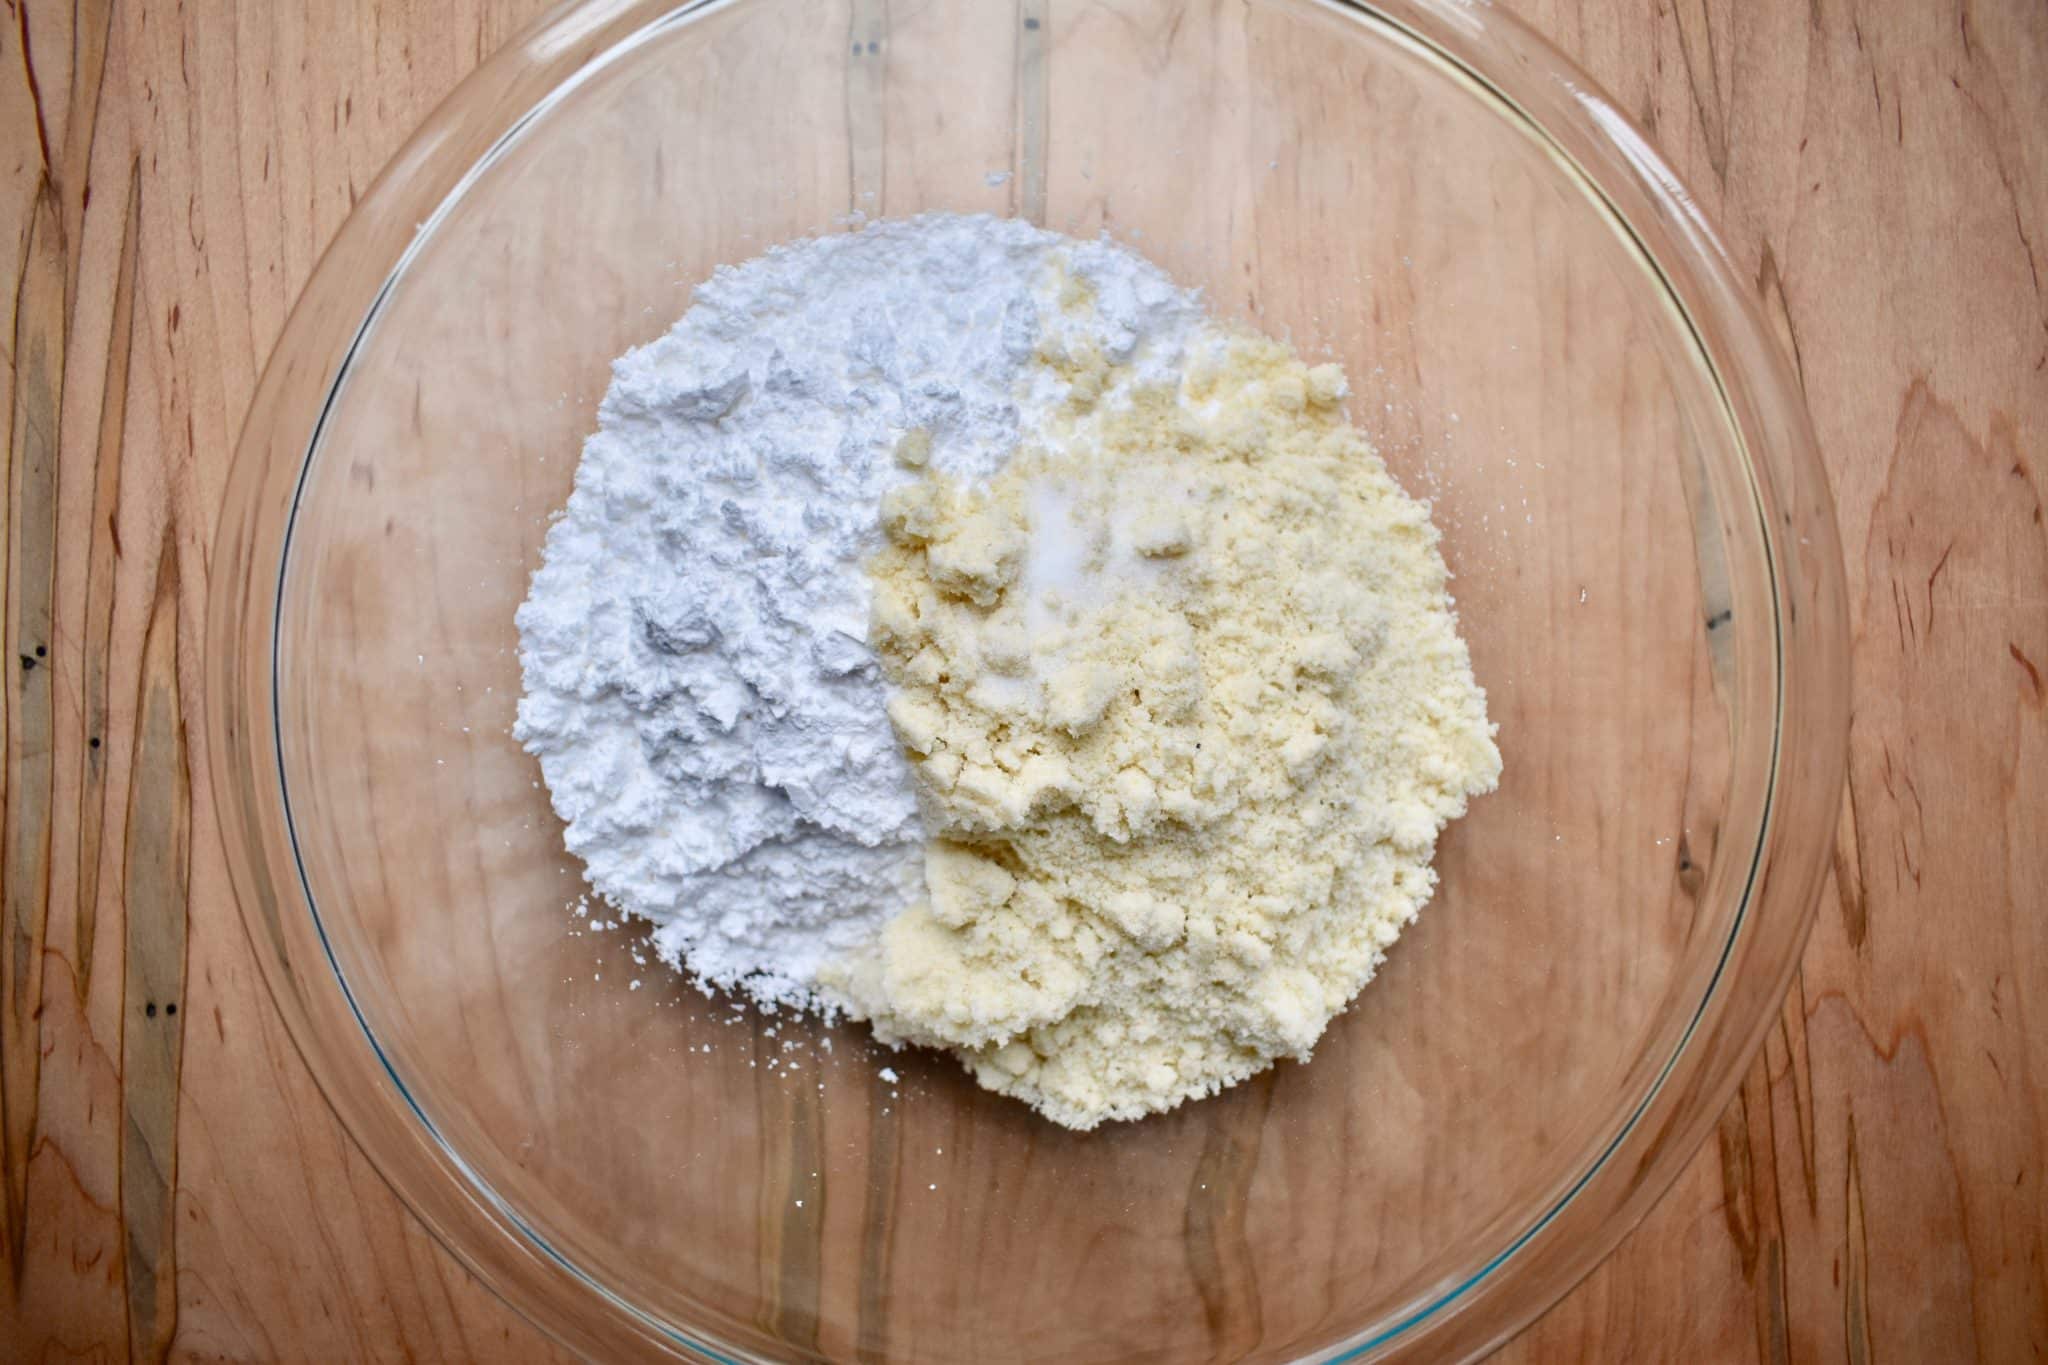
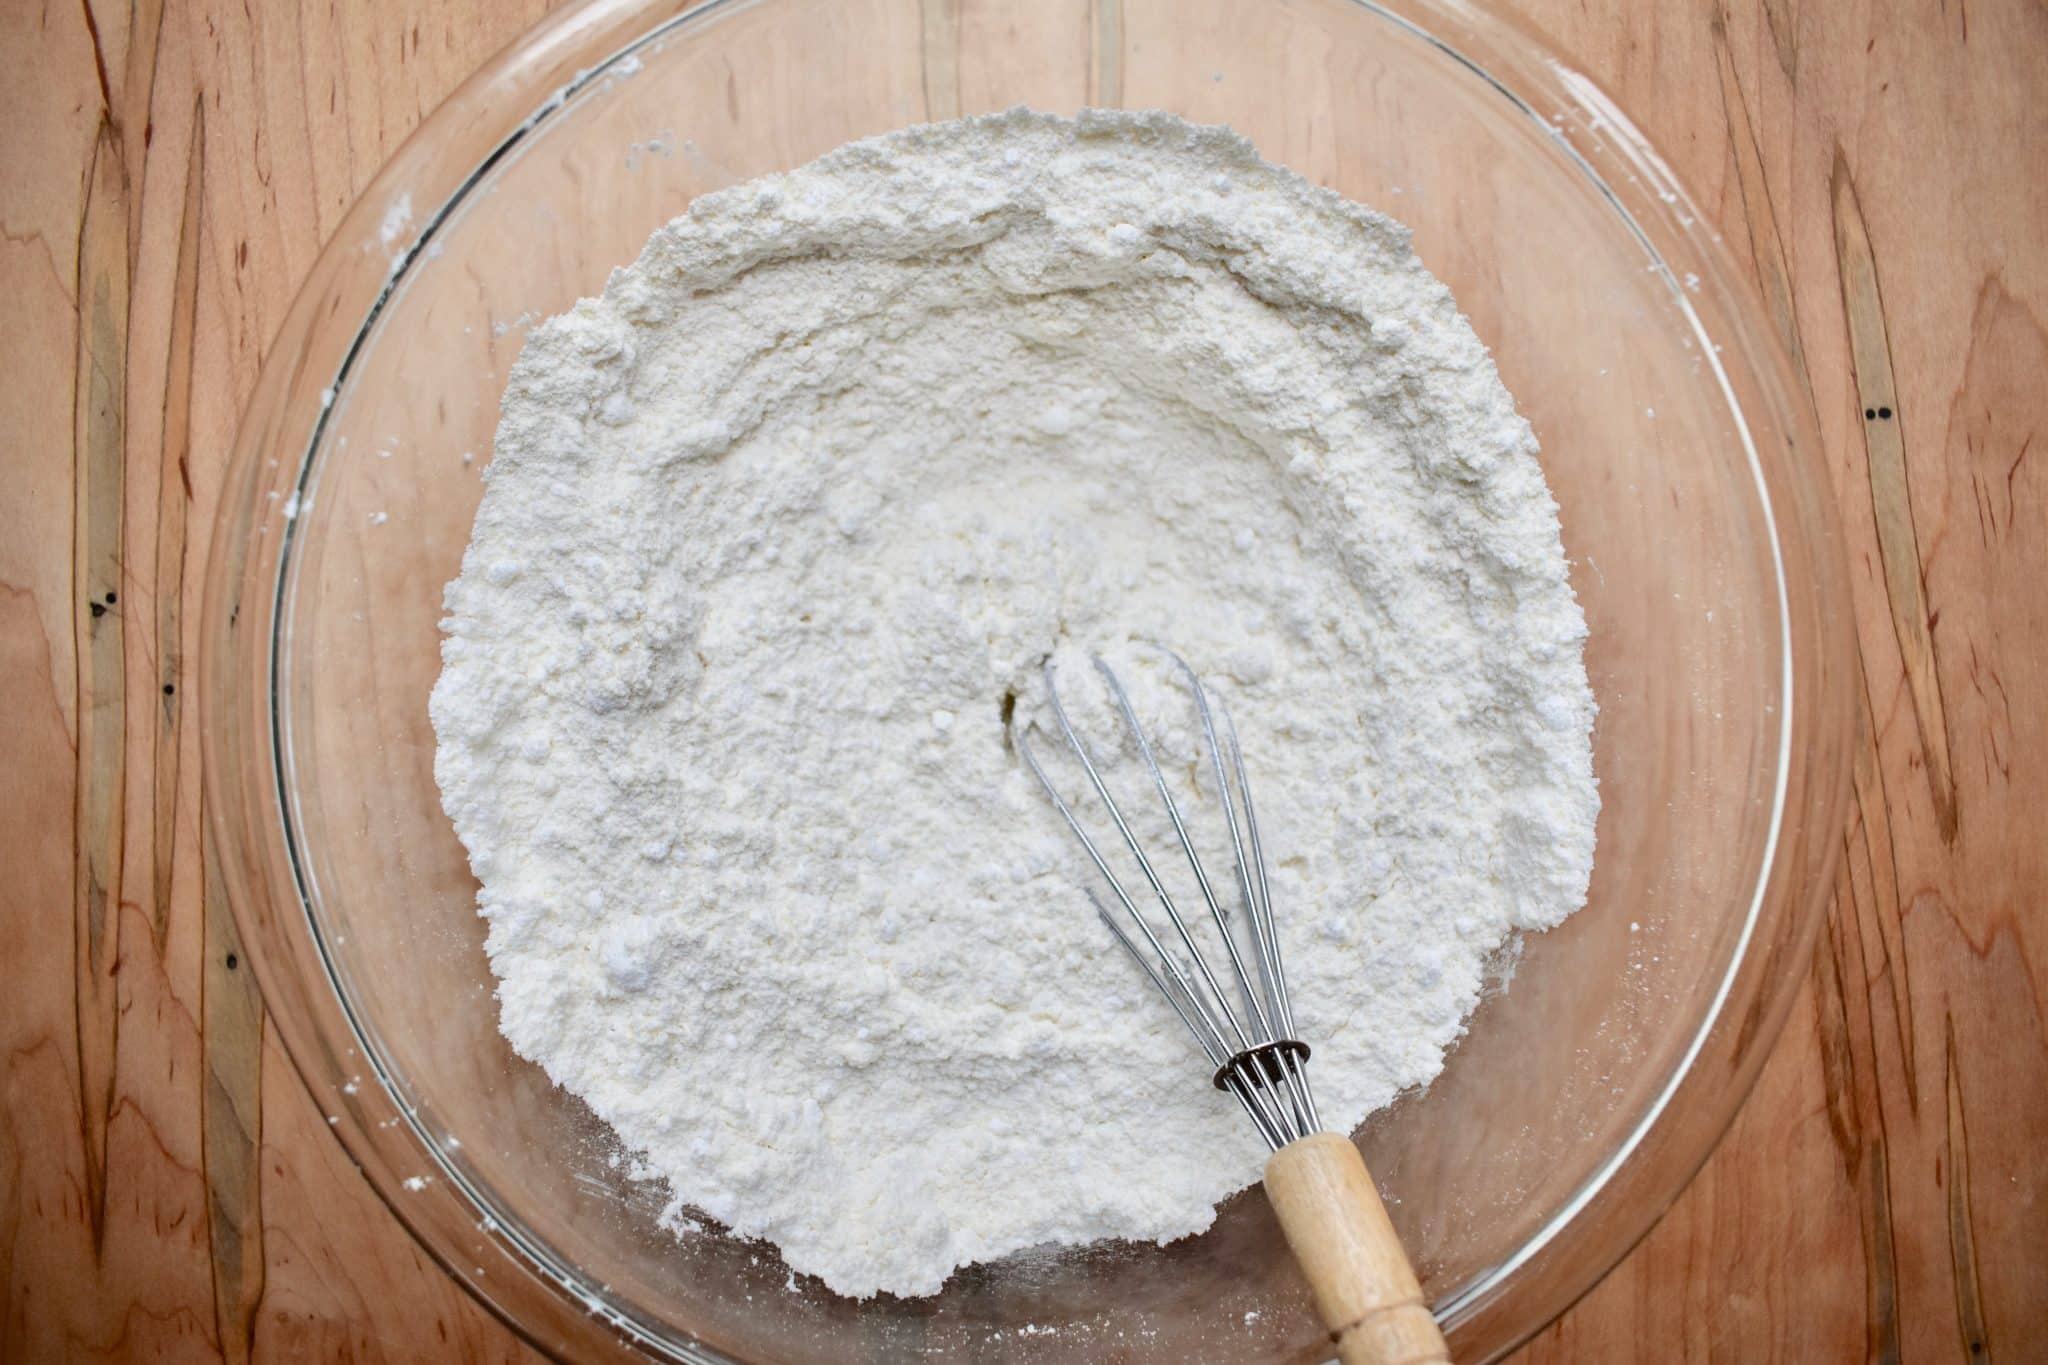
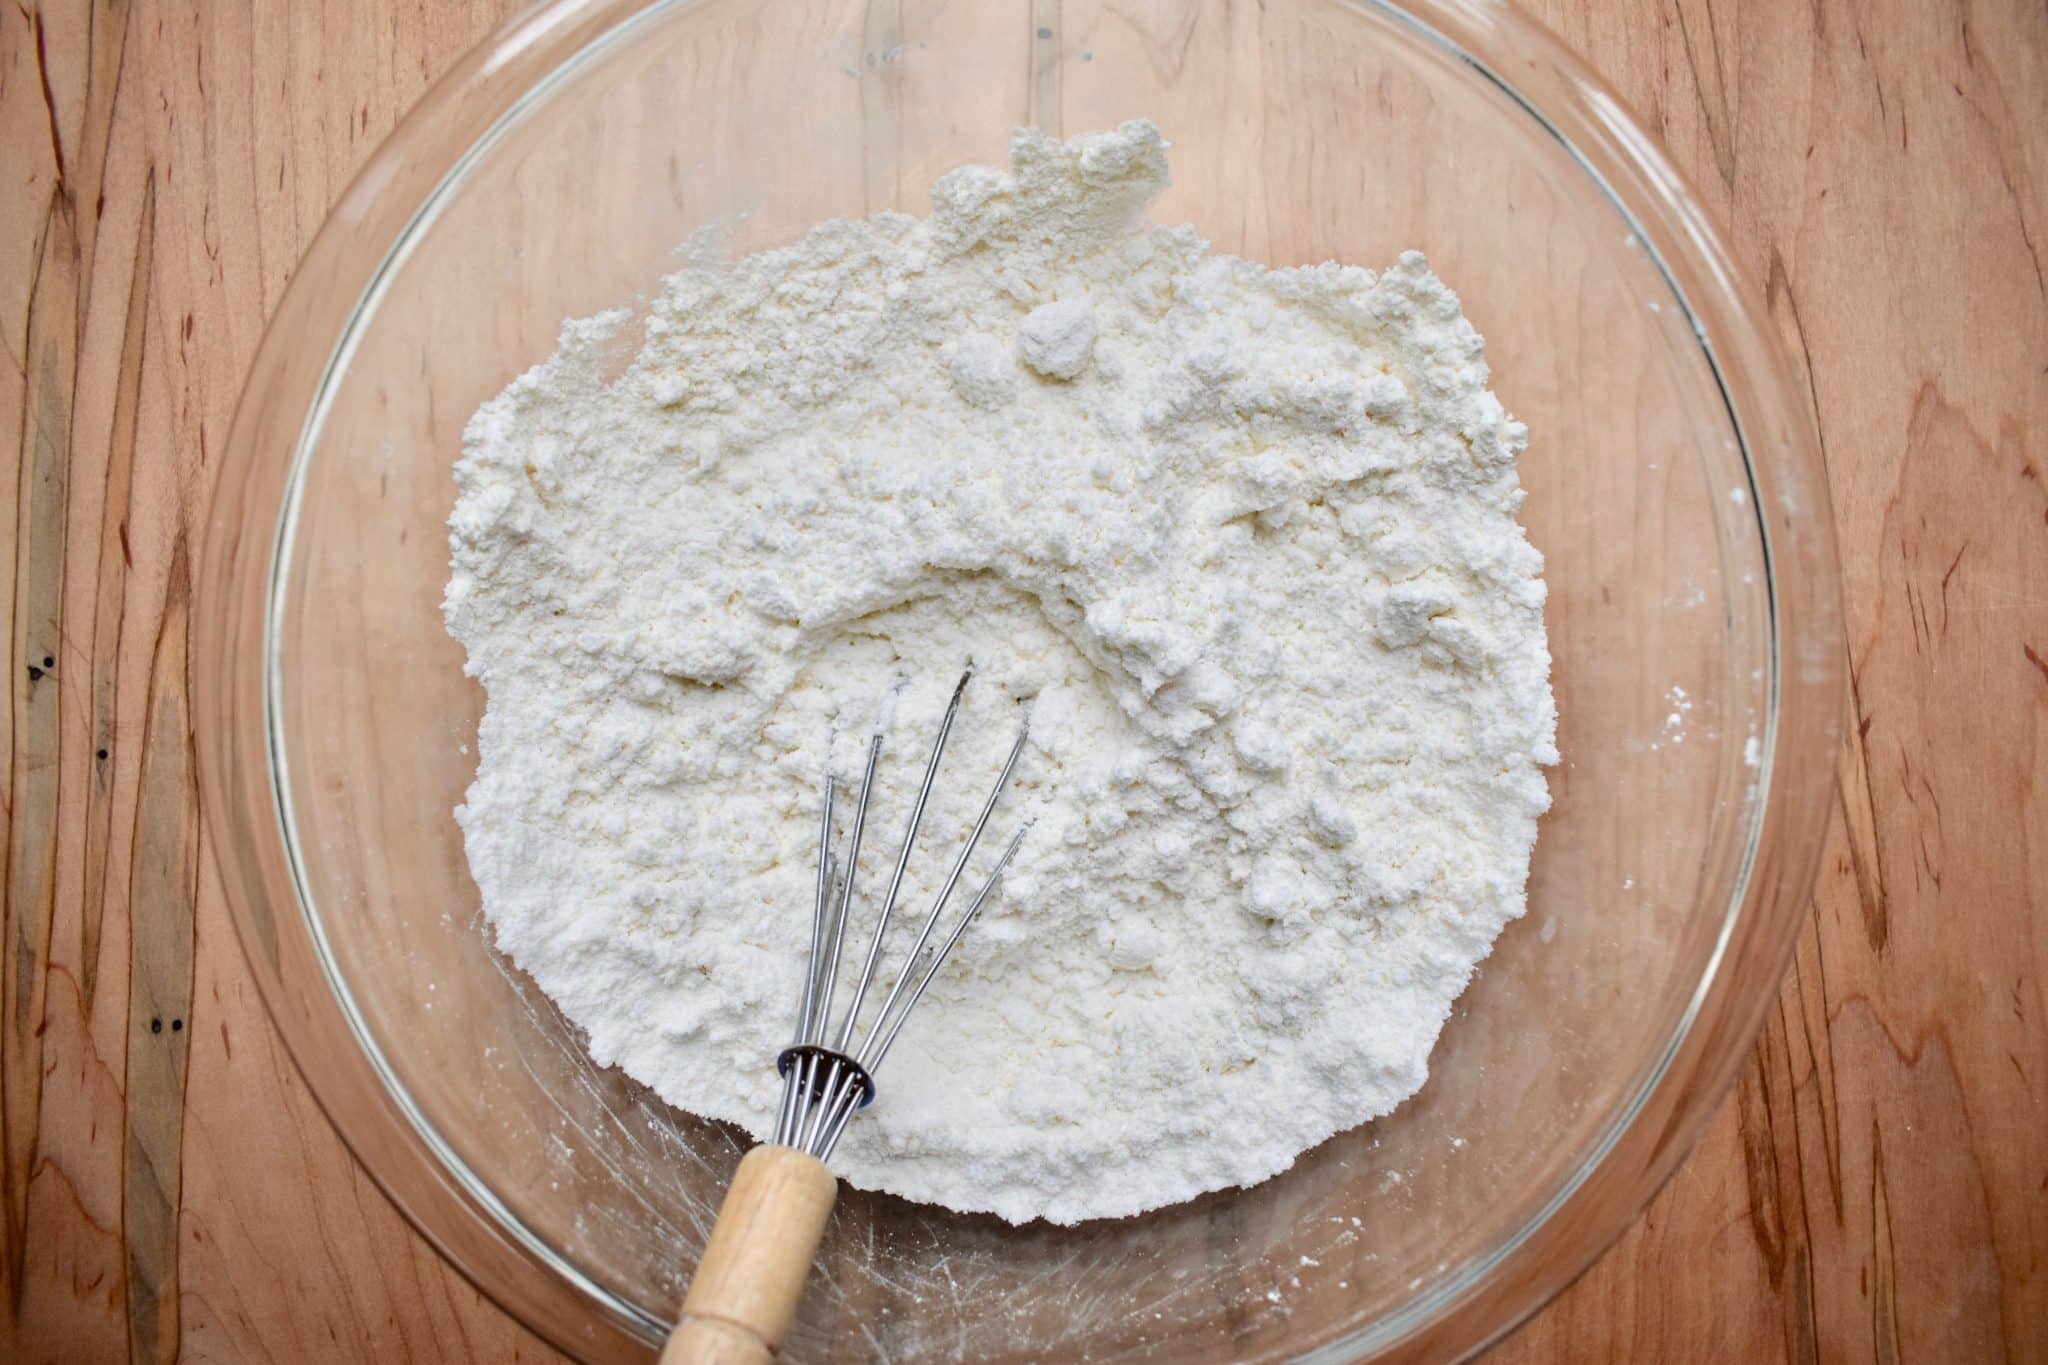
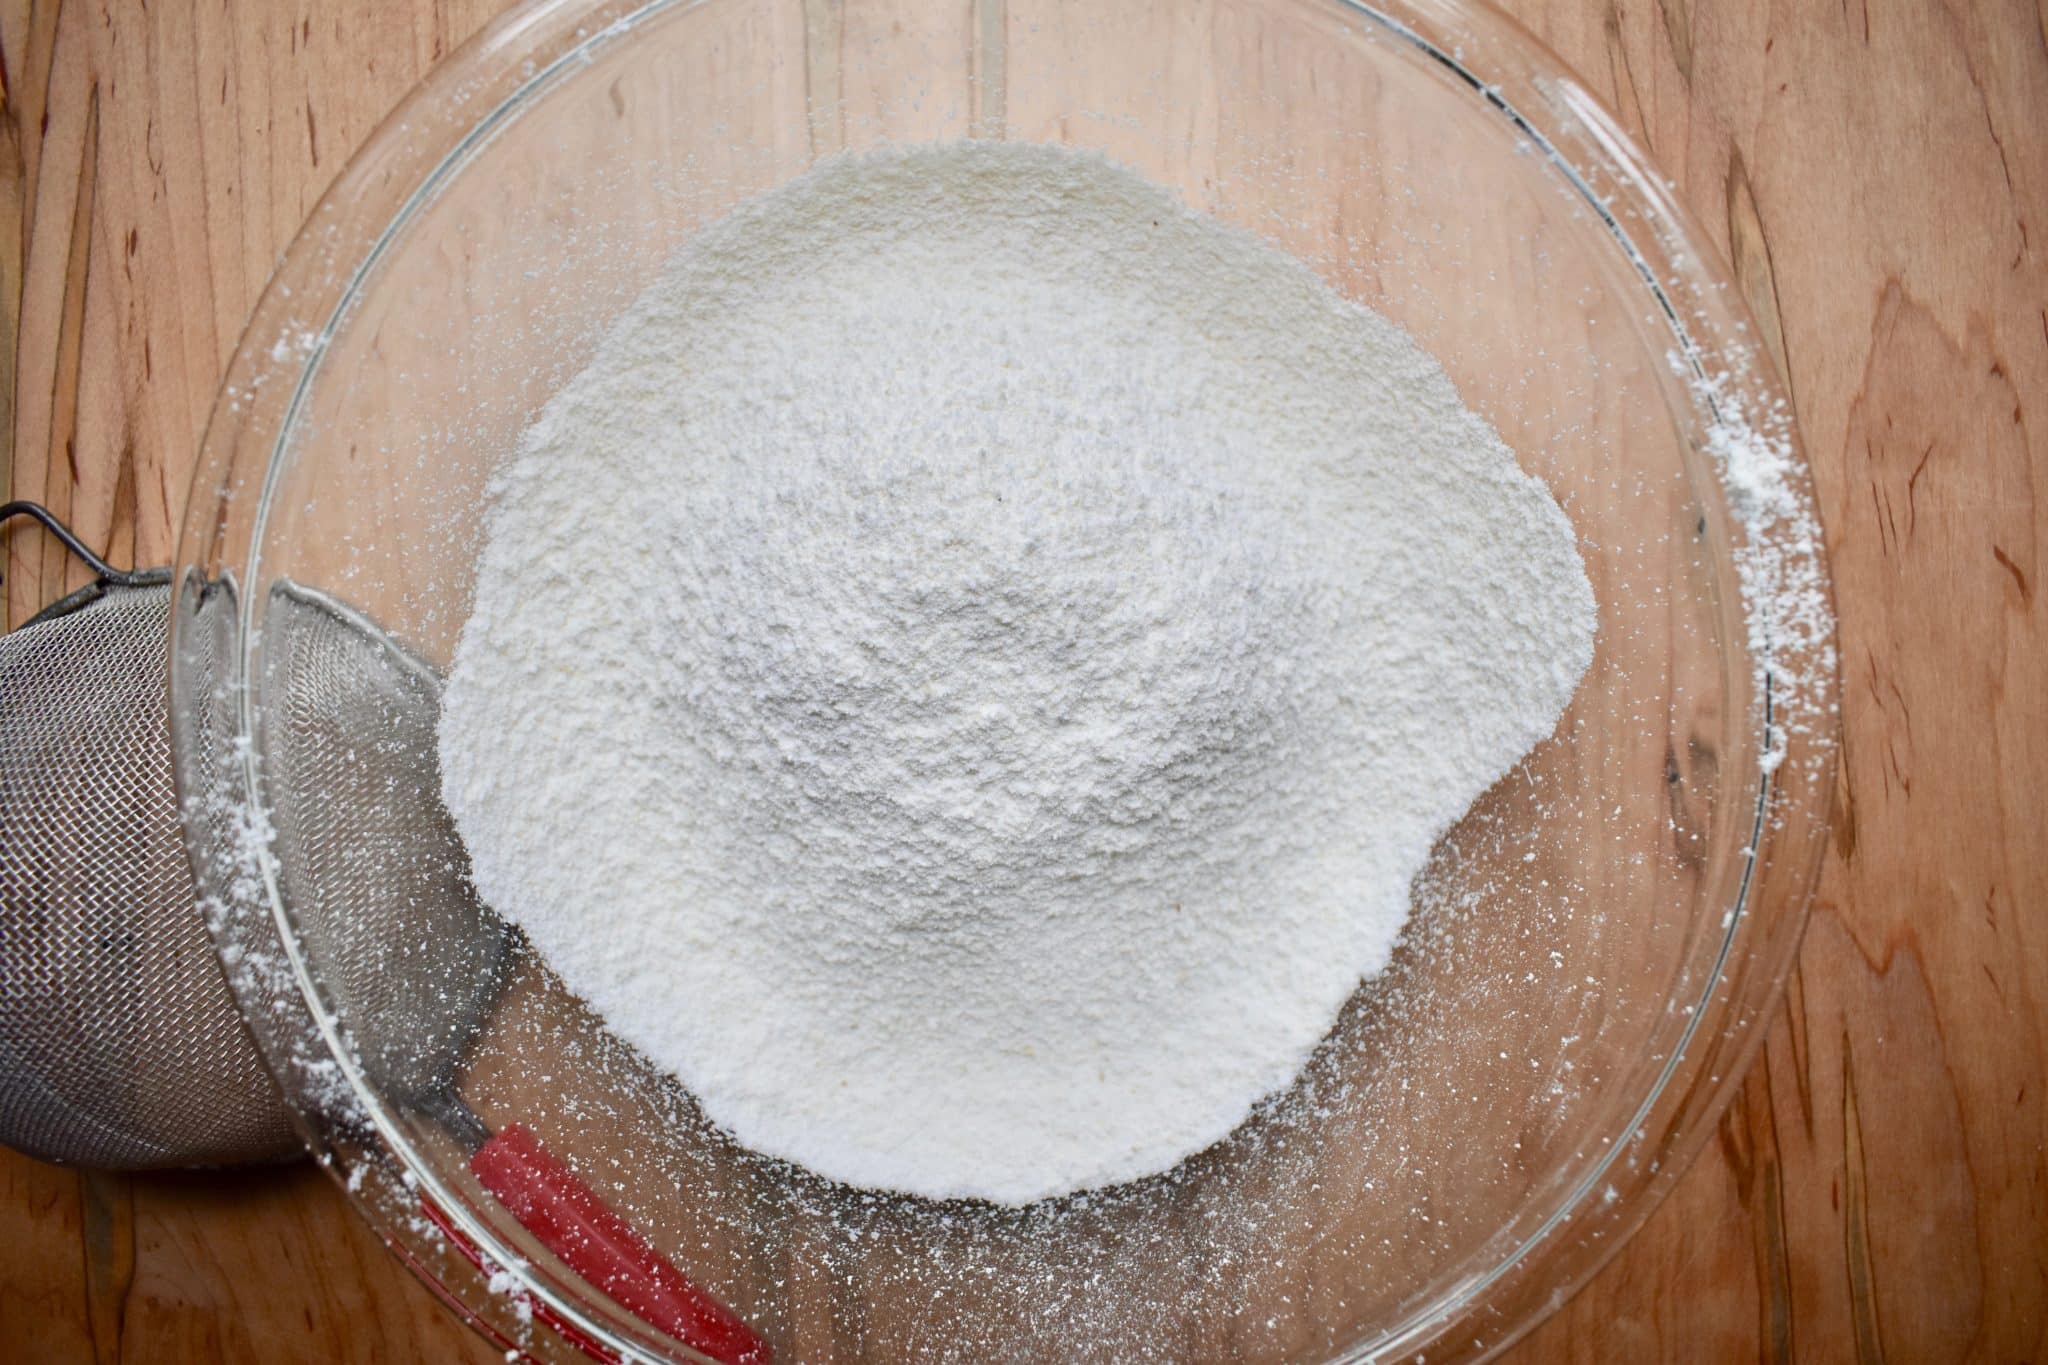
The first step to successful macarons is prepping your ingredients. Separate three egg whites from the yolks and let them come to room temperature for at least 30 minutes. Then, combine the powdered sugar, almond flour, and salt in a bowl. Whisk it all together and pour the contents into a food processor. Pulse about 10 times and then sift the mixture back into the bowl. Now, the first time I read through the recipe I wondered if these steps were truly necessary. Turns out that the finer the dry ingredients are, the smoother the top of the macaron will be!
Next up is the meringue. Begin by whipping the egg whites until they are no longer clear and start to increase in volume. Very gradually, begin adding the sugar. If you add all of the sugar at once, it could deflate the egg whites. Once all of the sugar is incorporated, and before you reach stiff peaks, add in the food coloring.
It’s best to use gel food coloring if you have it, as it will lead to a little more vibrant color after the macarons are baked. Continue beating the egg whites until they form stiff peaks when you lift the beater out of the mixture. Another fun (or somewhat risky) test is to try and flip your bowl upside down. If the peaks are stiff, you should be able to flip your bowl over without anything falling out!

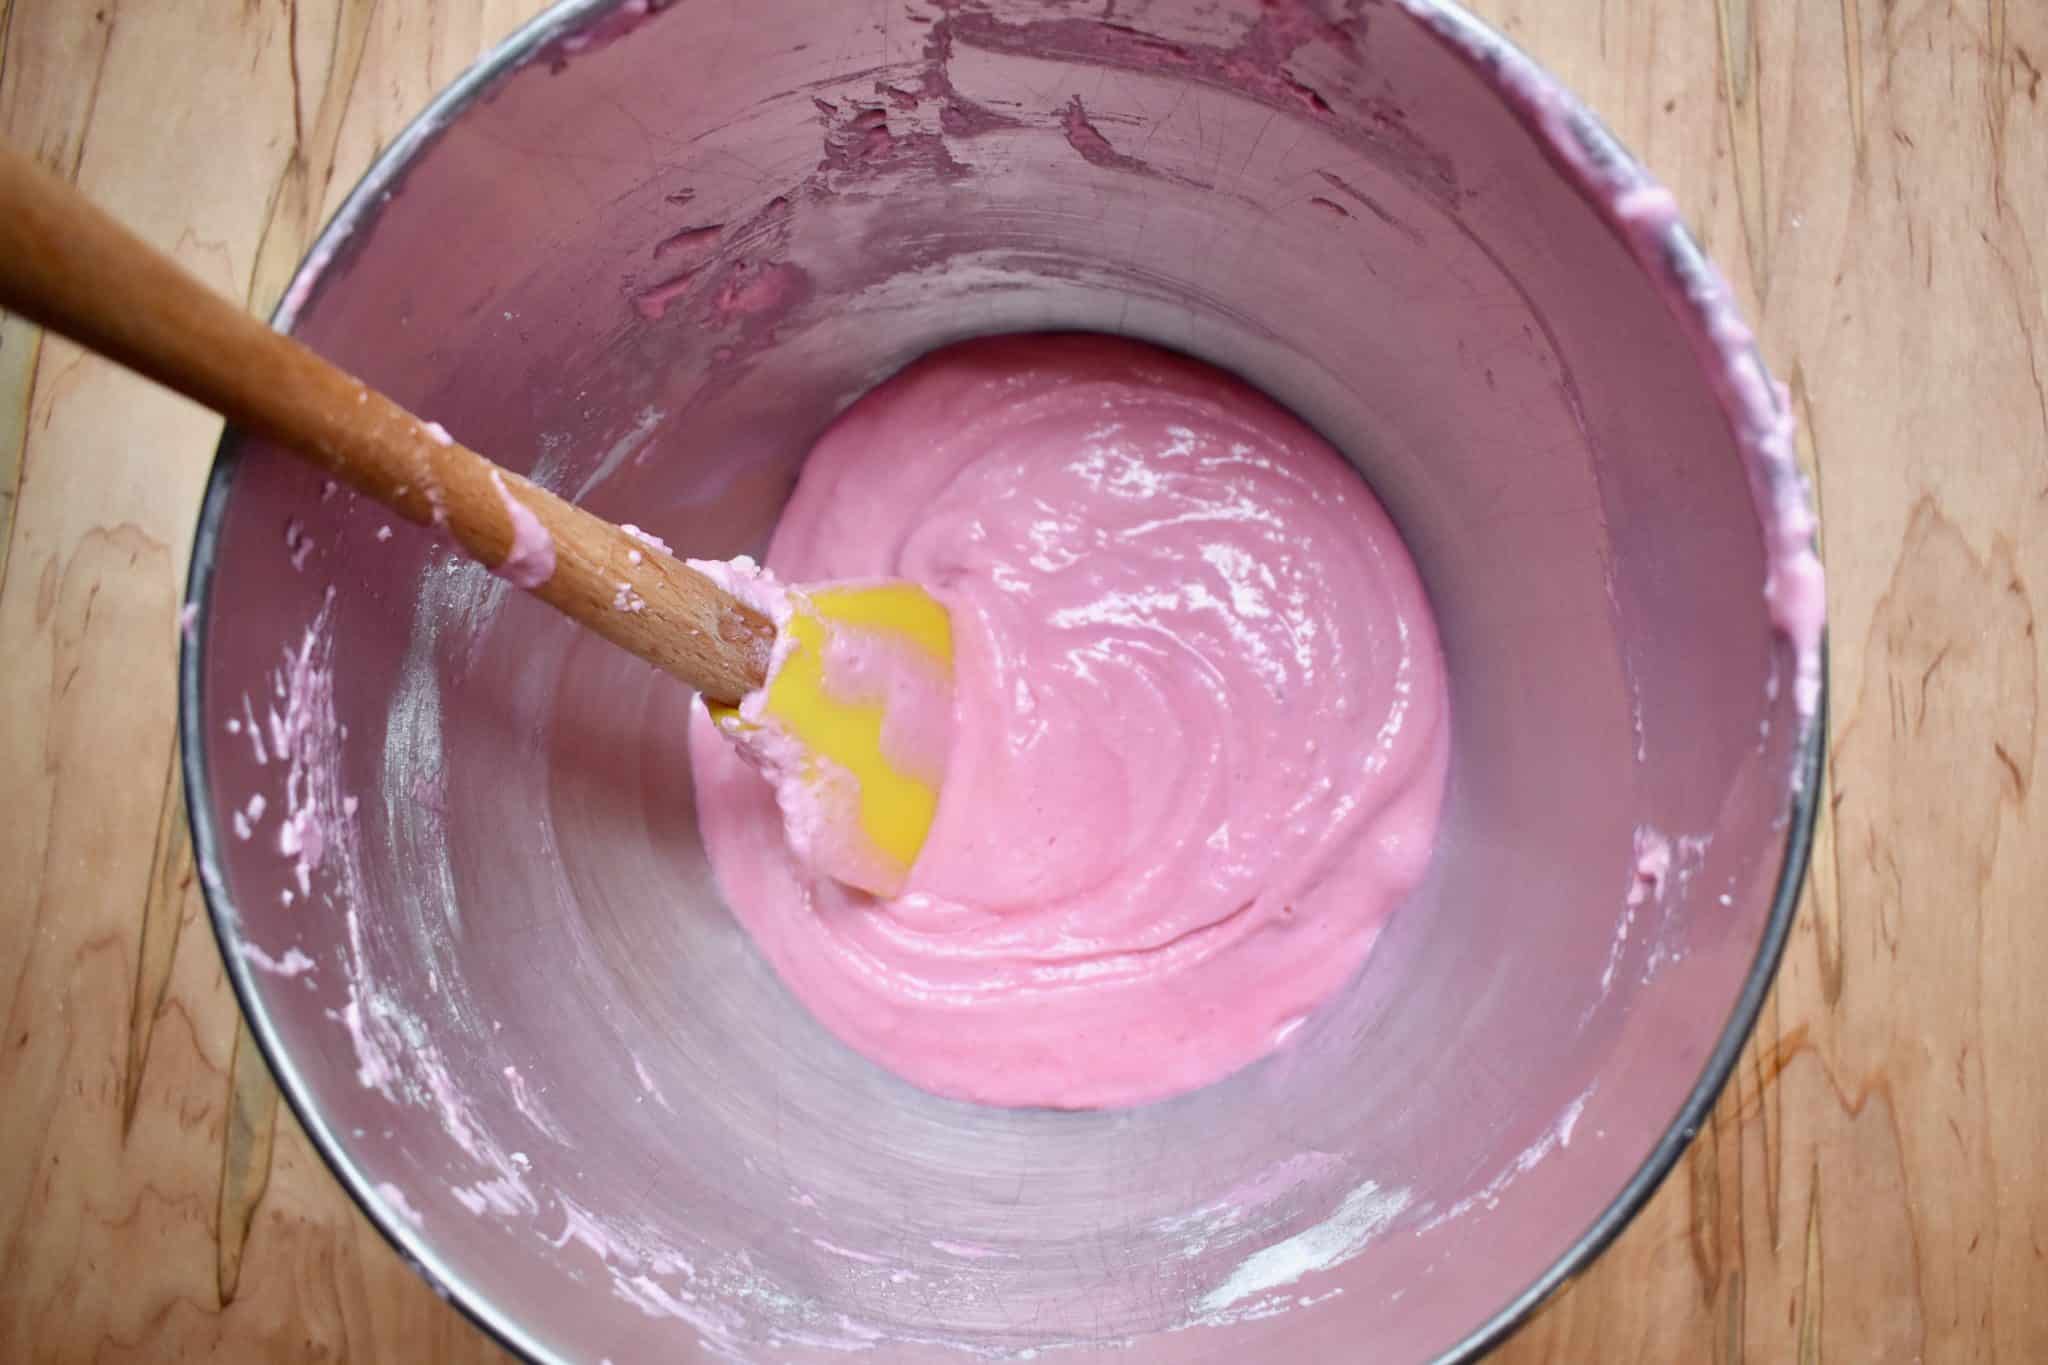
Now that we have the dry ingredients prepped and the meringue made, it is time to combine them. Start off by folding about 1/3 of the dry ingredients into the meringue. Using a spatula, stir around the edge of the bowl and then cut through the middle. Continue this motion until all of the dry ingredients are mixed in.
Then mix in the rest of the dry ingredients using the same technique. The air that we just whipped into the egg whites will get knocked out during this process and that ok. In fact, it’s what we want! You will know you are at the correct consistency when you can lift the spatula out of the mixture and form a figure 8 with the batter without any breaks. The batter should just slowly fall off the spatula forming a solid line as you move the spatula.

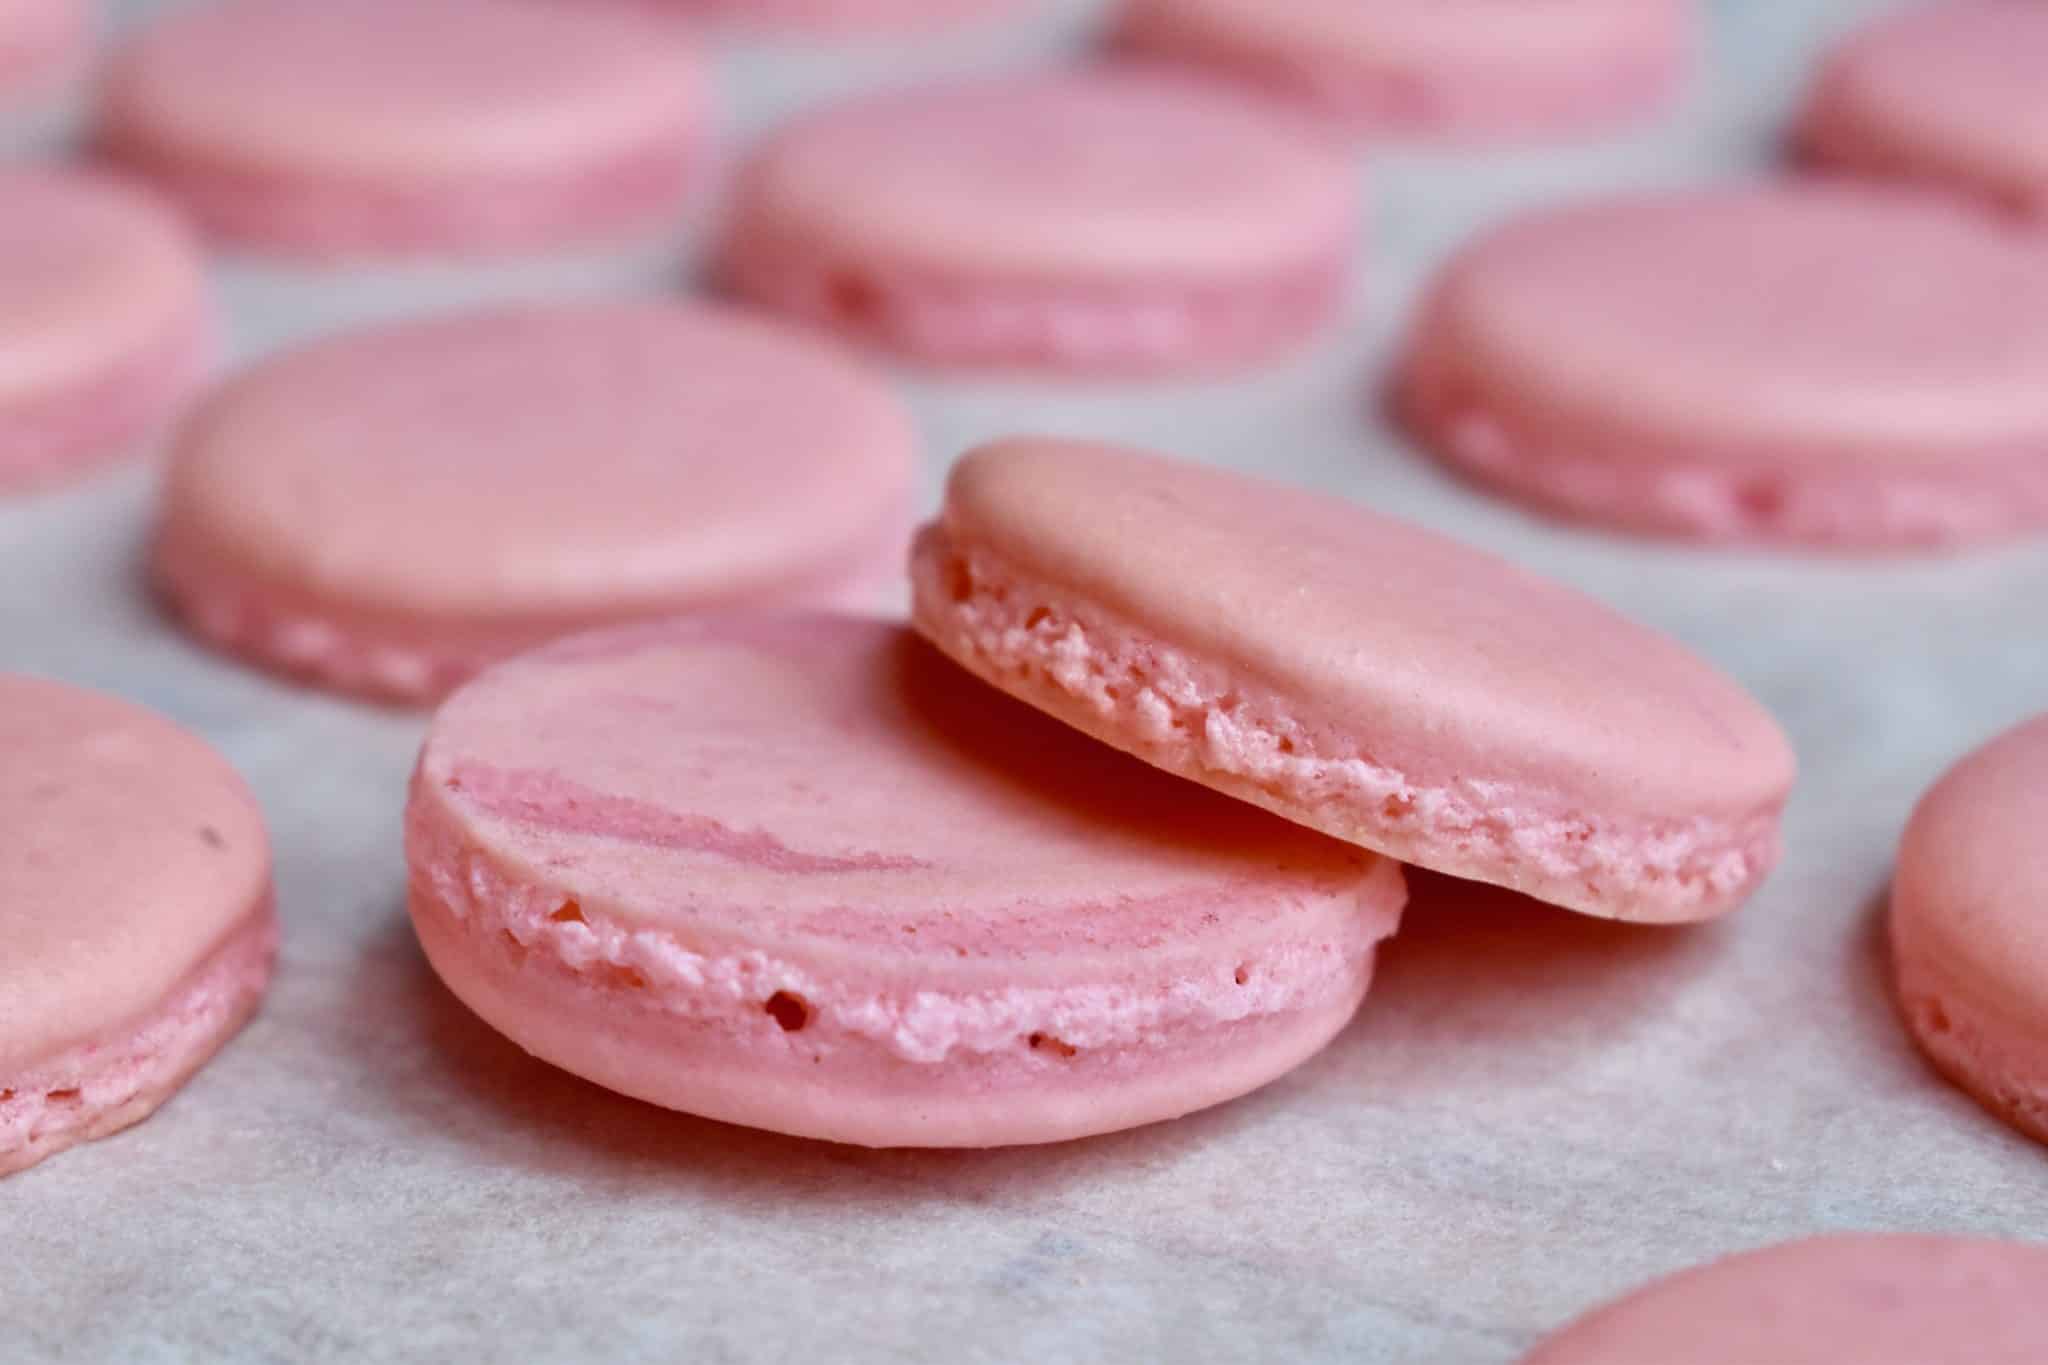
Add the batter to a piping bag fitted with a large round tip (or use a ziplock and snip a hole in the corner). Line your baking sheet with parchment paper and place a small dot of batter under each corner to hold the parchment in place. Pipe the batter into 1.5 inch circles. After piping the macarons, drop the baking sheet on the counter several times to help remove any air bubbles. I even went as far as to use a toothpick to pop any large bubbles I saw, and then gently smoothed out the surface.
Let the macarons rest for 30 minutes to an hour before baking. They will form a sort of film on top and you should be able to brush your finger across the top without indenting. All of these steps we are taking will help to ensure we have nice “feet” so that the macaron rises properly!

After the macarons rest, bake them at 300° F for 17 minutes. If the macarons seem gooey in the center and won’t lift or twist off of the parchment, stick them back in for a minute or two. Knowing when they were done was the trickiest part for me! I couldn’t get my macarons to twist off, but I finally figured out that they would lift off of the parchment fine if I gently picked it straight up. So, try both ways and see what works best for you. Once you know the macarons are baked properly, let them rest on the pan for 15 minutes and then move to a cooling rack to cool completely.
While the macarons are cooling, make the buttercream by creaming together butter, powdered sugar, coffee, and cocoa powder.
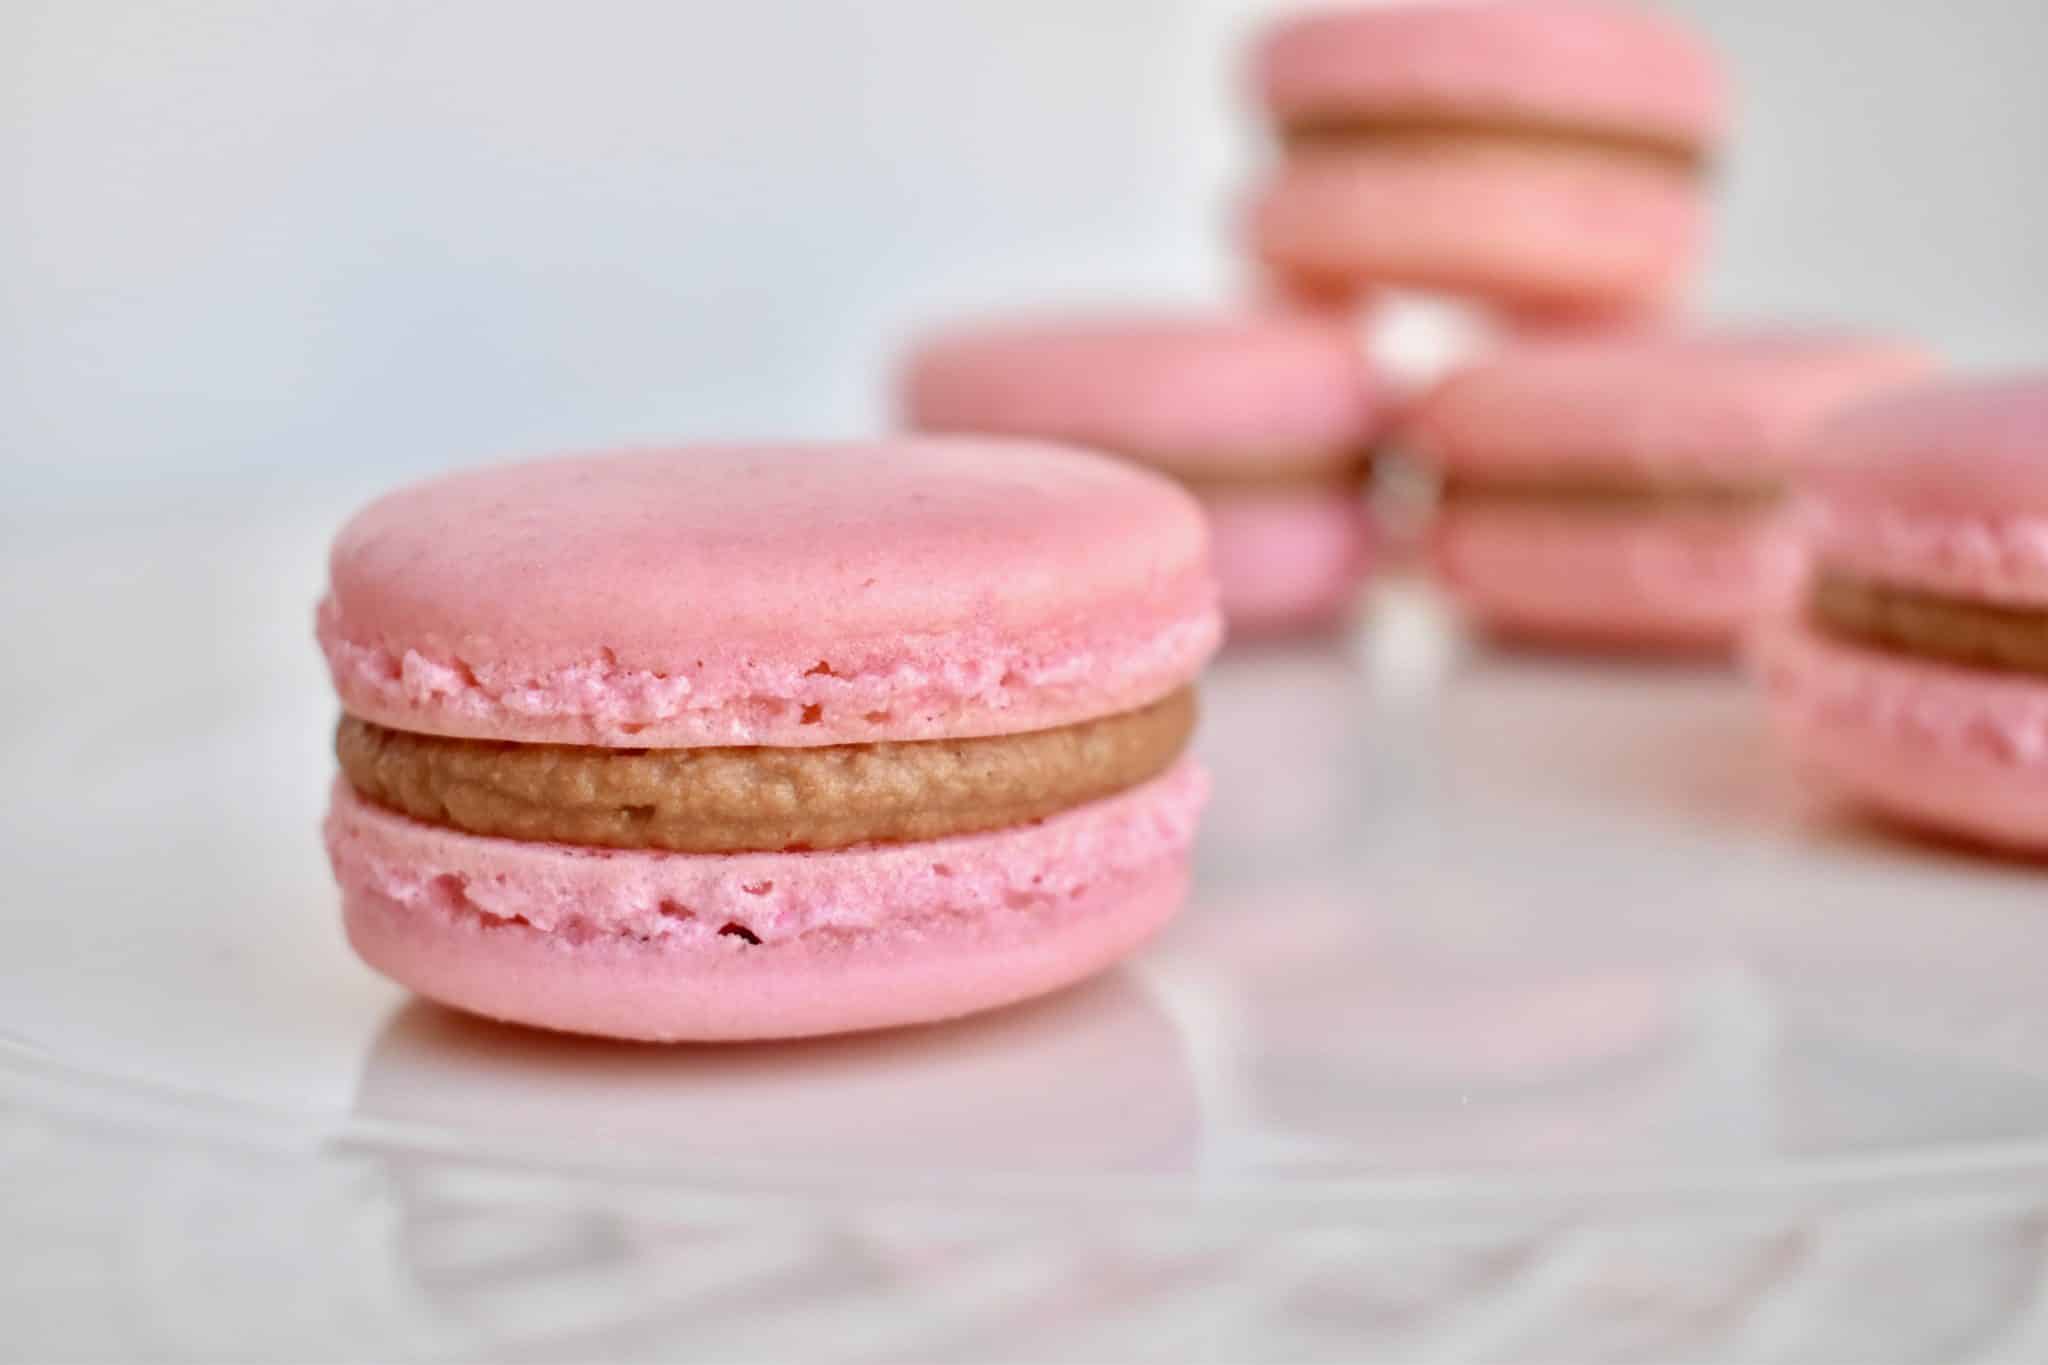
To assemble the macarons, pair off the cookie shells and then pipe a circle of filling slightly smaller than the size of the macaron on one half. Place the other half of the shell on top and press down gently.
Now, this is the really difficult part of making macarons. (At least for me!) The longer they rest in the fridge before eating, the better they are. Truly. I tried one right after assembly and it was good, but I was a little disappointed.
So, I followed the rules and let them rest overnight. They were much, much better the next day. And then I thought they were even better on the second day. So, let them rest at least 24 hours if not a little longer before enjoying. It’ll be worth the wait!
One last thing, watch this video on macarons from Tasty! This was very informative and helpful and demonstrates so many of the techniques and that I mentioned above. It’ll really give you the confidence you need to tackle these tasty treats!
I hope you enjoy this recipe and it helps you venture into something new! I know I already can’t wait to get back in the kitchen and make some more of these. 🙂
Happy baking!
Anna
Macarons

Inspired by the kitchen of Andrew and Lauren Huckey, The Little Blue Mixer brings you these delightful macarons with a simple yet decadent chocolate & coffee buttercream filling!
Source: thelittlebluemixer.wordpress.com
Course: Desserts
Cuisine: French
Prep Time: 1 hr 30 min
Cook Time: 17 min
Total Time: 1 hr 47 min
Yield: 2 dozen
Serves:
Ingredients
- Macaron Shell Ingredients
- 3 egg whites room temperature
- 2 cups powdered sugar
- 1 cup almond flour
- 1⁄4 teaspoon salt
- 1⁄4 cup sugar
- Gel food coloring
- Buttercream Ingredients
- 1⁄3 cup butter softened
- 1 3⁄4 cup powdered sugar sifted
- 1 tablespoon cocoa powder sifted
- 2 tablespoons coffee room temperature
Directions
- Separate three egg whites and let come to room temperature for at least 30 minutes.
- Whisk together powdered sugar, almond flour, and salt in a bowl.
- Add dry ingredients to food processor and pulse about 10 times.
- Sift the mixture back into the bowl.
- In a separate bowl, whip the egg whites until they are no longer clear and start to increase in volume. Gradually mix in the sugar. Once sugar is incorporated, and before you reach stiff peaks, add in the food coloring. Continue beating the egg whites until they form stiff peaks.
- Using a spatula, fold and cut 1/3 of the dry ingredients into the egg whites until combined. Add the remaining dry ingredients and fold in. You’ve reached the correct consistency when you can lift the spatula out of the mixture and form a figure 8 with the batter without any breaks. The batter should slowly fall off the spatula forming a solid line as you move the spatula.
- Add batter to a piping bag with a large round tip. Pipe a small dot of batter in each corner of the baking sheet and then line with parchment paper.
- Pipe the batter into 1.5 inch circles. Drop the baking sheet on the counter several times to remove as many air bubbles as possible.
- Let the macarons rest for 30 minutes to an hour. They will form a film on top and you should be able to brush your finger across the top without indenting.
- Bake at 300 degrees for 17 minutes. If they are gooey in the center and won’t lift or twist off the parchment, bake for a minute or two more. Let rest on the pan for 15 minutes and then move to a cooling rack to cool completely.
- For the buttercream, cream together butter, powdered sugar, coffee, and cocoa powder.
- To assemble, pair cookie shells and pipe a circle of filling slightly smaller than the size of the macaron on one half. Place the other half of the shell on top and gently press together.
- Allow the assembled macarons to rest in the refrigerator for at least 24 hours.
- Enjoy!
Powered by![]()