Blog /

Recently we wanted to make ice cream at home, the kind we could all partake in. But we don’t have an ice cream maker and I’m not even sure if our solar panels could run one if we did. I’d heard that you could make ice cream simply with ice, ziploc bags, and salt so I thought we’d give it a go. I’m so glad we did.
I love projects like this where yummy food meets great project for the kiddos. It got us talking about heat transfer and freezing points and other “extras” I could add to our homeschooling day. But more importantly, ice cream… that we can all eat!
Here’s how we made it (and how to find more real food and allergy-free recipes like it).
Coconut milk ice cream is rich and delicious and most importantly dairy-free for those who need it. I’m always looking for great ideas for allergy-free cooking, so this resource packed with real food allergy-free cookbooks, meal budgeting and planning, and ecourses running the healthy living gamete is right up my alley.
Now, onto the ice cream!
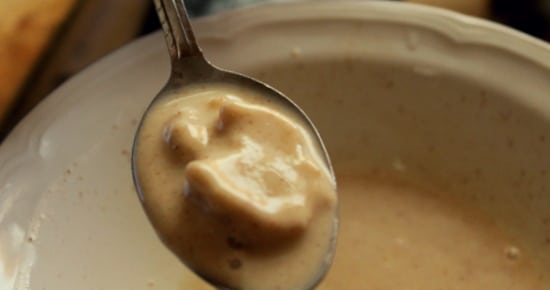
Cinnamon Coconut Milk Ice Cream in a Bag

Course: Desserts
Serves:
Ingredients
- 1 Gallon-size ziploc bag
- 1 quart-size ziploc bag
- 1 large bowl of ice cubes
- 1 cup rock salt (or ice cream salt)
- 2 cans coconut milk room temperature full-fat
- 1⁄4 cup raw honey (more for a sweeter ice cream)
- 3 egg yolks from pastured eggs
- 2 teaspoons cinnamon ground
Directions
- Whisk the honey, egg yolks, and cinnamon together in a medium mixing bowl until they are completely combined. Whisk in the coconut milk until the mixture is as homogenous as it can be. (Some cinnamon might float to the top, but it will get mixed into the ice cream as it is “churned”.)
- Pour half of the ice cream mixture into a quart-sized bag. Remove as much air from the bag as you can and seal it carefully.
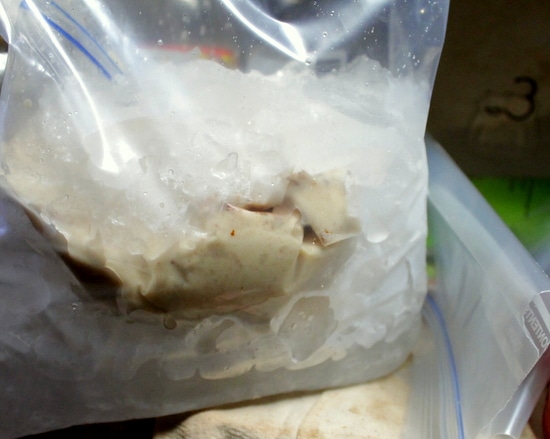
- Fill the gallon-sized bag 1/3 full of ice. Sprinkle over 1/4 cup of salt and mix that together. Place the quart bag of ice cream custard into the ice-filled ziploc. Cover with the same amount of ice you filled the bottom with and sprinkle in 1/4 cup more of the salt. Seal the gallon ziploc, squeezing out most of the air.
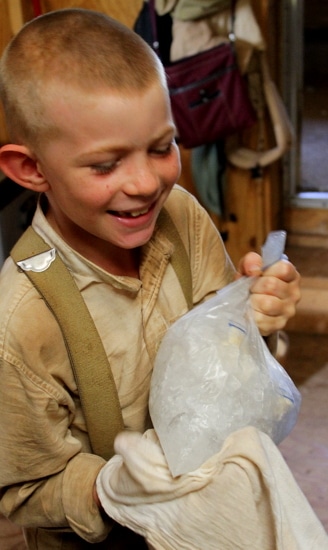
- Wrap the ziploc in a towel, or place the towel in you or your child’s hand and place the ice cream bag on top. Now agitate the bag constantly for 8-10 minutes. We did this by shaking it around while holding the top since our gallon ziploc seal didn’t hold. The children jumped up and down, danced around, and passed it back and forth when they got tired.
- After eight minutes start checking the ice cream mixture for hardness. It should start to solidify and freeze. It never reached rock hard status, but it should be a good firm soft serve. Continue shaking as necessary to achieve this.
- Serve immediately or store in the freezer for later. Repeat with the rest of the custard mixture and a second quart-sized ziploc bag. We were able to reuse the ice-salt-gallon ziploc but did need to add a bit more ice to it to achieve a freeze on the second round.
Powered by
![]()