Blog /

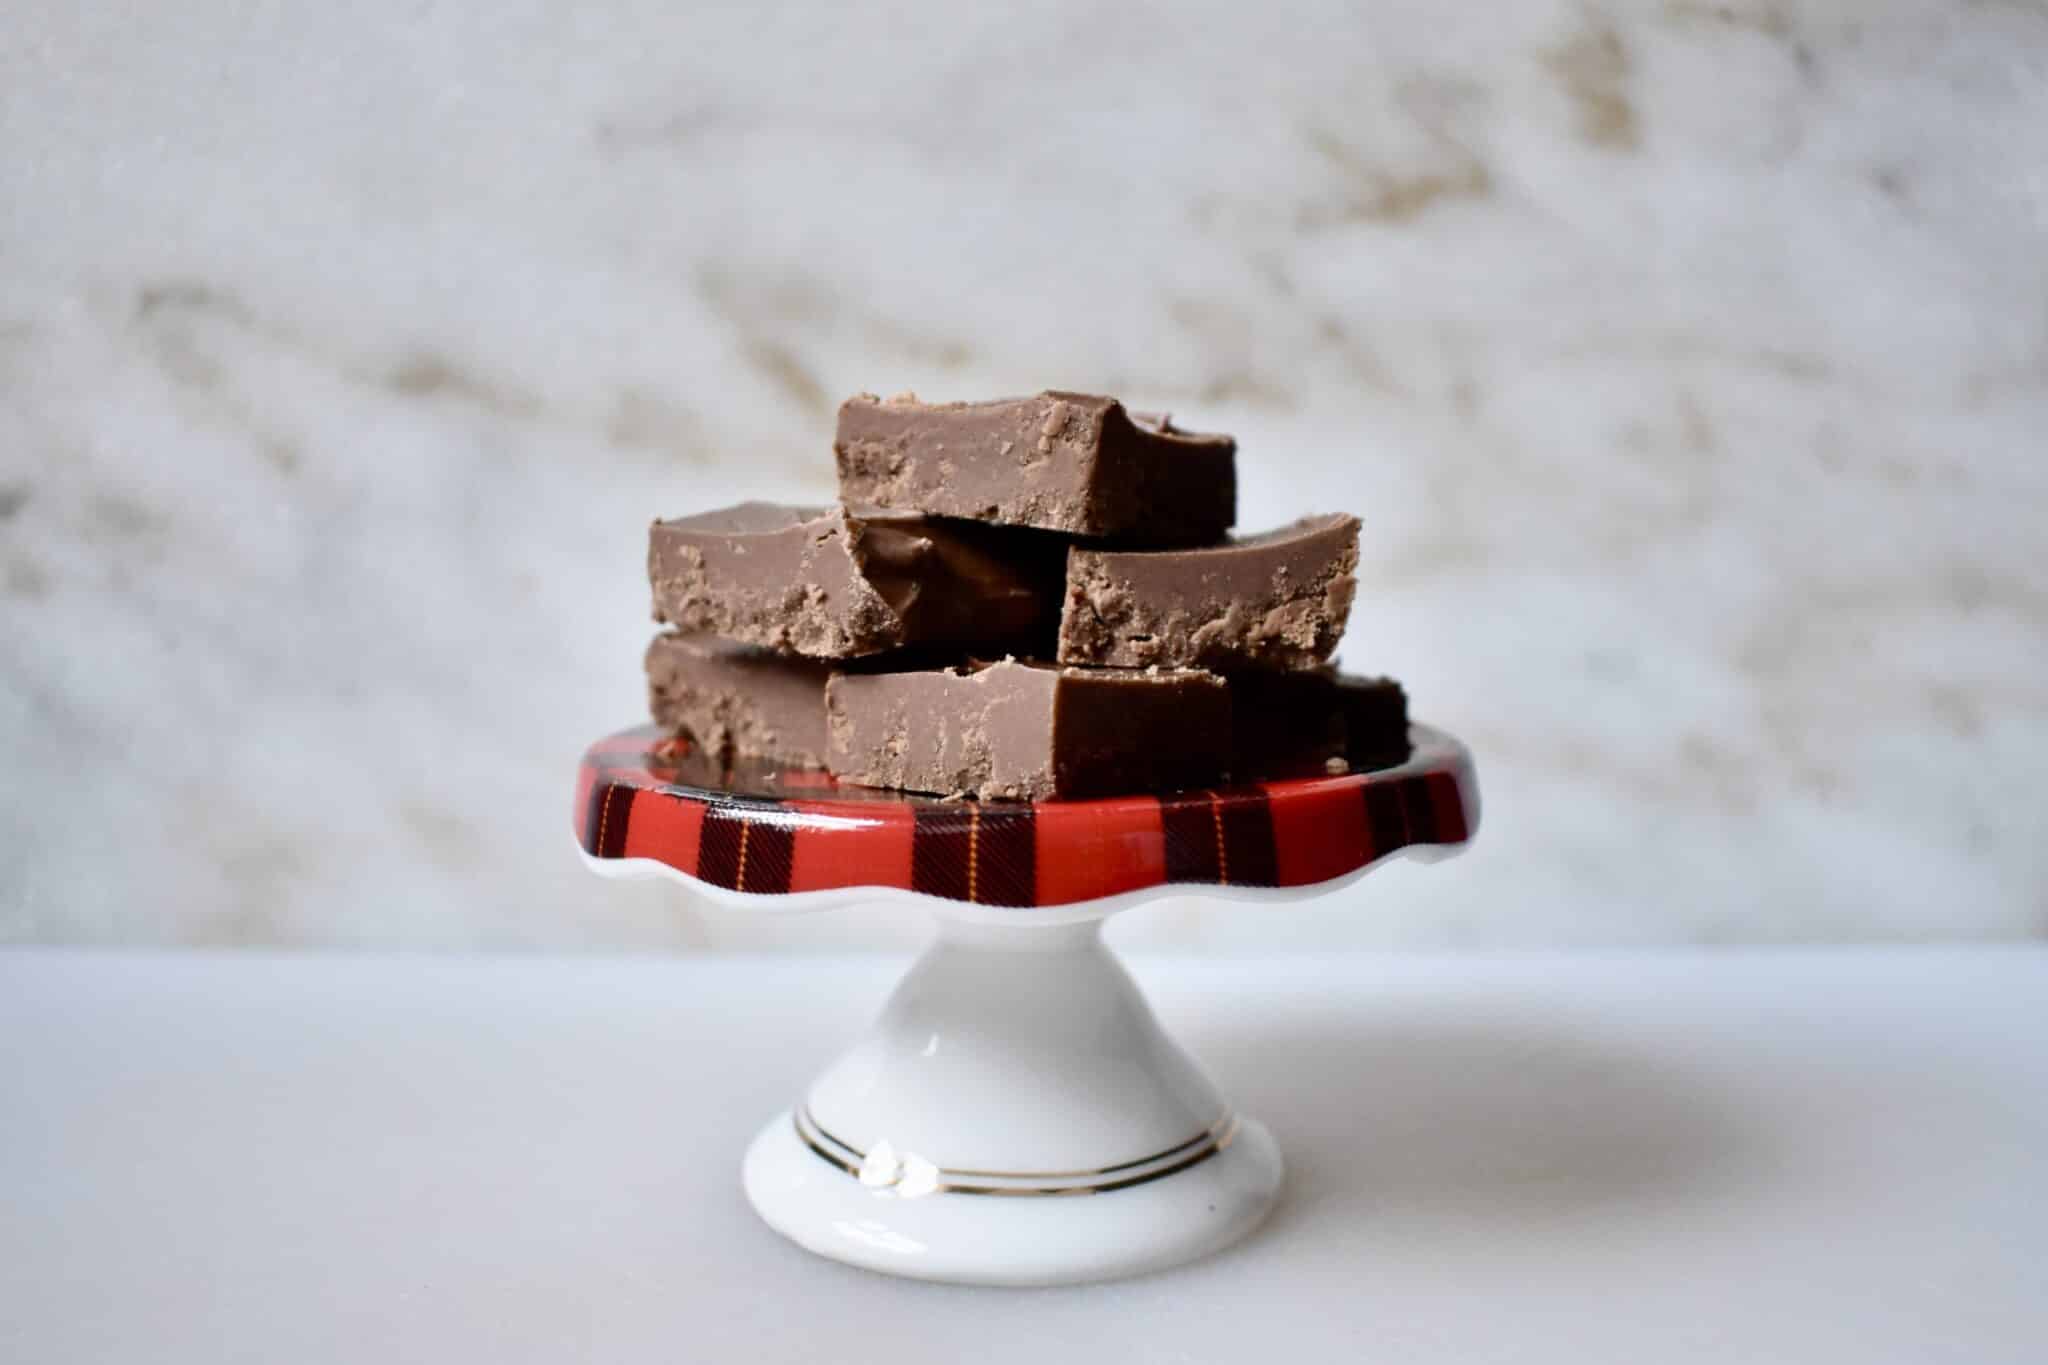
Fudge. I don’t know if it’s the perfect smooth texture, the richly chocolate flavor, the way it melts in your mouth, or all of the Christmas memories tied up with it, but it’s pretty hard to not come back for more once you’ve had a taste of this nostalgic treat. Growing up, we certainly enjoyed fudge around the holidays, but it wasn’t until I married into my husband’s family that I was spoiled with this particular recipe. This is my grandmother-in-love’s tried and true, old timey fudge recipe and you would be remiss to not give it a try. It may take you a batch (or four) to get it just right, but once you figure this out you’ll be hooked!
To be completely upfront, fudge can be a little finicky to make. Granny Fran will tell you that even the humidity on a particular day will affect how it turns out. (And humidity is a very real thing in the deep south where she lives.) It took me four tries and numerous errors to finally get that perfect batch. So, I am going to share what I have learned with you, and I’ll also encourage you to not give up! Try again and again. Because when you do get to that perfect batch the reward will be so sweet. (quite literally!)
Before beginning, prepare a small pan (around 8×8) by either greasing or lining with wax paper. You will pour the finished fudge in this at the very end. For cooking the fudge, choose a heavy bottomed pan that heats evenly. Make sure you have all of your ingredients on hand and then we can begin.
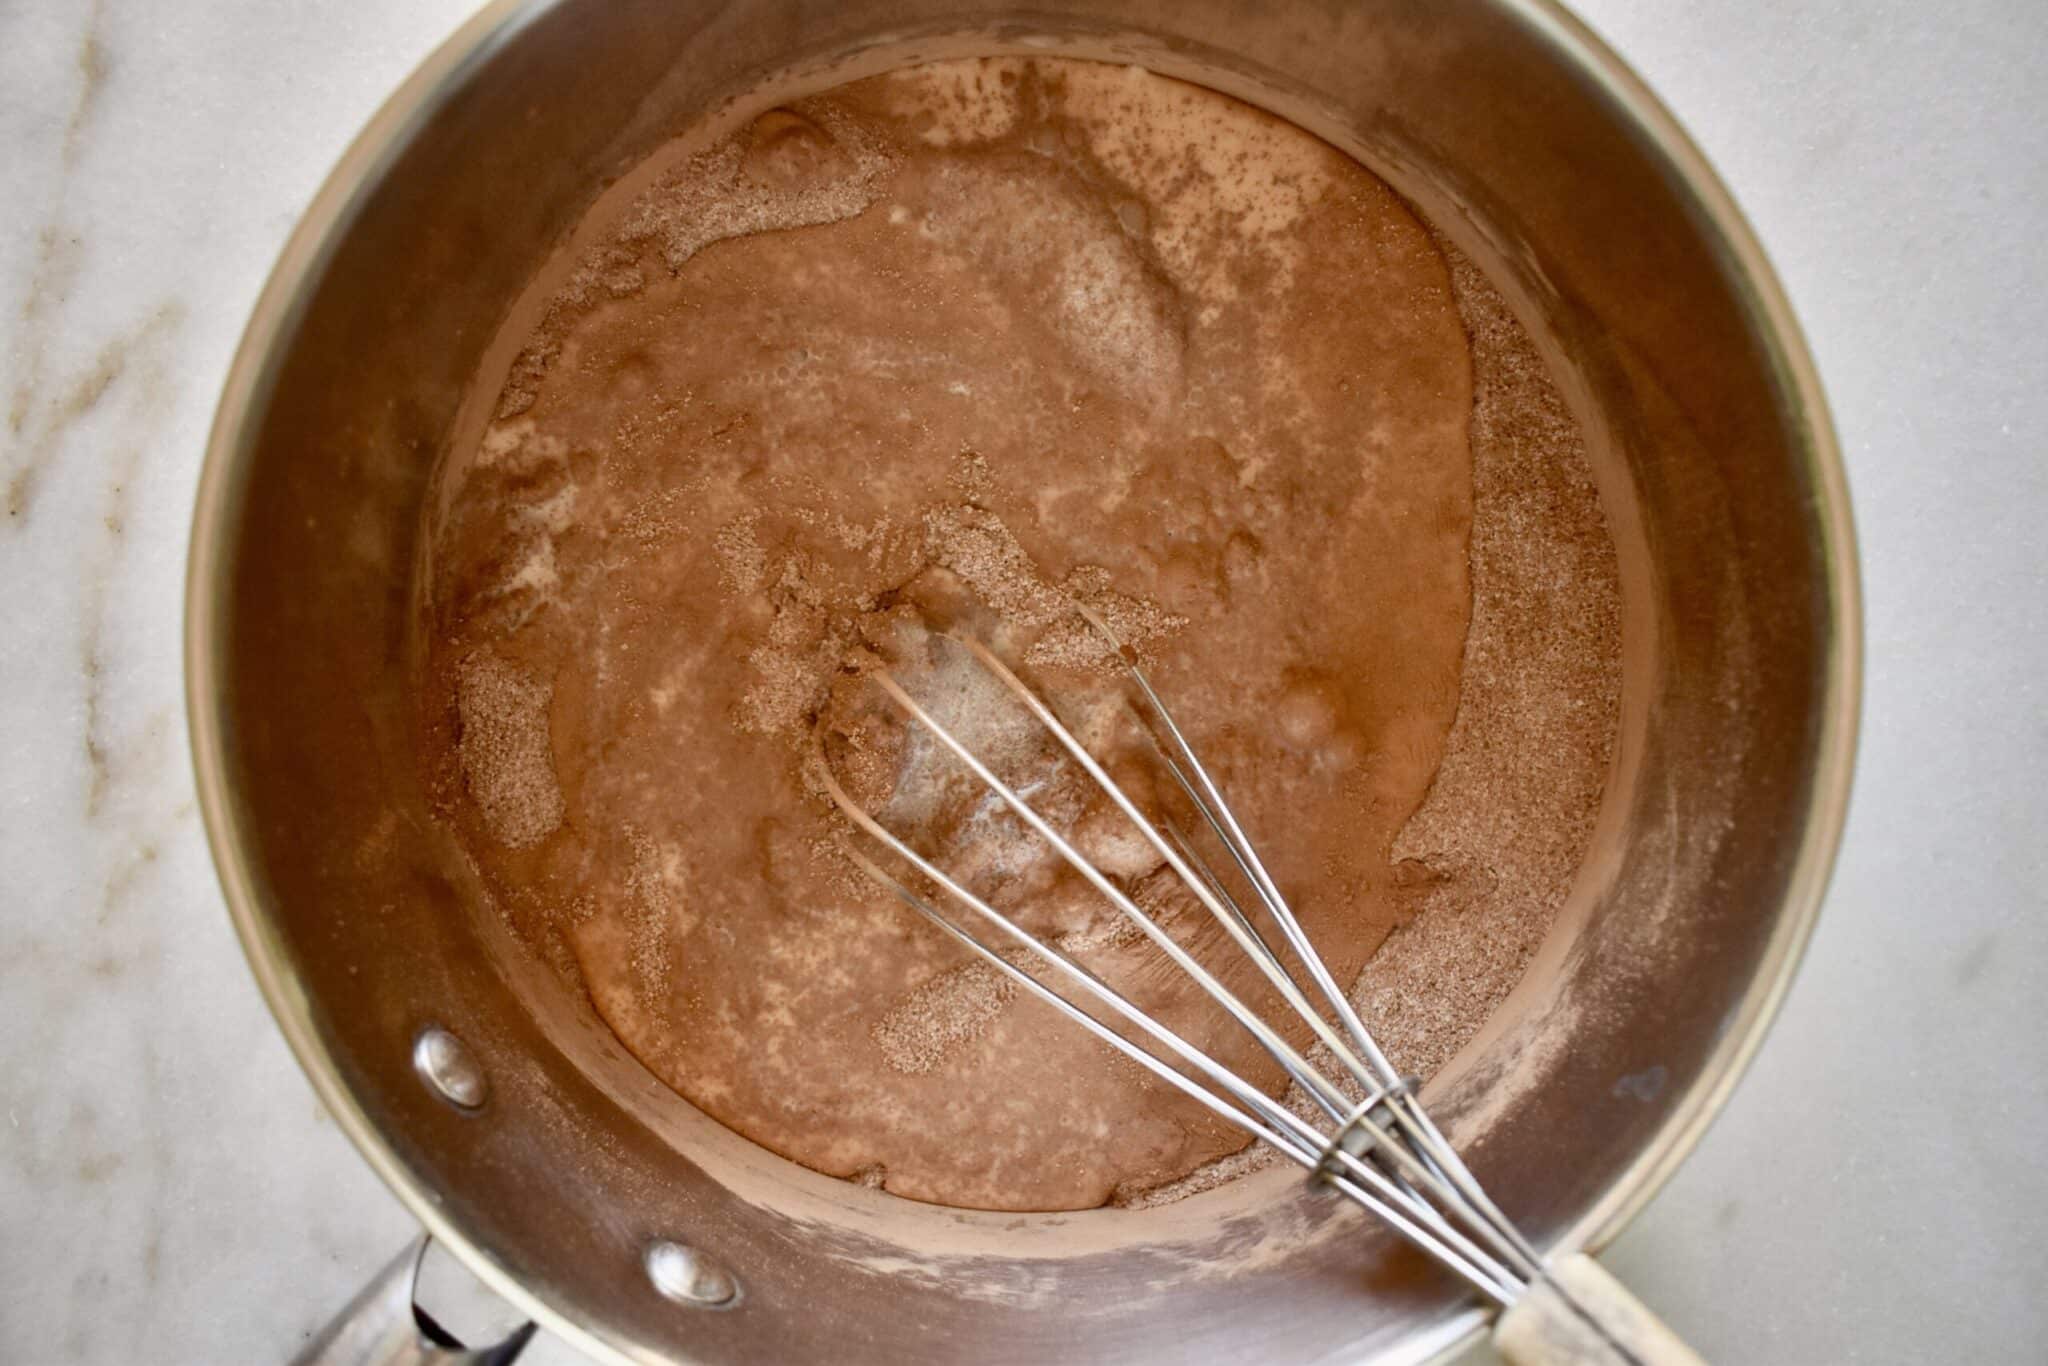
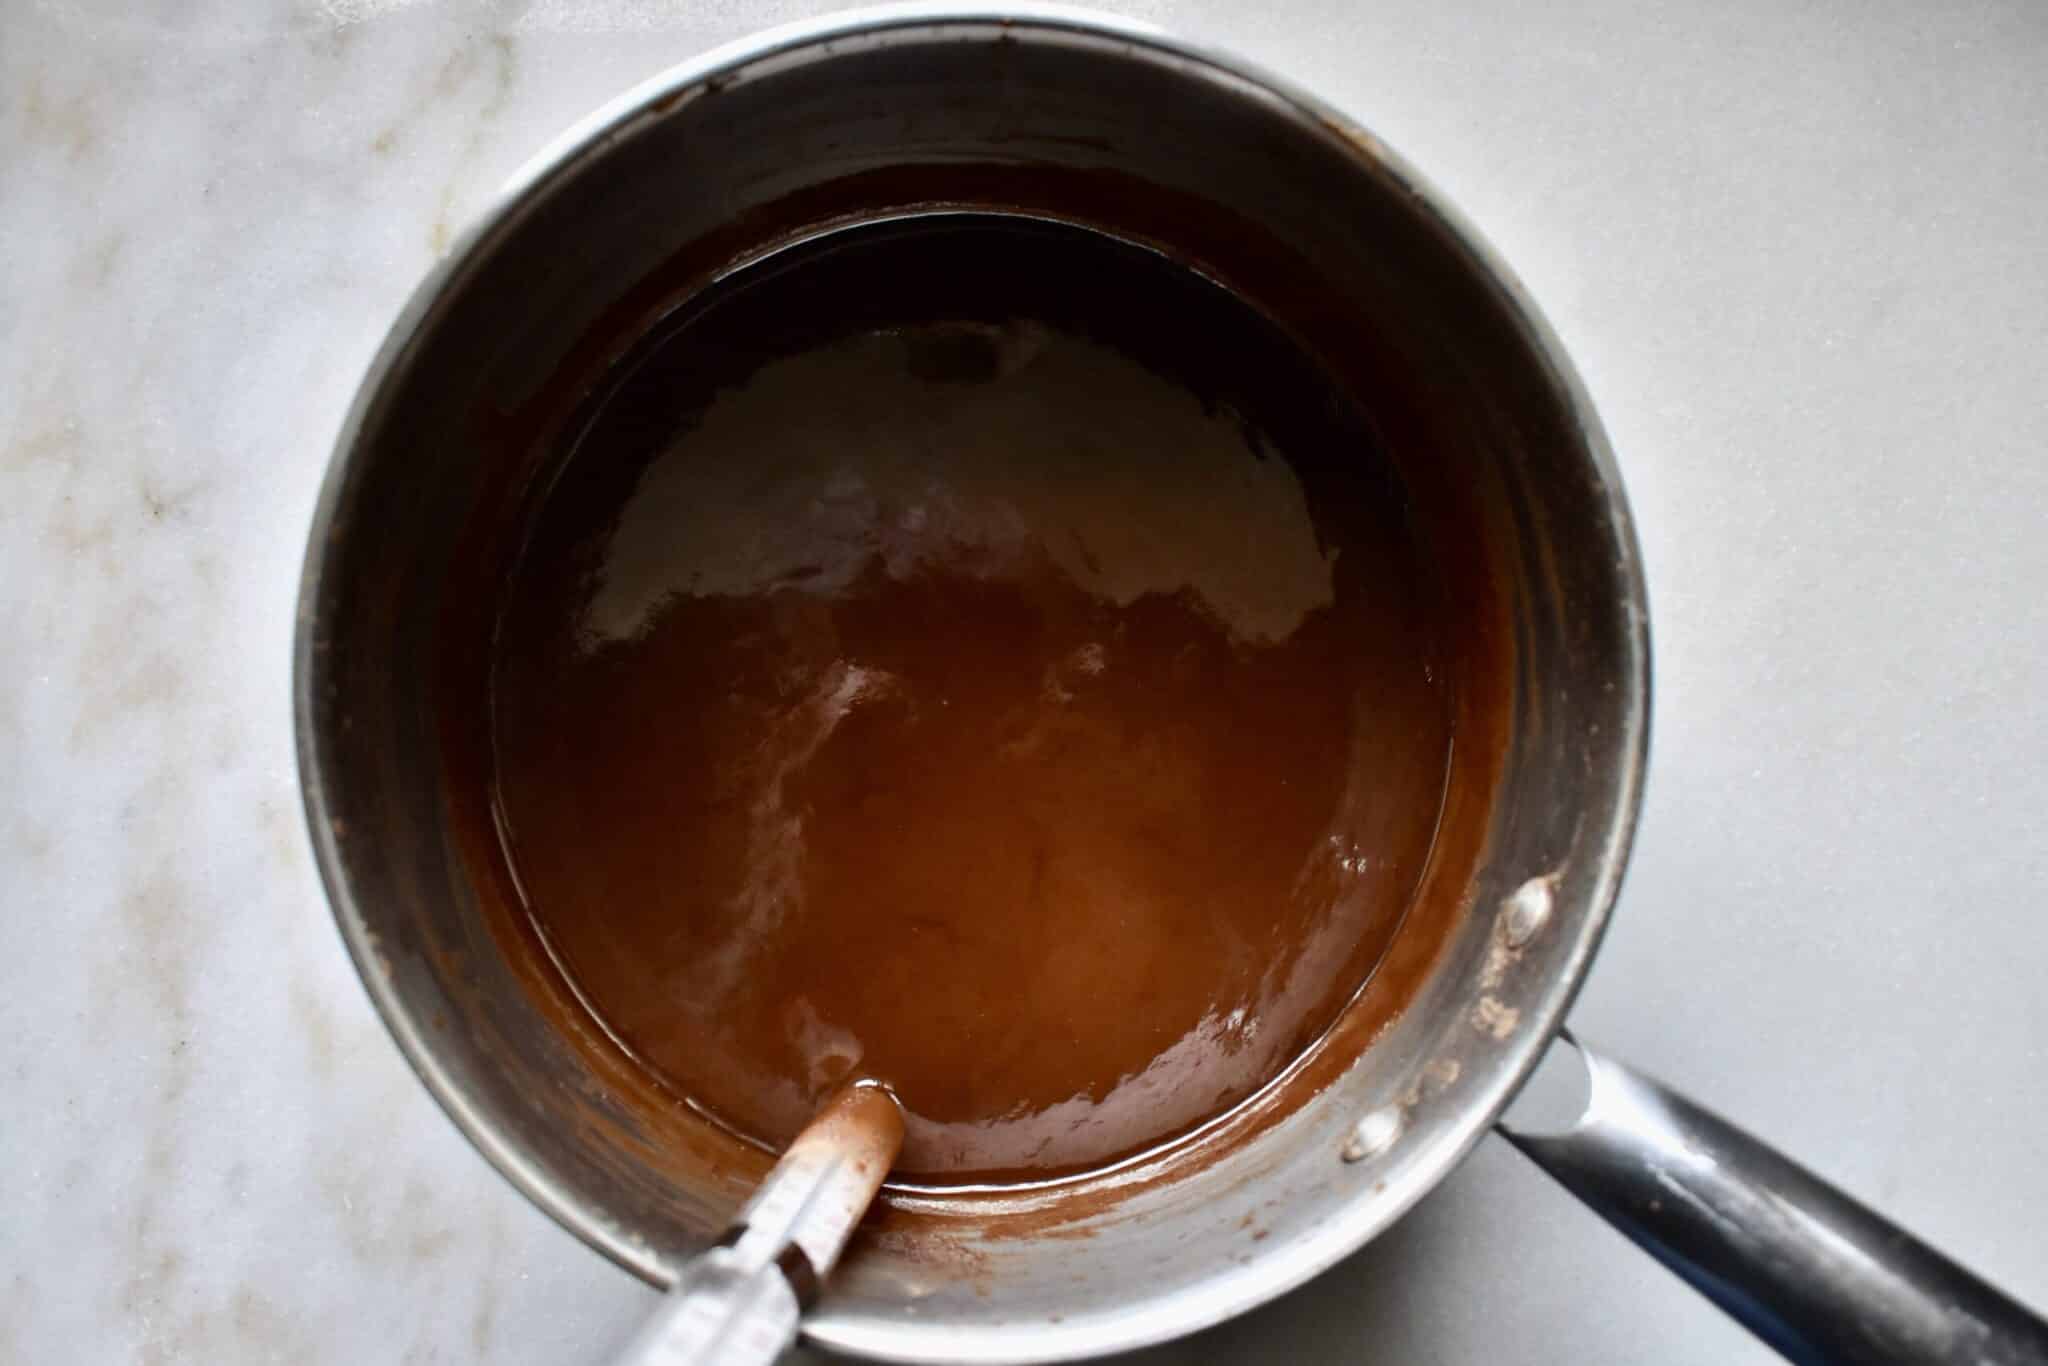
Before turning on the stovetop, whisk together the sugar, cocoa, and salt in the heavy bottomed pan. Pour in the milk and whisk again until well combined. Turn the stovetop on to high heat and stir the mixture constantly with a rubber spatula until it begins to boil. Once boiling, reduce the heat slightly. Monitor the temperature closely with a candy thermometer and continue to cook until you reach soft ball stage (238 degrees F). Now, instead of stirring constantly, give the pot the occasional stir, making sure to scrape down the sides of the pot as well. This step should take approximately 10 minutes. To test for soft ball stage, drop a small bit into a bowl of cold water. If it forms a soft ball, you are there.
[This is where batch #2 went wrong for me. A few things I missed – I turned the heat down too much after it reached boiling. The fudge took forever to reach soft ball temperature, and once it did, it just wasn’t right. I also let the mixture cook without stirring at all, another mistake. The mixture didn’t burn but it did really stick on the bottom of the pot and wasn’t cohesive. Lessons learned – turn the temperature down after it reaches boiling, but not by too much. And stir occasionally.]
Once you reach soft ball temperature, turn off the stove and remove the fudge from the heat. Let the fudge sit, without any stirring, until it cools to between 110-120 degrees F. Stirring while the mixture cools will cause the fudge to crystalize and become grainy in texture. This step could take anywhere from 30 minutes to an hour depending on the temperature of your house. Just be patient and keep an eye on the candy thermometer.
[This is where batch #1 went wrong. We stirred occasionally to help the fudge cool without realizing that would mess it up! Stirring during this stage will made the fudge grainy and gritty and hard. No good. Well, it did still taste good…but certainly not great.]
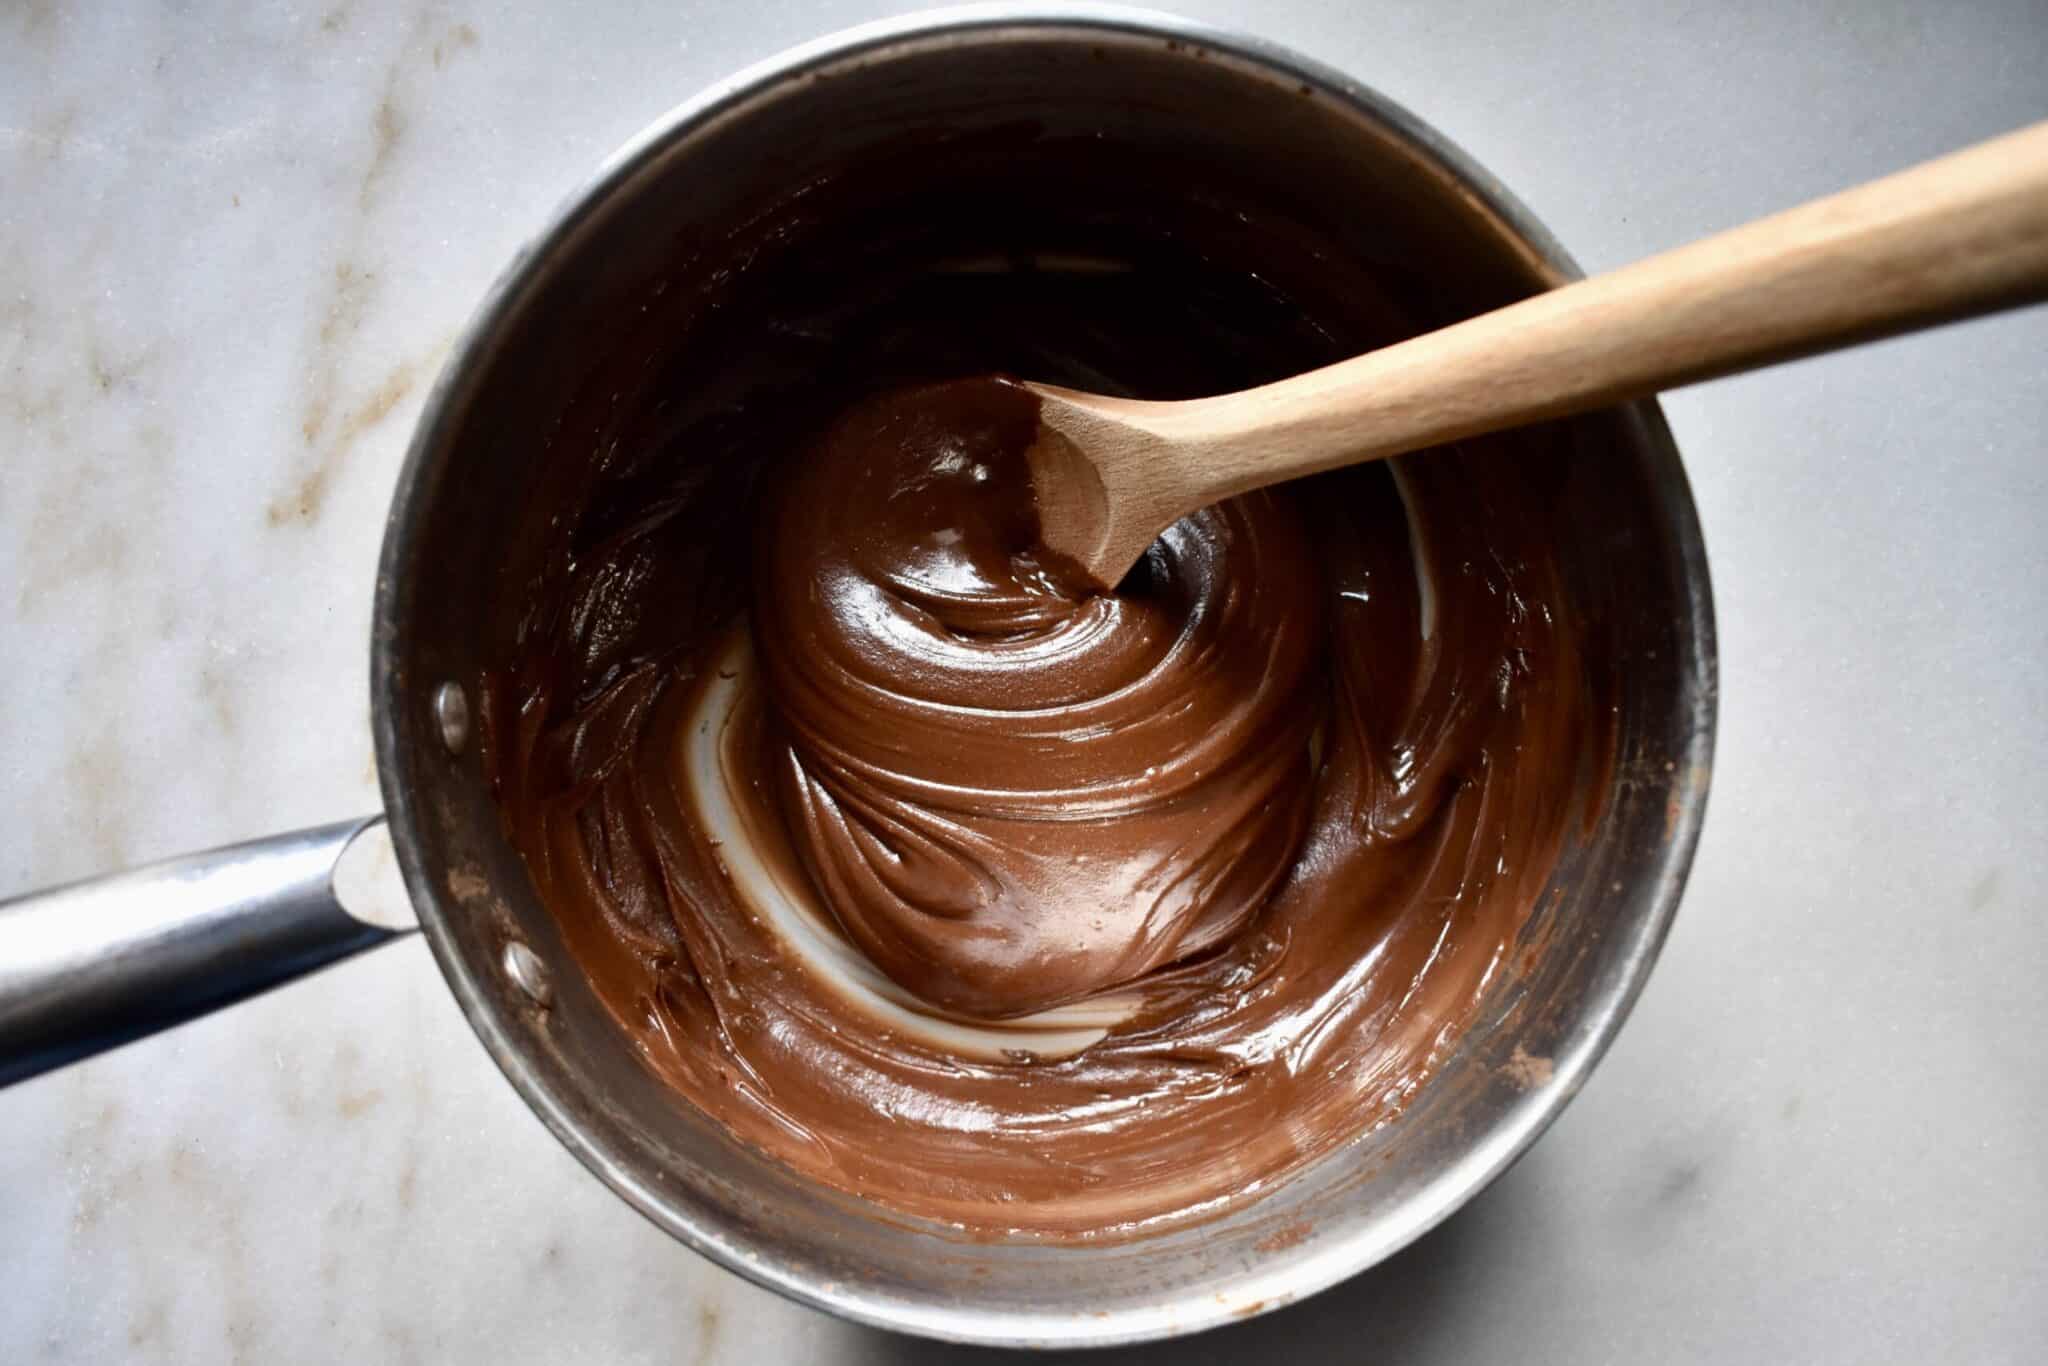
After patiently waiting for the temperature to drop, it’s time to add the butter and vanilla. Beat the mixture with a wooden spoon for several minutes until the fudge begins to lose its sheen and starts to hold its shape. If you don’t beat the fudge enough, it won’t set properly and could be a bit chewy. [Also batch #2.]
If you over beat the fudge, it will set right in the pot and you will have a hard time transferring it to the pan. [Batch #3 for me. It still tasted delicious. Just didn’t have that nice smooth finish.]
Honestly, it is tricky to know just when you are at the perfect spot. Practice will help you know just when to transfer the fudge to the prepared pan. So, once the fudge begins to lose its sheen and holds shape, quickly transfer it to the prepared pan. Let the fudge cool completely before slicing.
Above is a comparison of 3 of my 4 batches. From left to right – batch #1; batch #3, batch #4.

Be sure to enjoy this one. It is surely a labor of love. But how fun to finally get it right and to be able to share this sweet treat with those you love. I know Granny Fran will be glad you made it!
Merry Christmas,
Anna
Fudge

Smooth, rich, melt in your mouth fudge that just can't be beat!
Source: Anna Reid
Course: Desserts
Main Ingredient: Chocolate
Prep Time: 1 hr
Cook Time: 20 min
Total Time: 1 hr 20 min
Serves:
Ingredients
- 2 cups sugar
- 1⁄3 cup cocoa sifted
- 1⁄8 teaspoon salt
- 1 1⁄4 cup whole milk
- 1 tablespoon unsalted butter
- 1 teaspoon vanilla
Directions
- Prepare pan by greasing or lining with wax paper.
- In a heavy bottomed pan, whisk together the sugar, cocoa, and salt. Pour in the milk and whisk until smooth and well combined.
- Over high heat, bring the mixture to a boil while stirring constantly with a rubber spatula.
- Once boiling, reduce the heat only slightly. Monitor the temperature closely with a candy thermometer and continue to cook while stirring occasionally until you reach soft ball stage (238 degrees F). The mixture should continue to boil this entire time while slowly increasing in temperature. This step should take approximately 10 minutes. To test for soft ball stage, drop a small bit of candy into a small bowl of cold water. If it forms a soft ball, you are there!
- Once you reach soft ball temperature, remove the pan from the heat and do not stir!! Let the fudge sit until it reaches 110-120 degrees F. Stirring while the mixture cools will cause the fudge to crystalize and become grainy in texture. This step could take anywhere from 30 minutes to an hour depending on the temperature of your house. Just be patient and keep an eye on the candy thermometer.
- Once cooled to 110-120 degrees F, add the butter and vanilla. Beat the mixture with a wooden spoon for several minutes until the fudge begins to lose its sheen and starts to hold its shape. Pour into prepared pan and let cool completely before slicing.
- Enjoy!!
Powered by![]()