Growing up and into college, Pop-Tarts were one of my go-tos for a quick breakfast or snack. I used to get the two pack of brown sugar Pop-Tarts out of the vending machine for a snack without a second thought! And yes, they were delicious. Now, though, my body wouldn’t be quite so supportive of that decision. In fact, it’s been so long since they have been in our pantry that my kids didn’t even know what a Pop-Tart was! So, I decided to try my hand at a fresh homemade version of this nostalgic treat with simple real ingredients.
These pop-tarts are essentially hand pies or a smaller, freeform pies as opposed to your normal pie in a pie pan. The pastry is very similar to a puff pastry and creates lots of crisp, flaky, buttery layers. For fillings, I’ve shown three options – strawberry, apple, and brown sugar cinnamon, but feel free to be creative with your own fillings. Re-create your favorite flavors or use virtually any homemade or store-bought jellies or jams. Brown sugar cinnamon ended up being the winning flavor in our house; I had a hard time even getting the kids to try another flavor after they had that one!
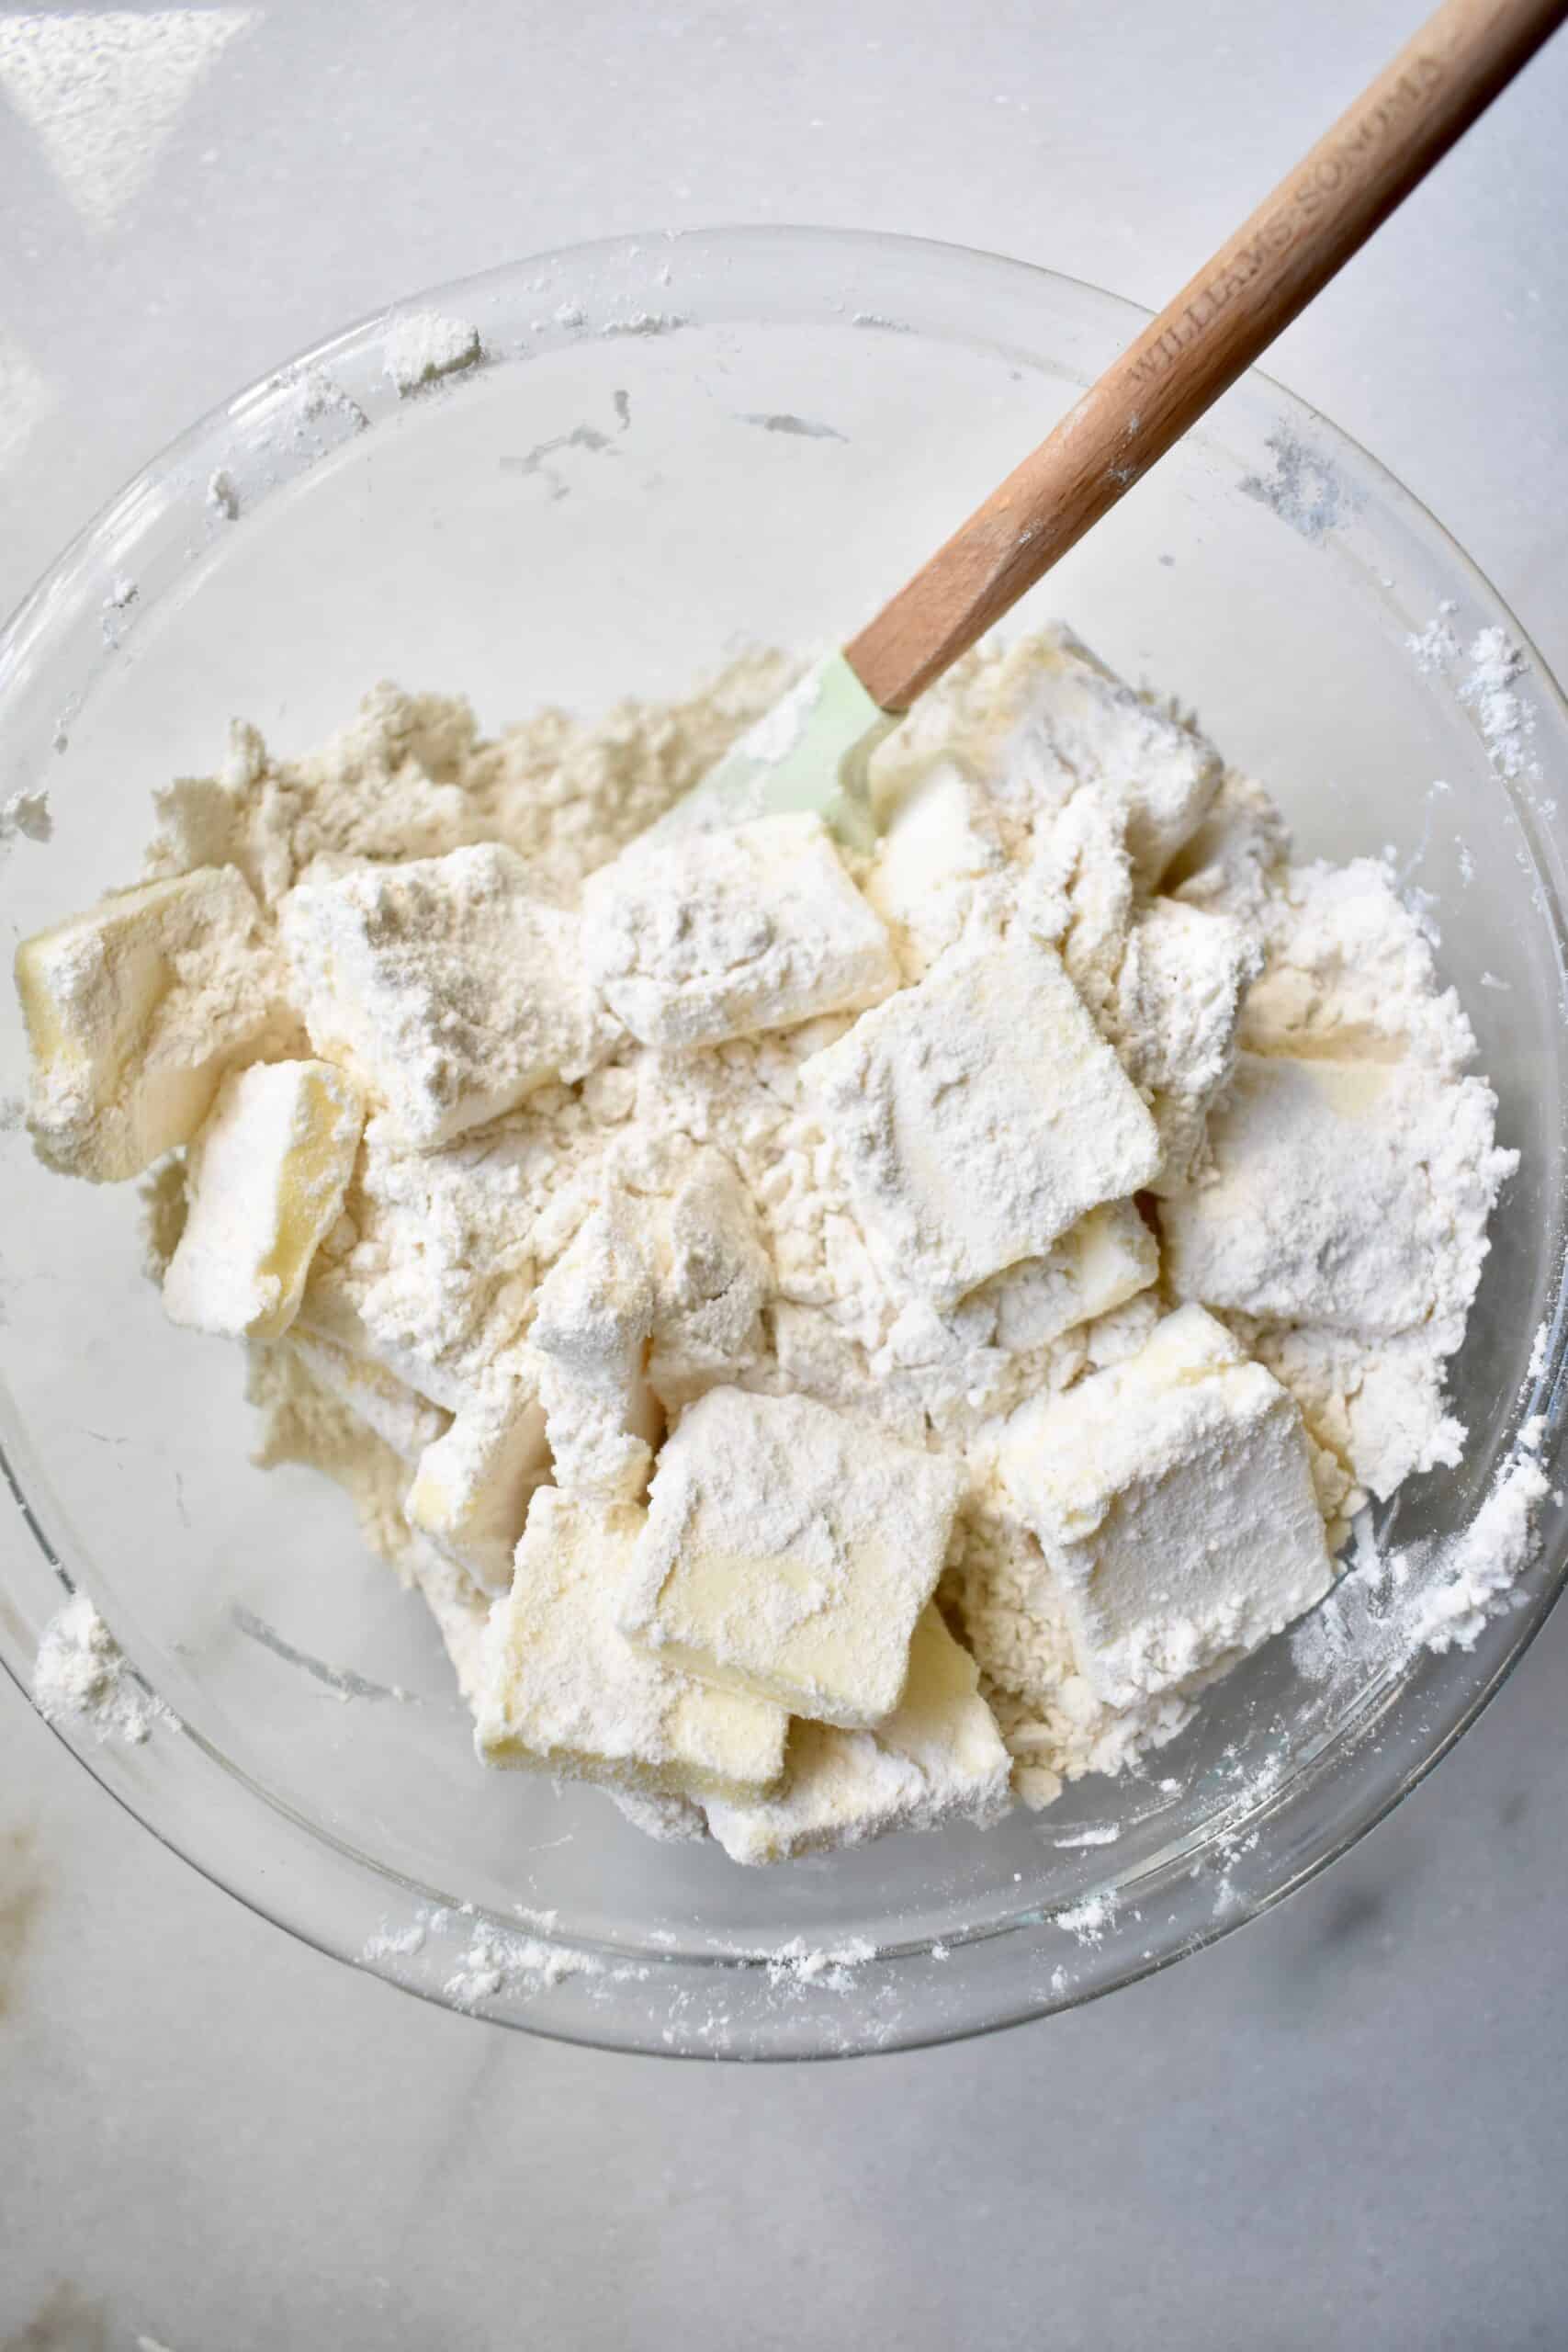
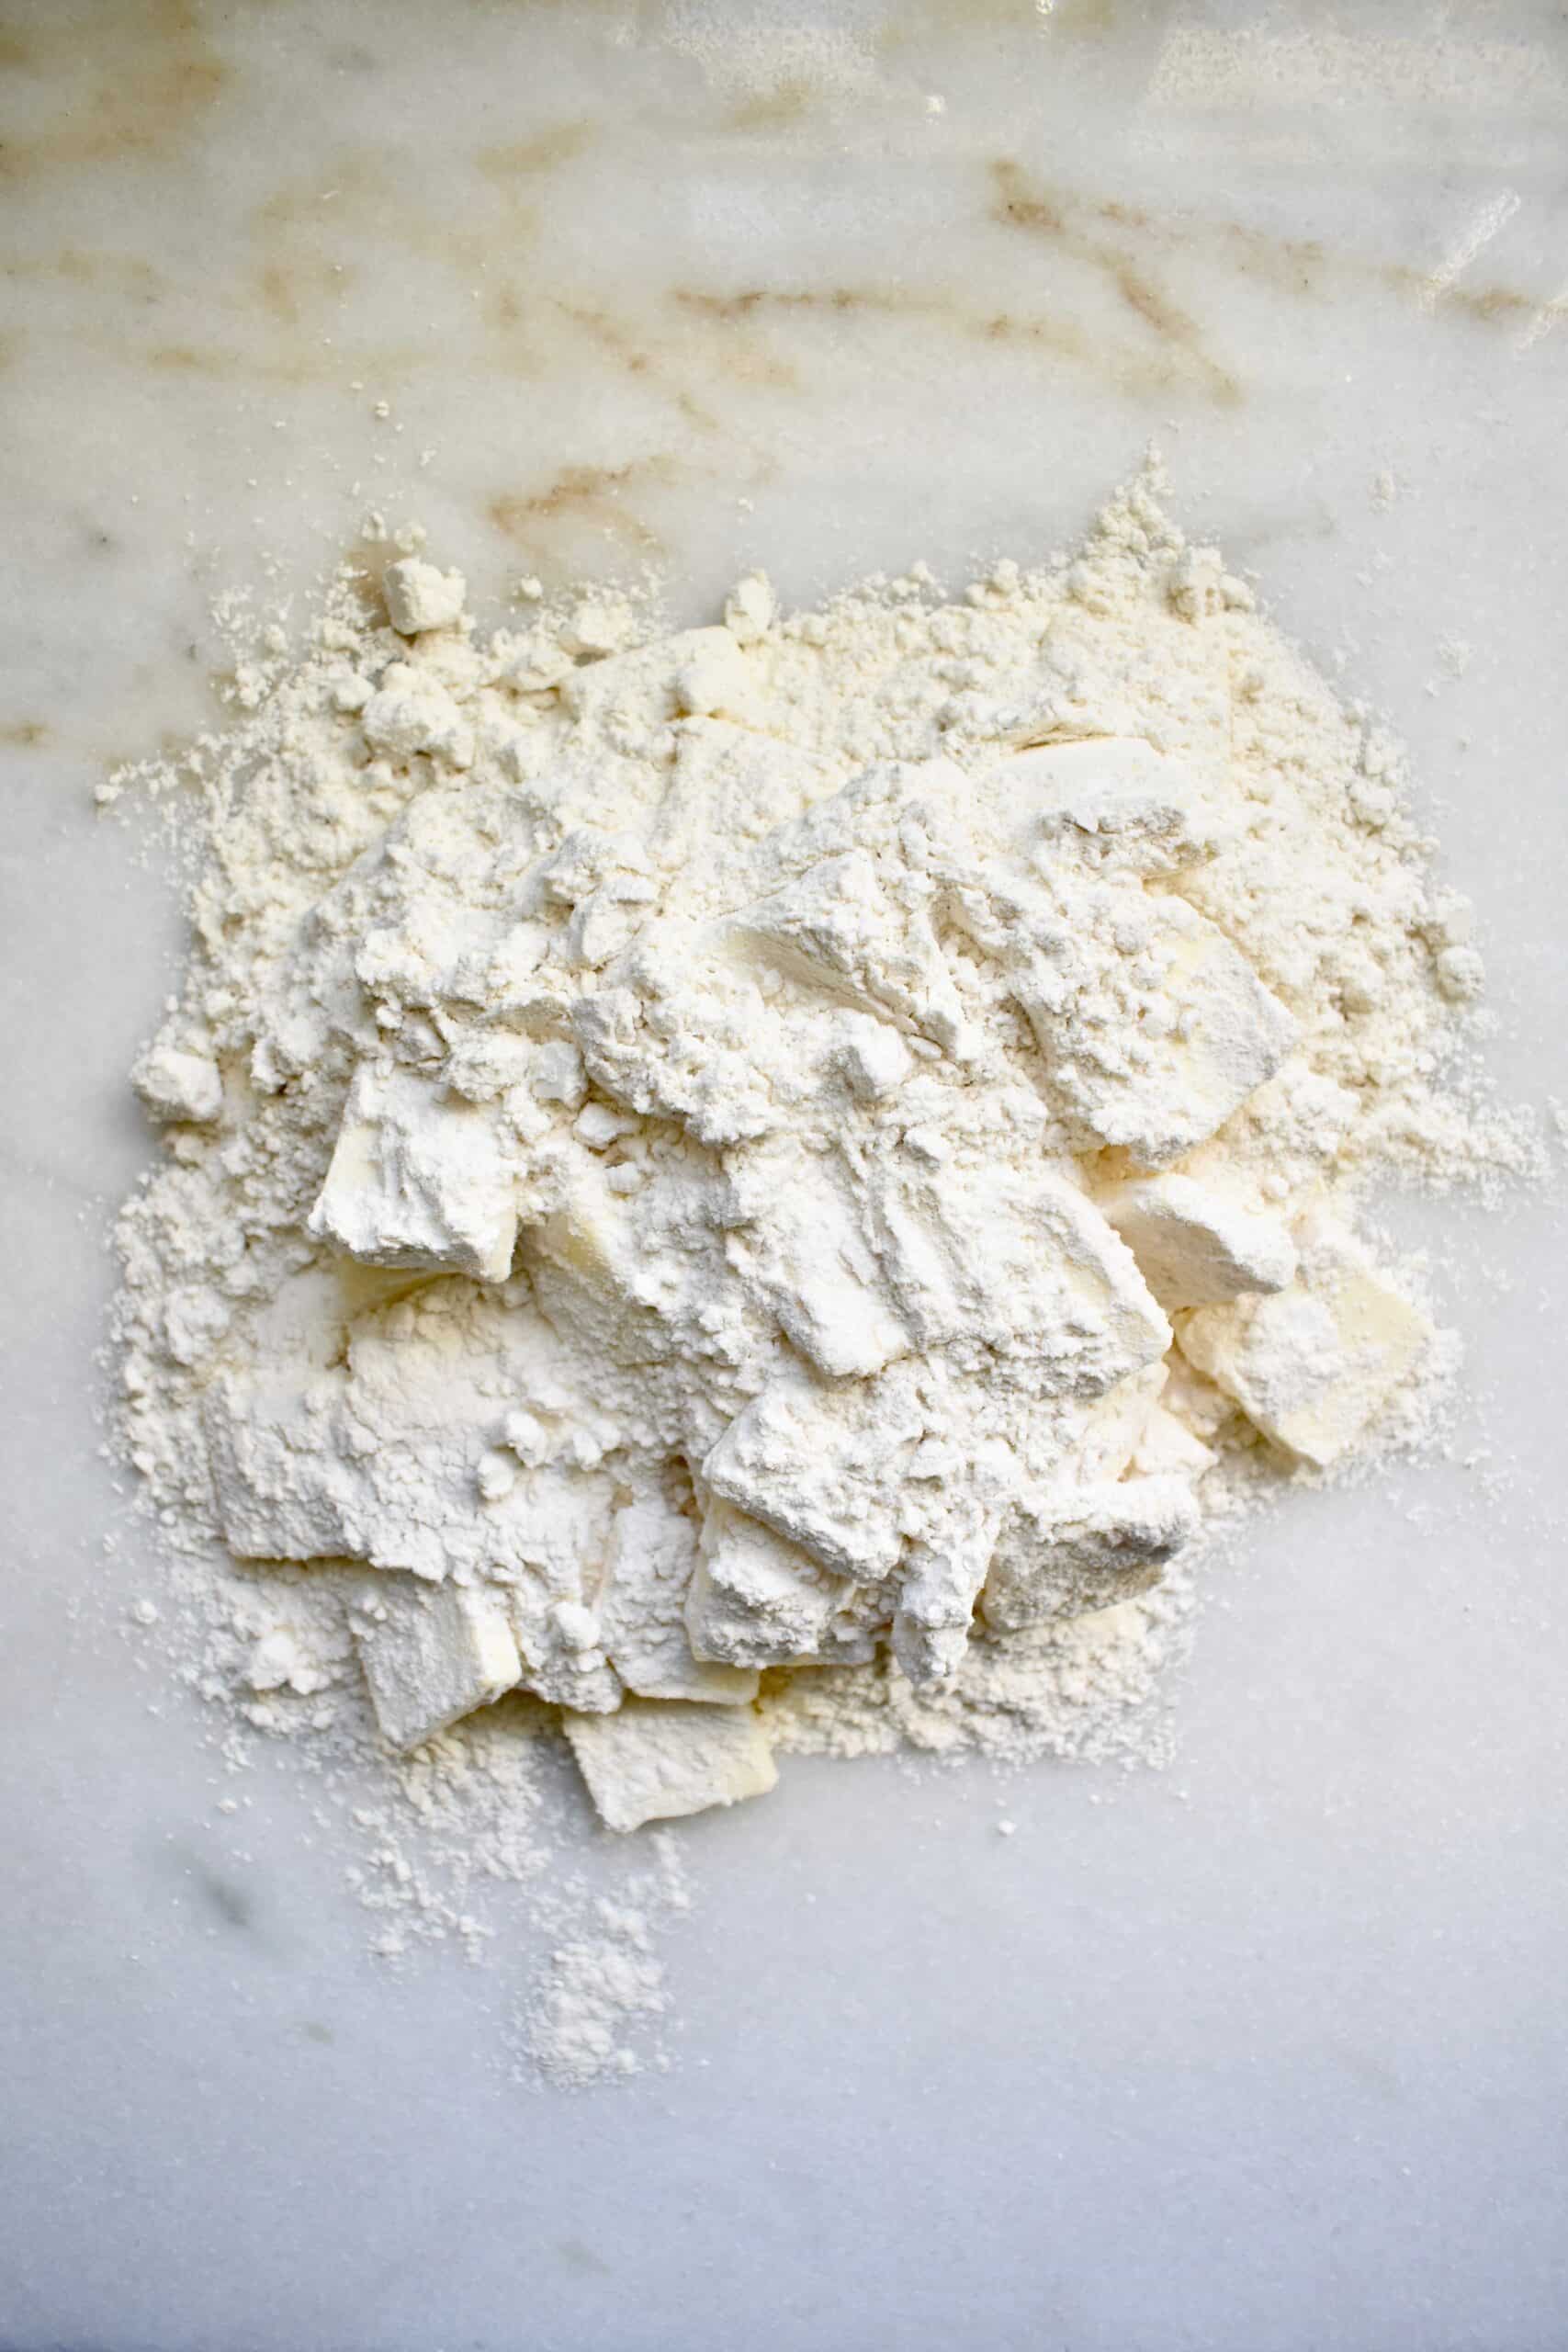
The first step to these fun treats is making the pastry; you will need flour, salt, sugar, chilled unsalted butter, and ice water. In a bowl, whisk together the flour, salt, and sugar. Cut the butter into large, thin slabs and then gently toss in the flour mixture until coated. Make sure you have plenty of counter space cleared to work on, and pour the mixture out on your work surface. Using a rolling pin, roll the butter out until thin and flat. The mixture will be crumbly and not cohesive at all yet, and that is ok.
Throughout this process, if the butter sticks to your rolling pin or counter simply use a bench scraper to scrape it off as needed.
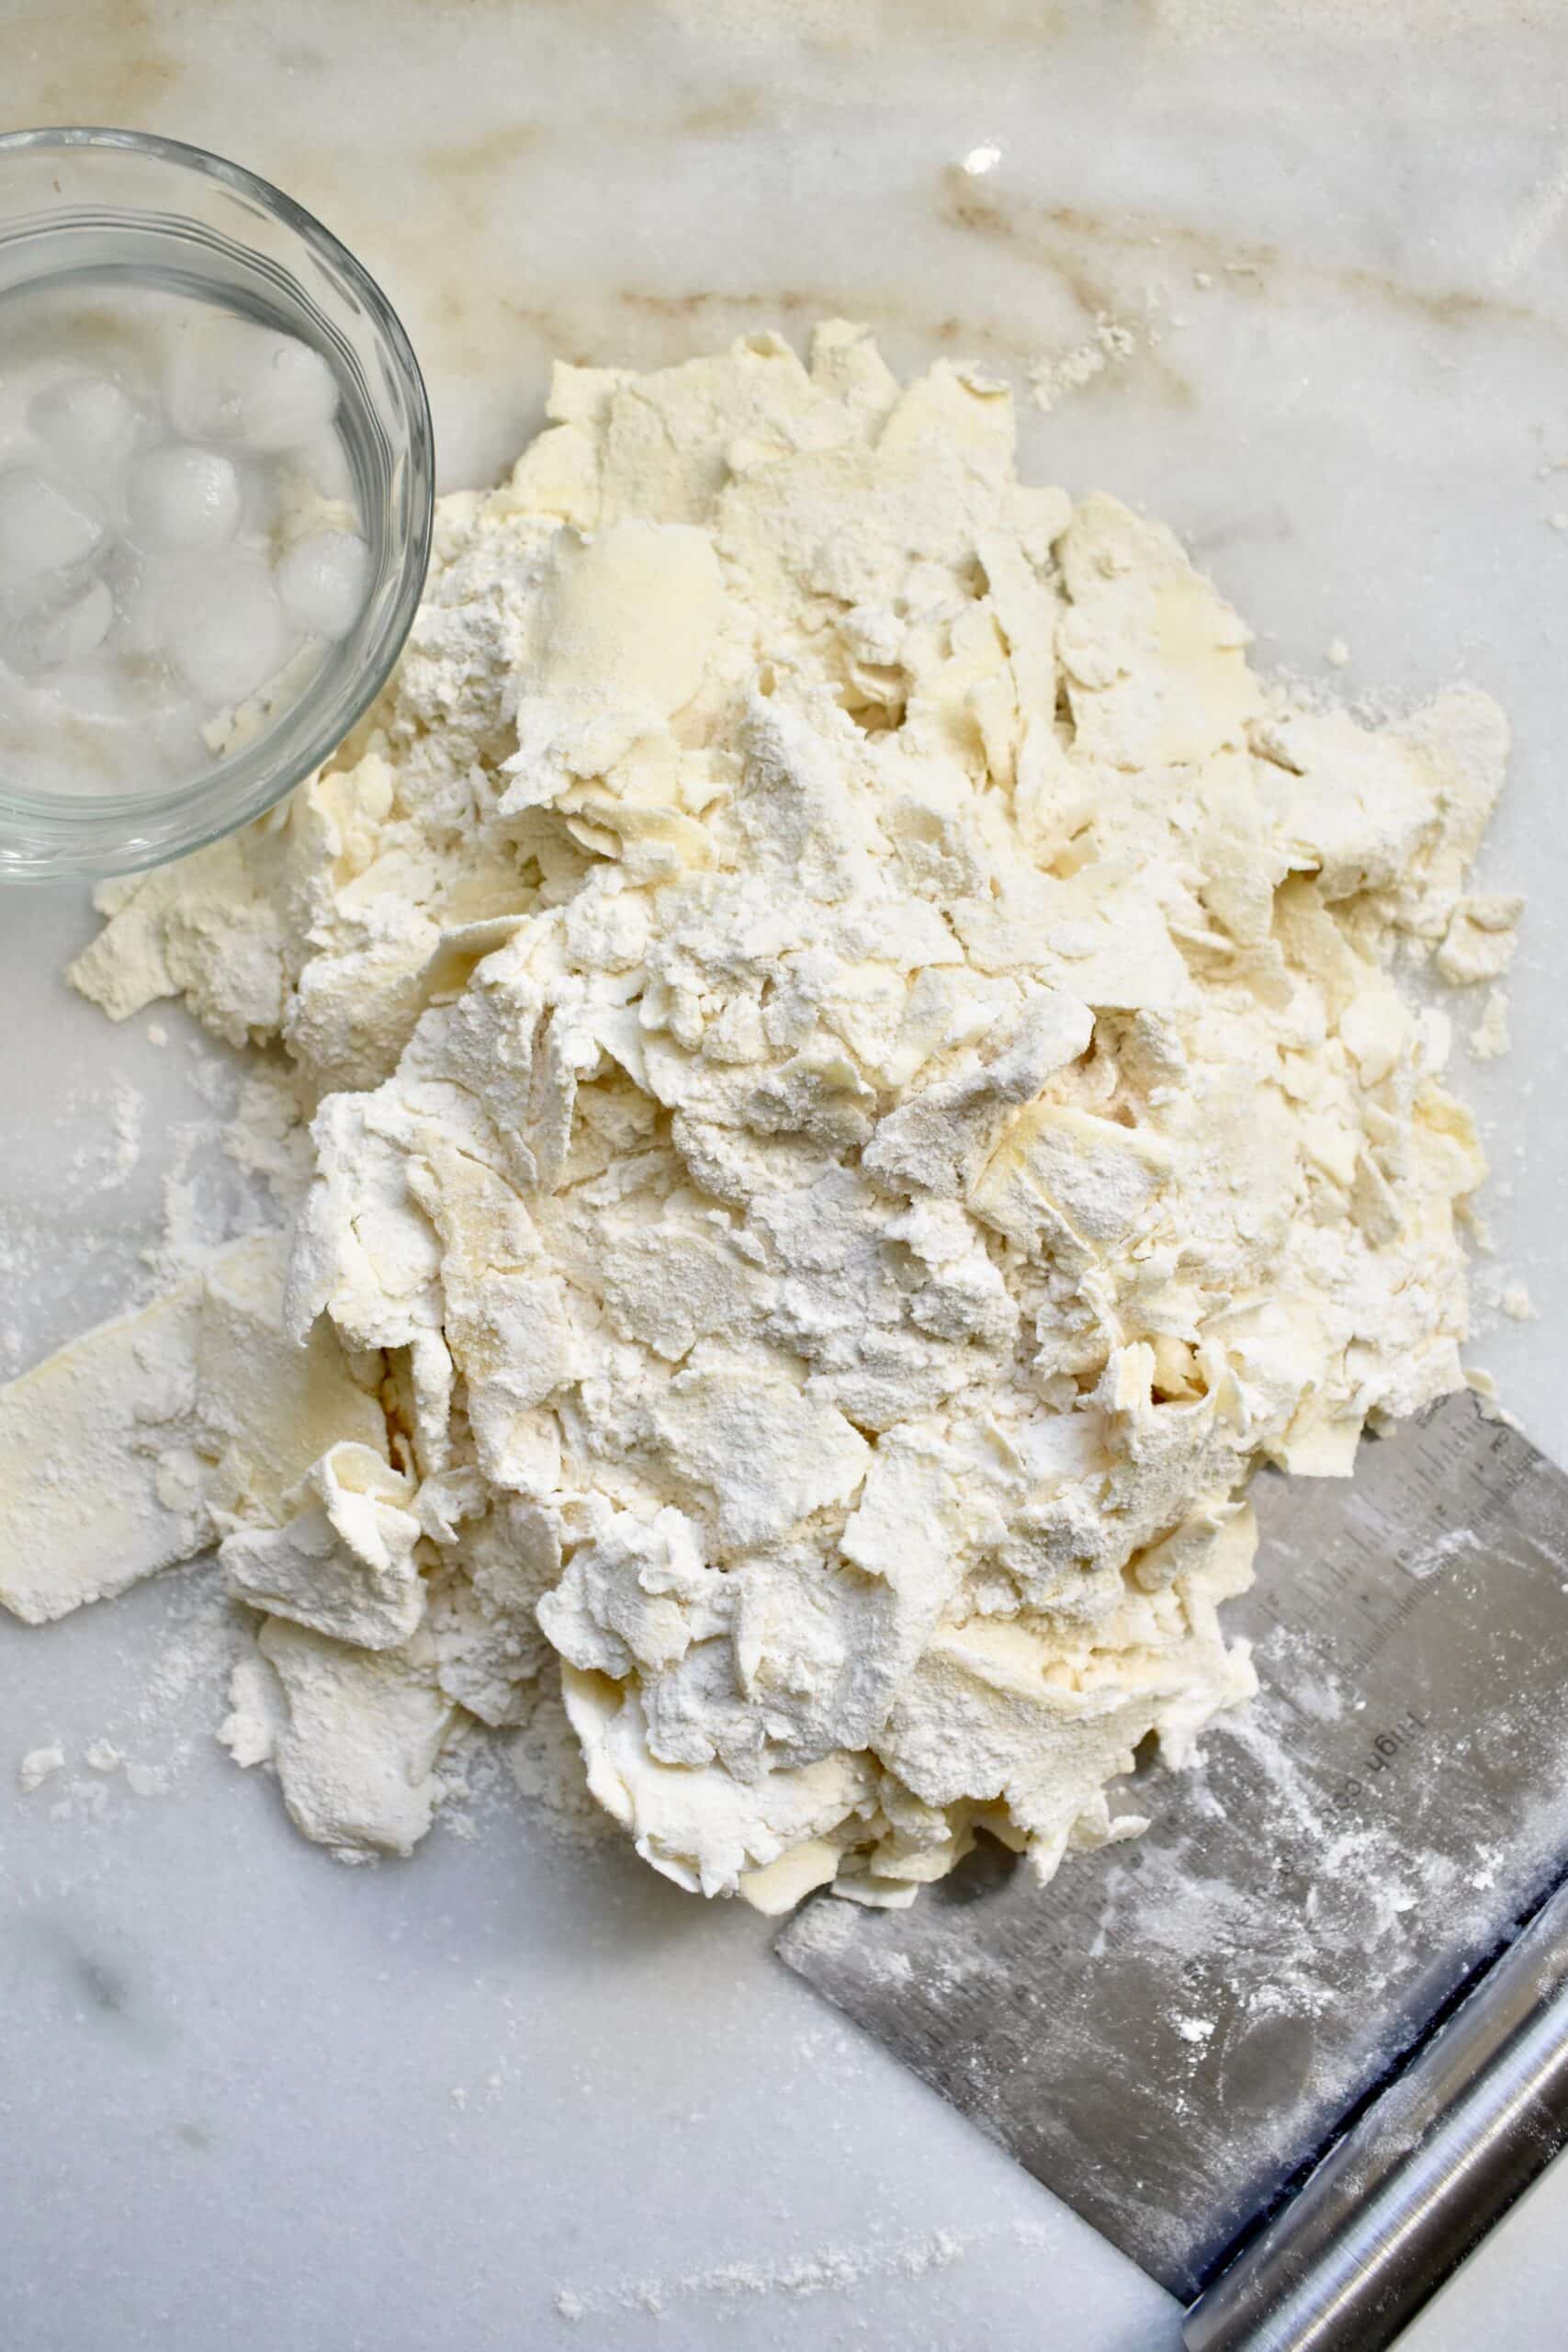
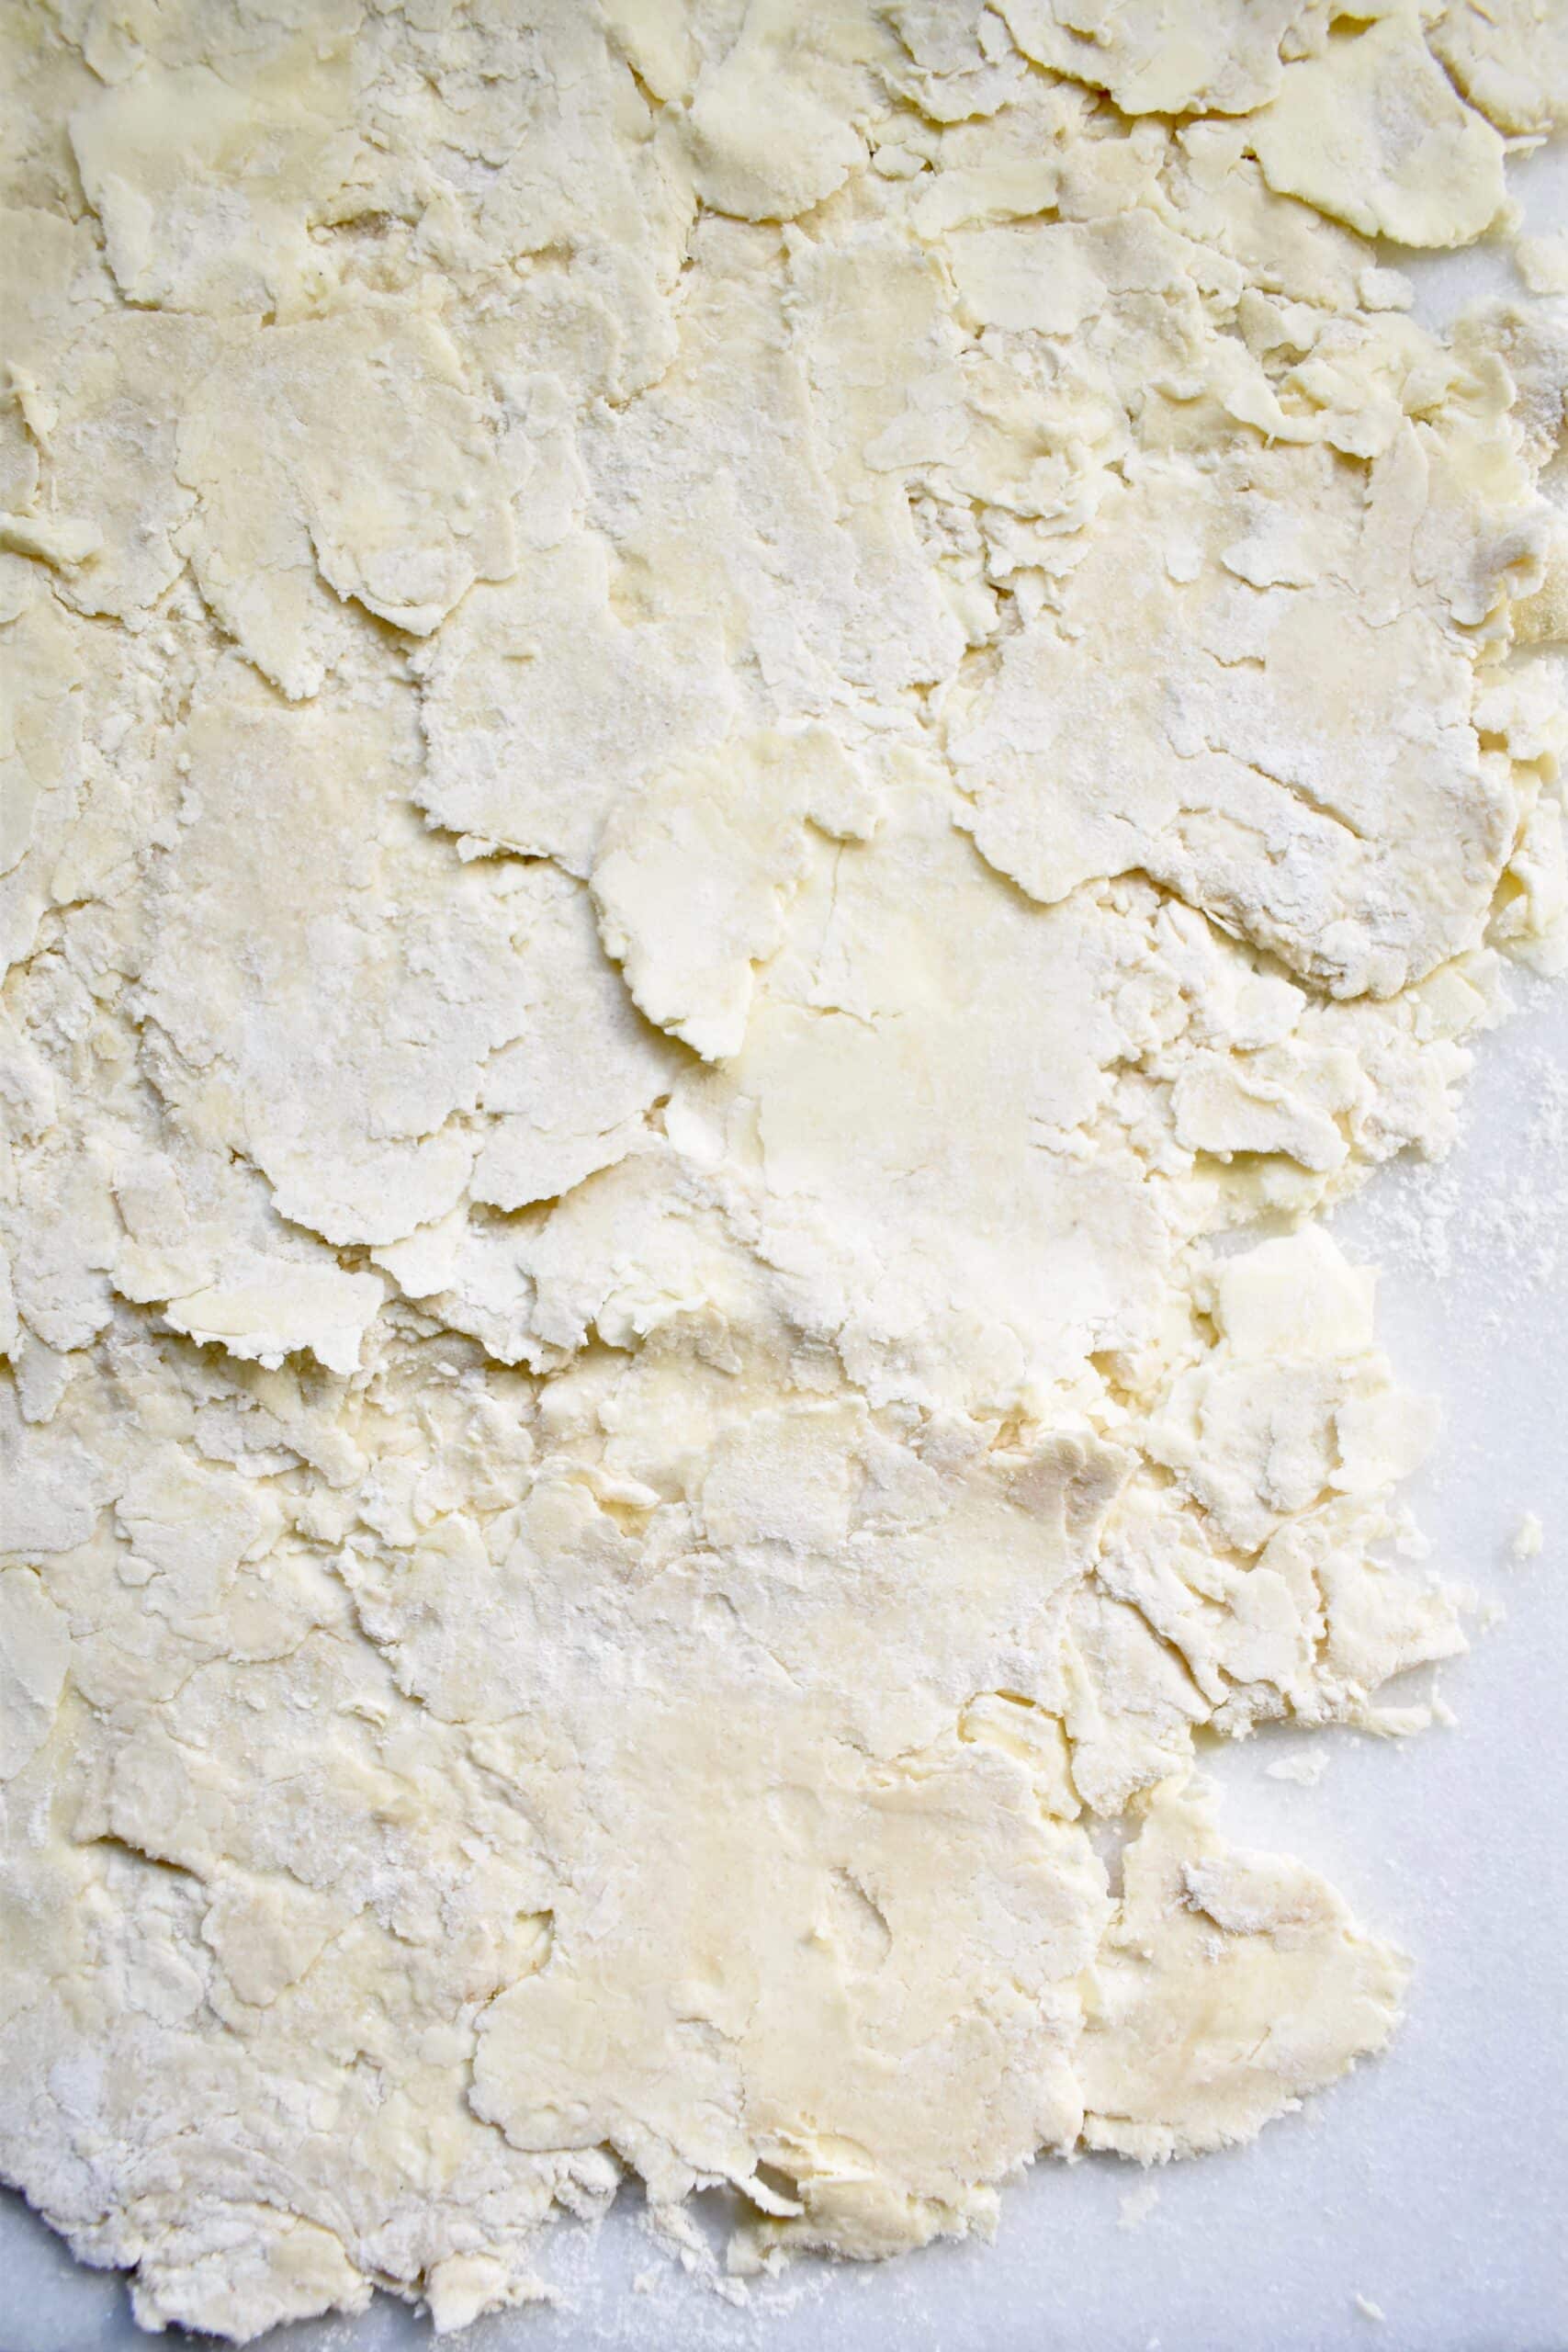
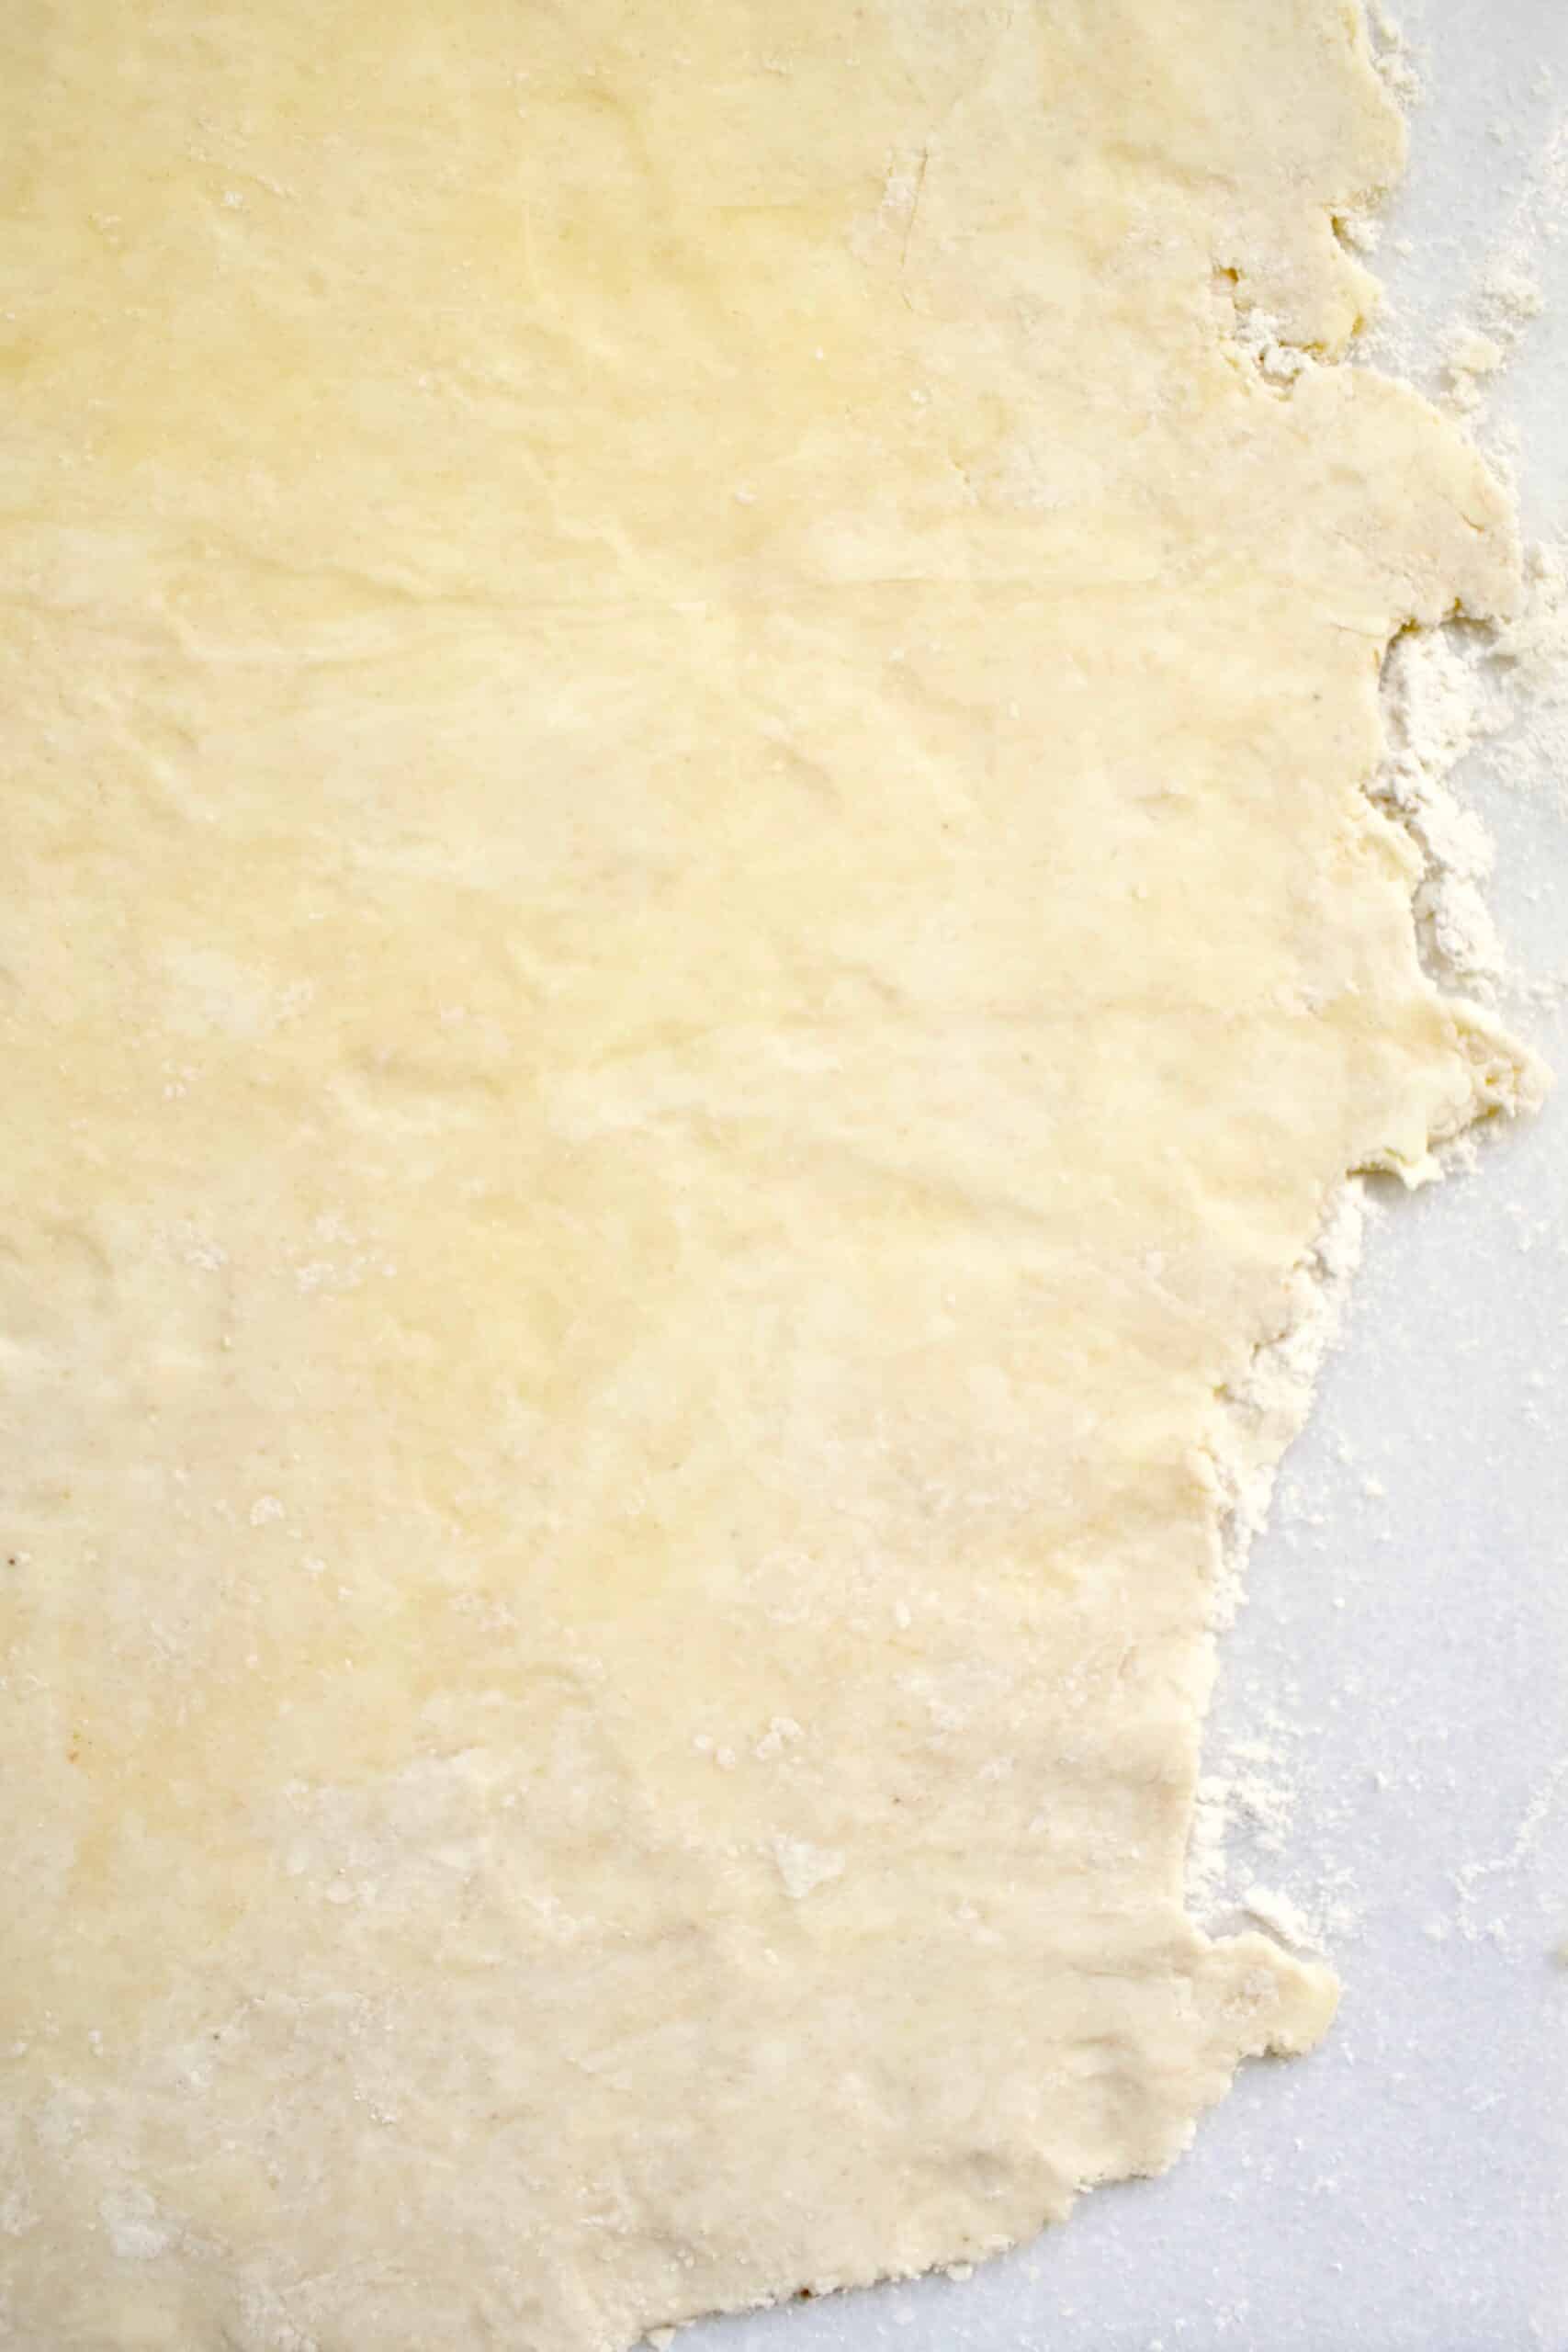
Once the butter is rolled out, use a bench scraper to gather everything back into a pile. Pour 8 tablespoons of ice water on the pile and gently mix it together with your hands. Sprinkle the counter and rolling pin with a little extra flour and roll out the mixture again with the rolling pin. The dough still won’t be cohesive yet, but don’t worry! Using a bench scraper, do your best to fold the dough over on itself in thirds, just like you would fold a letter. Gently slide the scraper under the dough and rotate it 90 degrees.
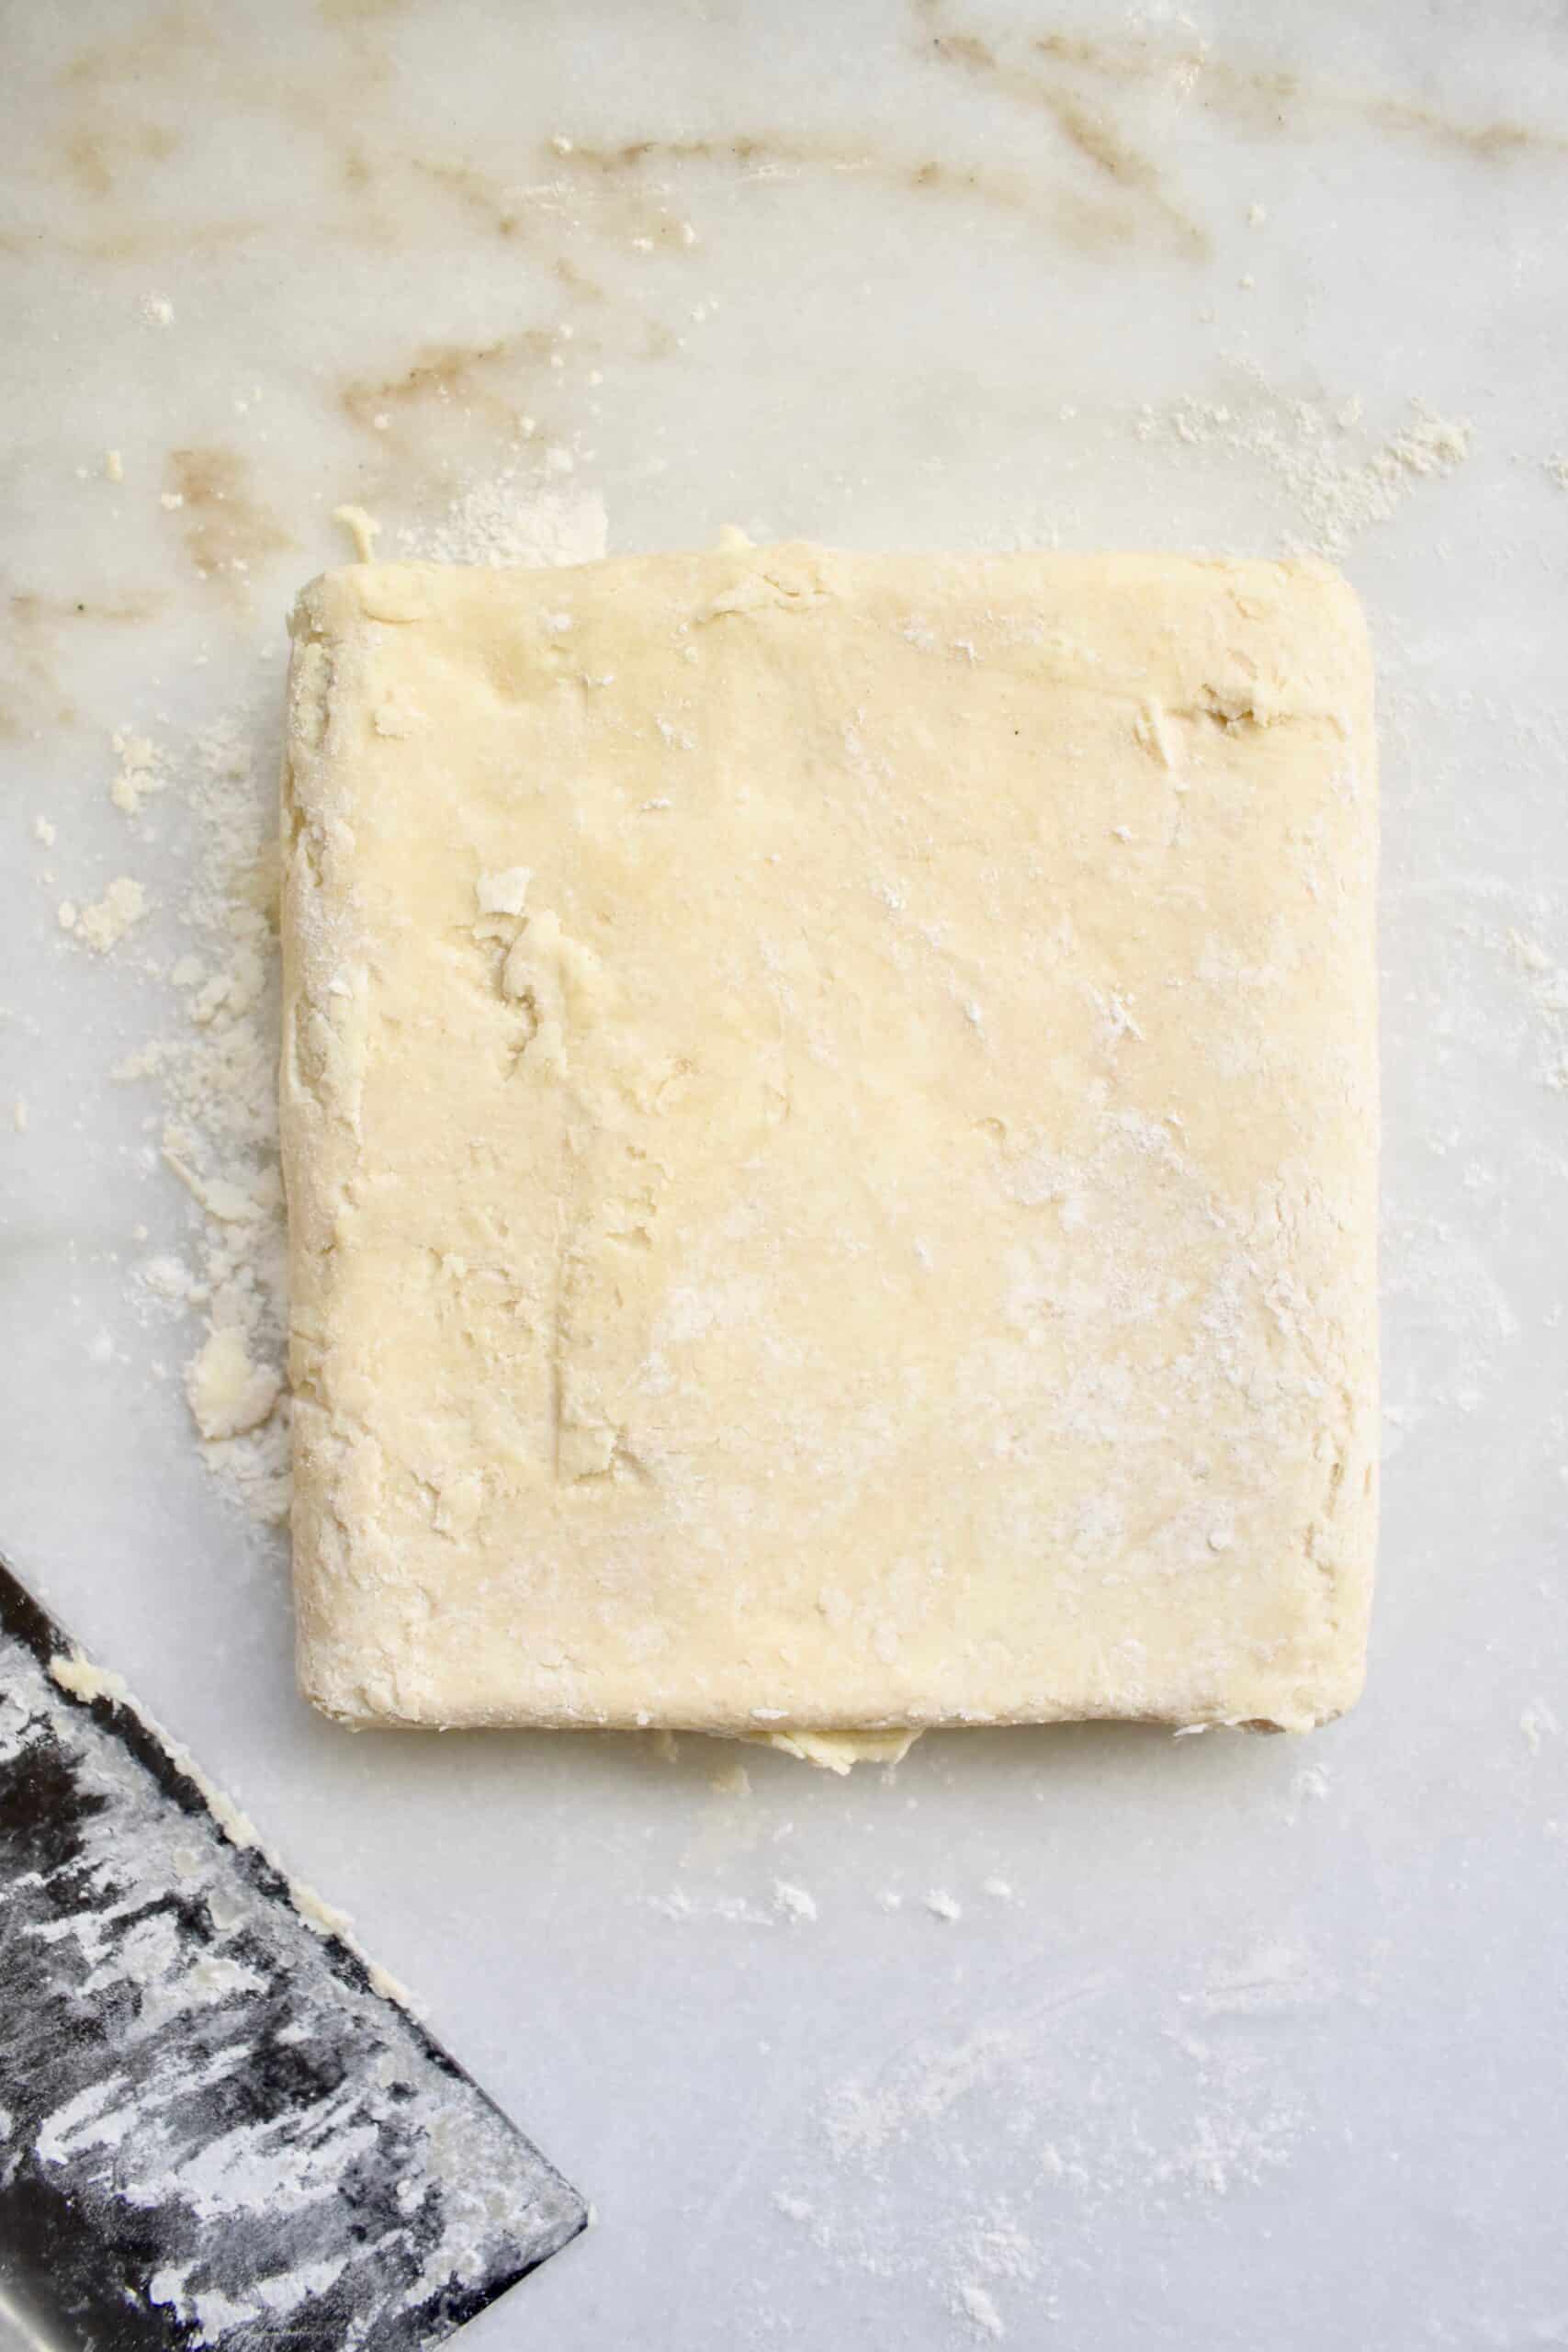
Roll the dough out again, fold it in thirds, and then rotate 90 degrees. Repeat the process one more time. After the final roll, fold the dough over in thirds and then in half to make a thick square. Using a bench scraper, cut the square in half so that you have two thick rectangles.
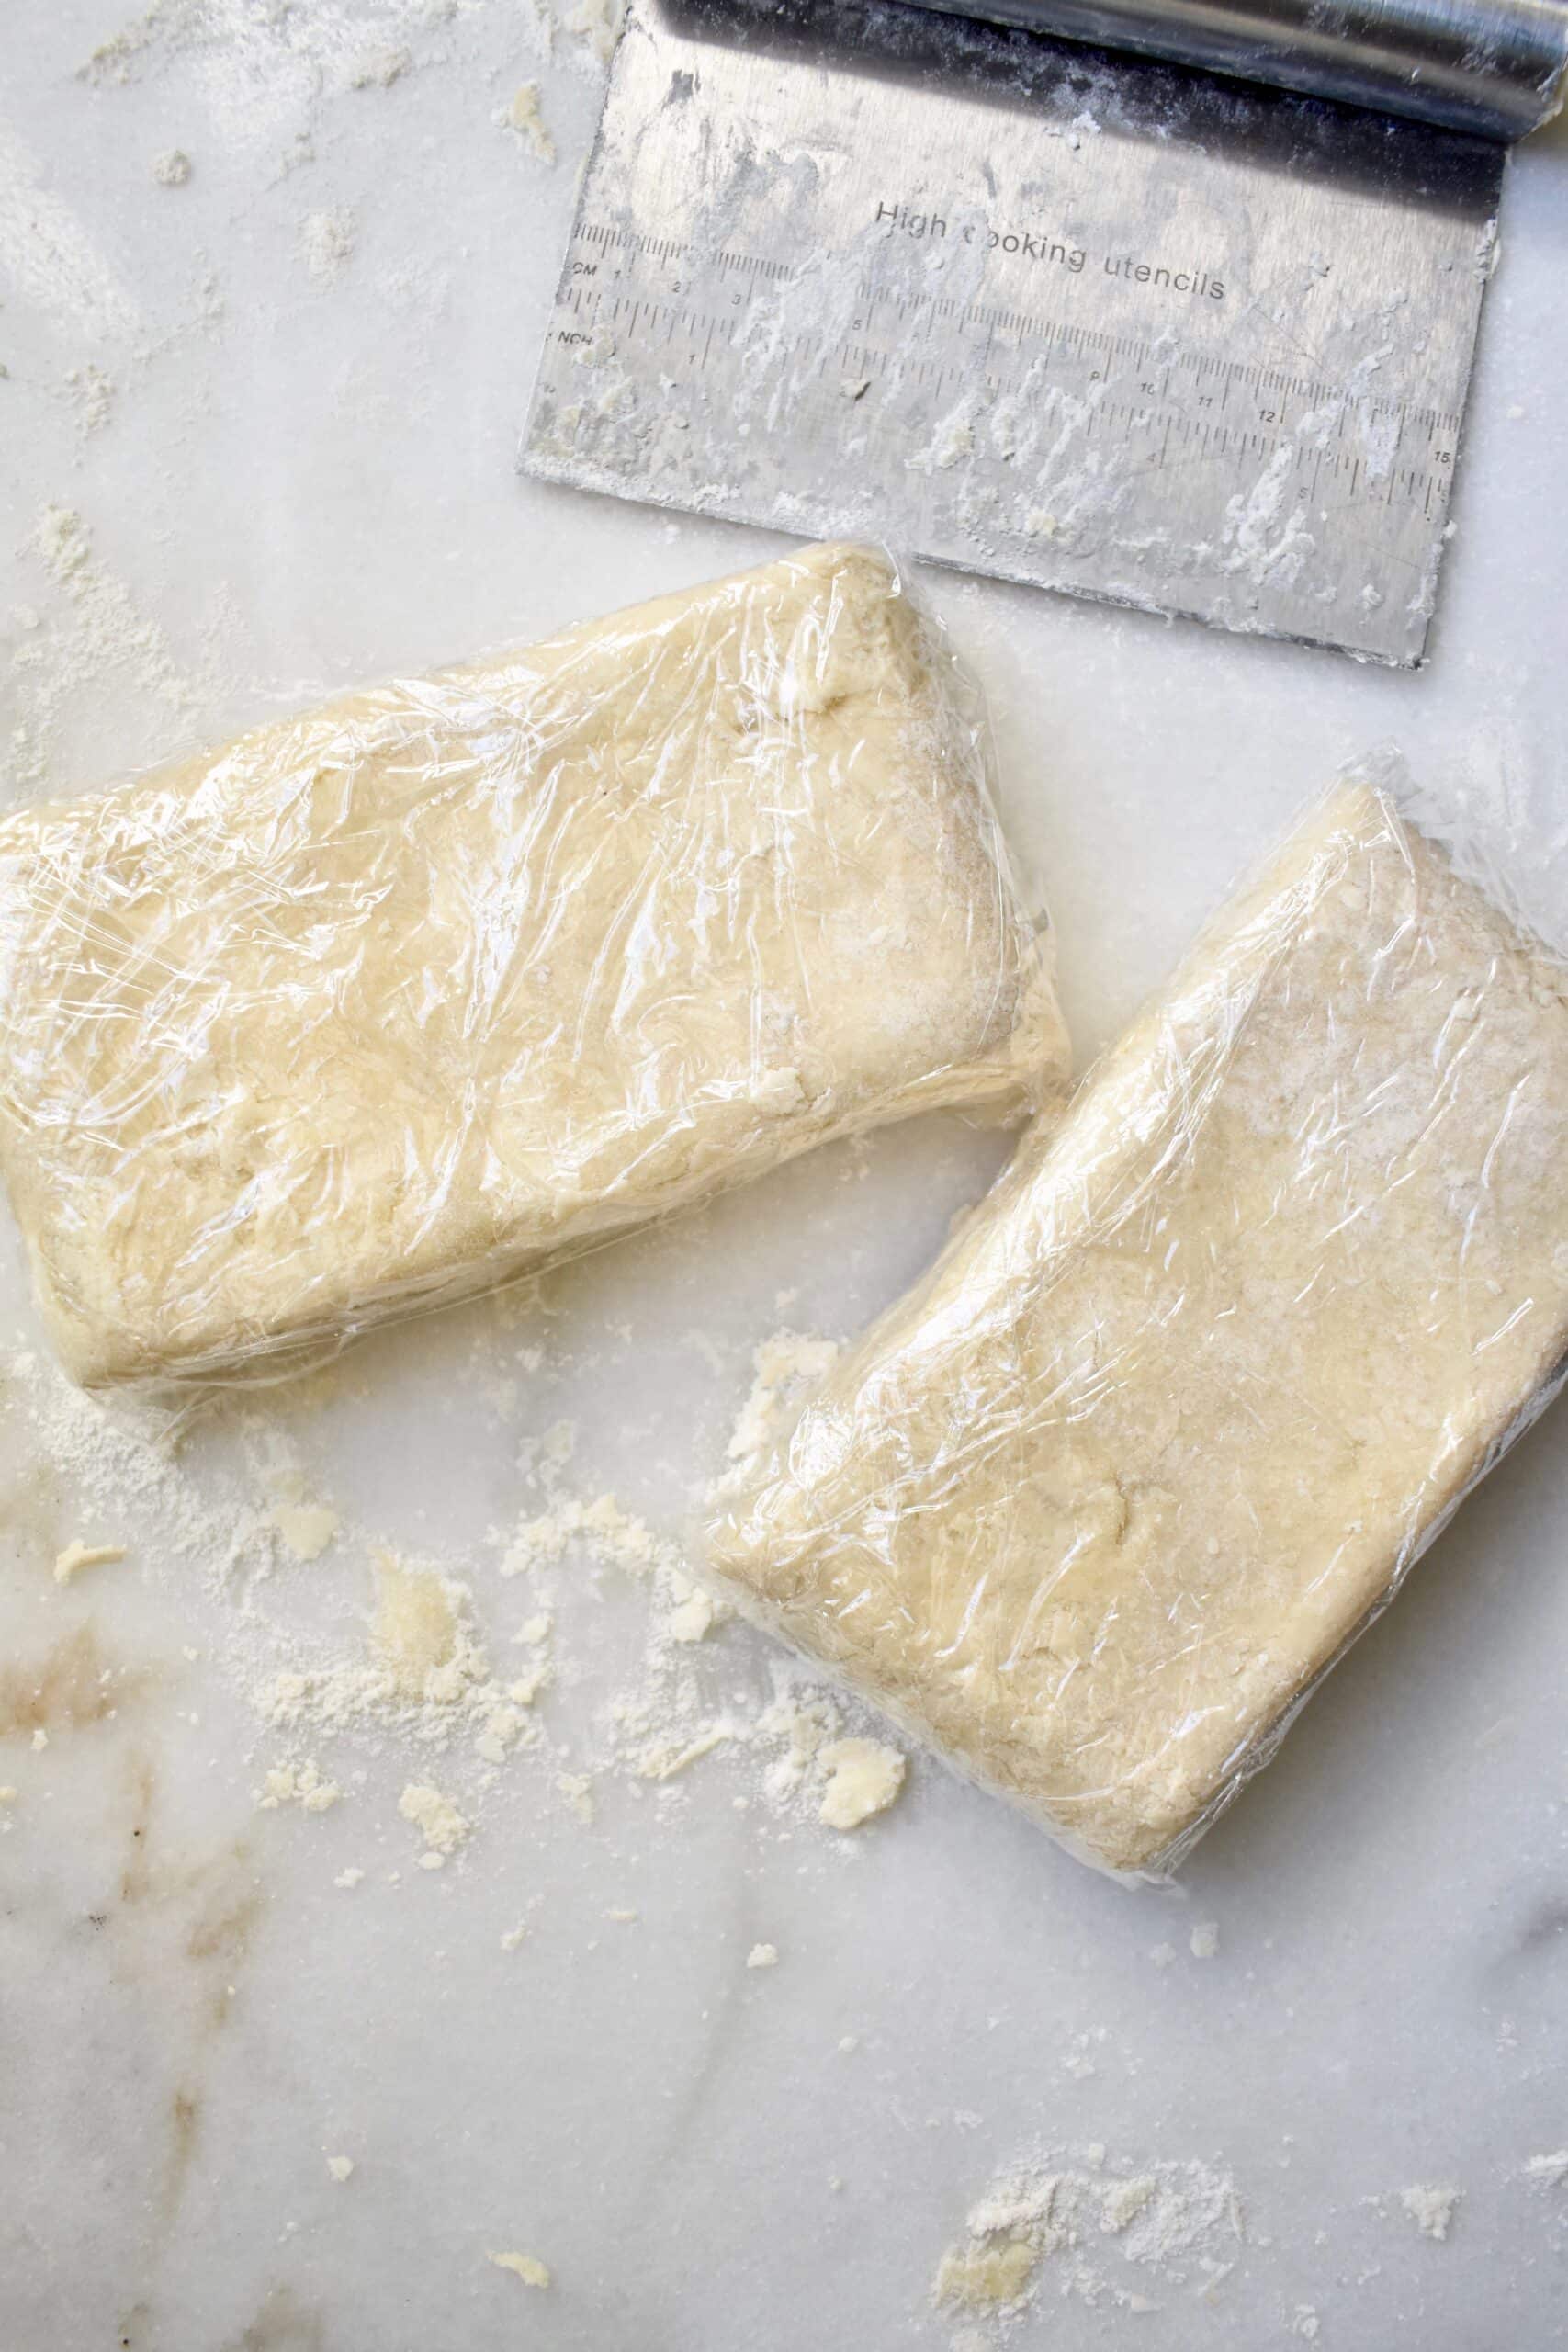
Wrap each section of dough in plastic wrap and chill in the refrigerator for about 30 minutes. All of the rolling and folding and rotating helps to create those flaky layers in the pastry we are looking forward too! (If this process seems familiar, I use this same pastry for my from scratch apple galette!)
Hand Pie Fillings
While the dough is chilling, use this time to make your preferred filling. Here are three options for you:
- Apple – Peel, core, and finely dice a large granny smith apple. Mix with 2 tablespoons sugar, 1/4 teaspoon cinnamon, a pinch of apple pie spice, and 2 teaspoons flour.
- Brown Sugar Cinnamon – Mix together 1 cup brown sugar, 4 teaspoons ground cinnamon, and 2 tablespoon flour.
- Strawberry – Use your favorite homemade or store-bought strawberry jelly.
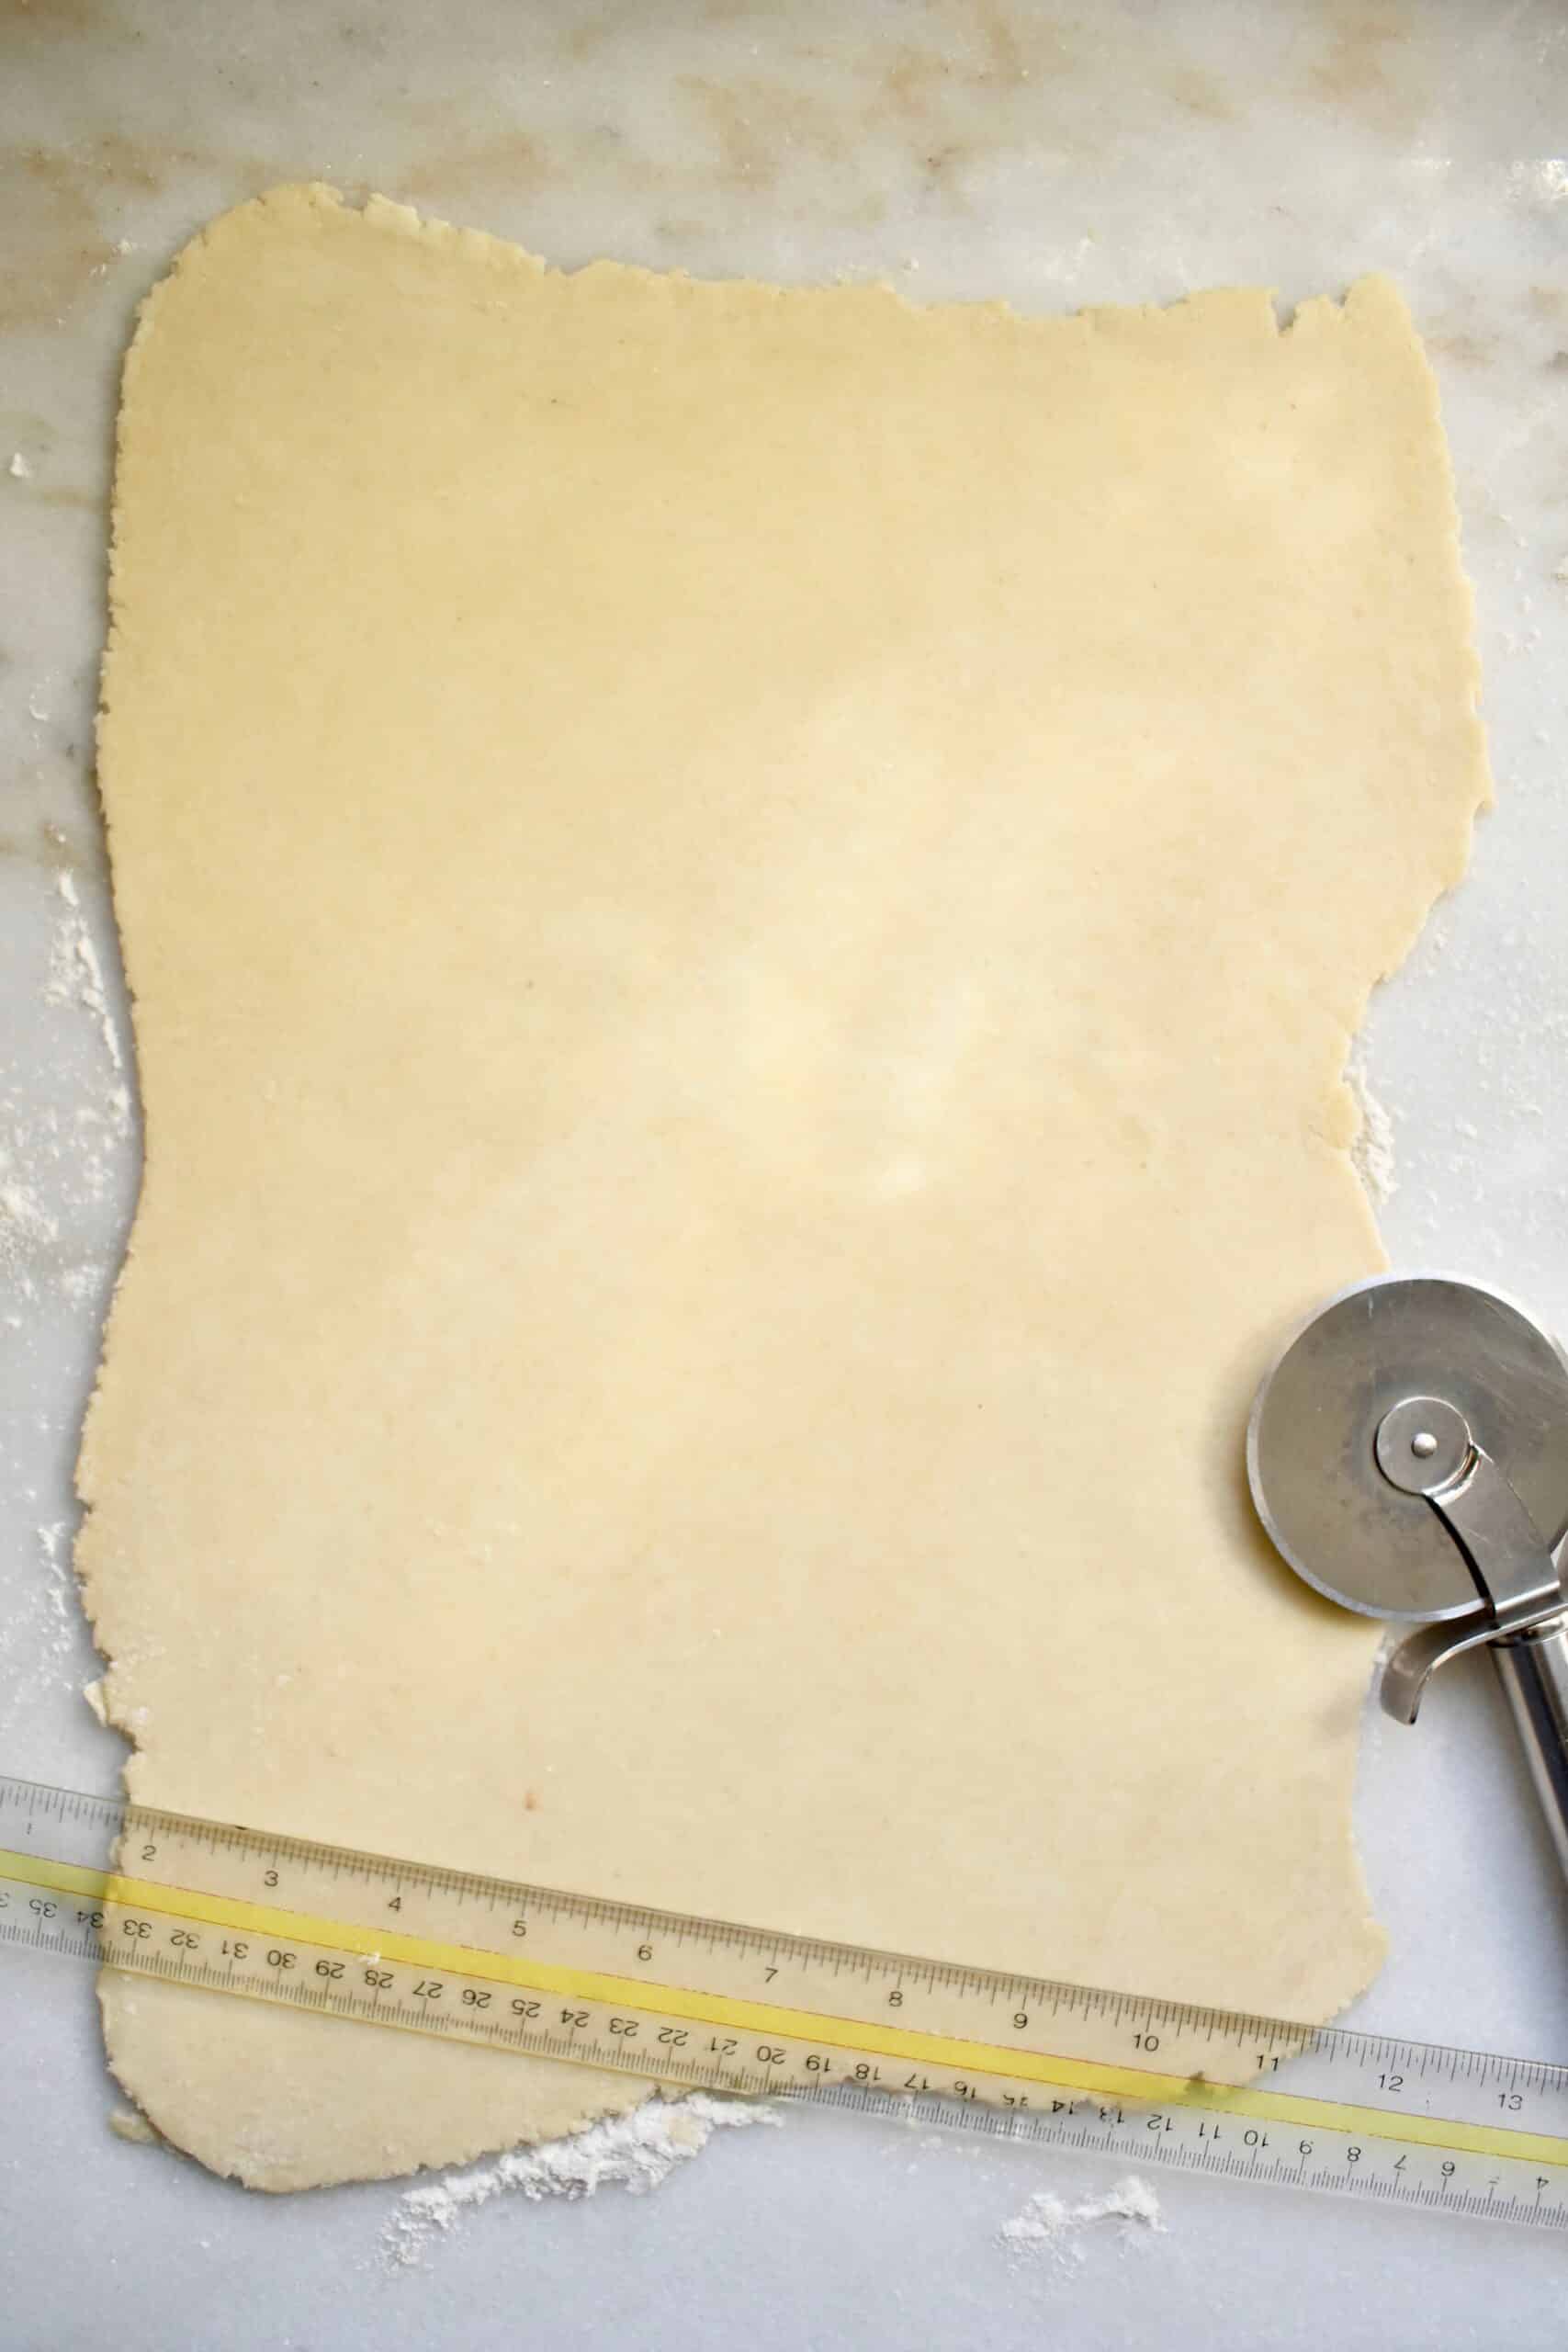
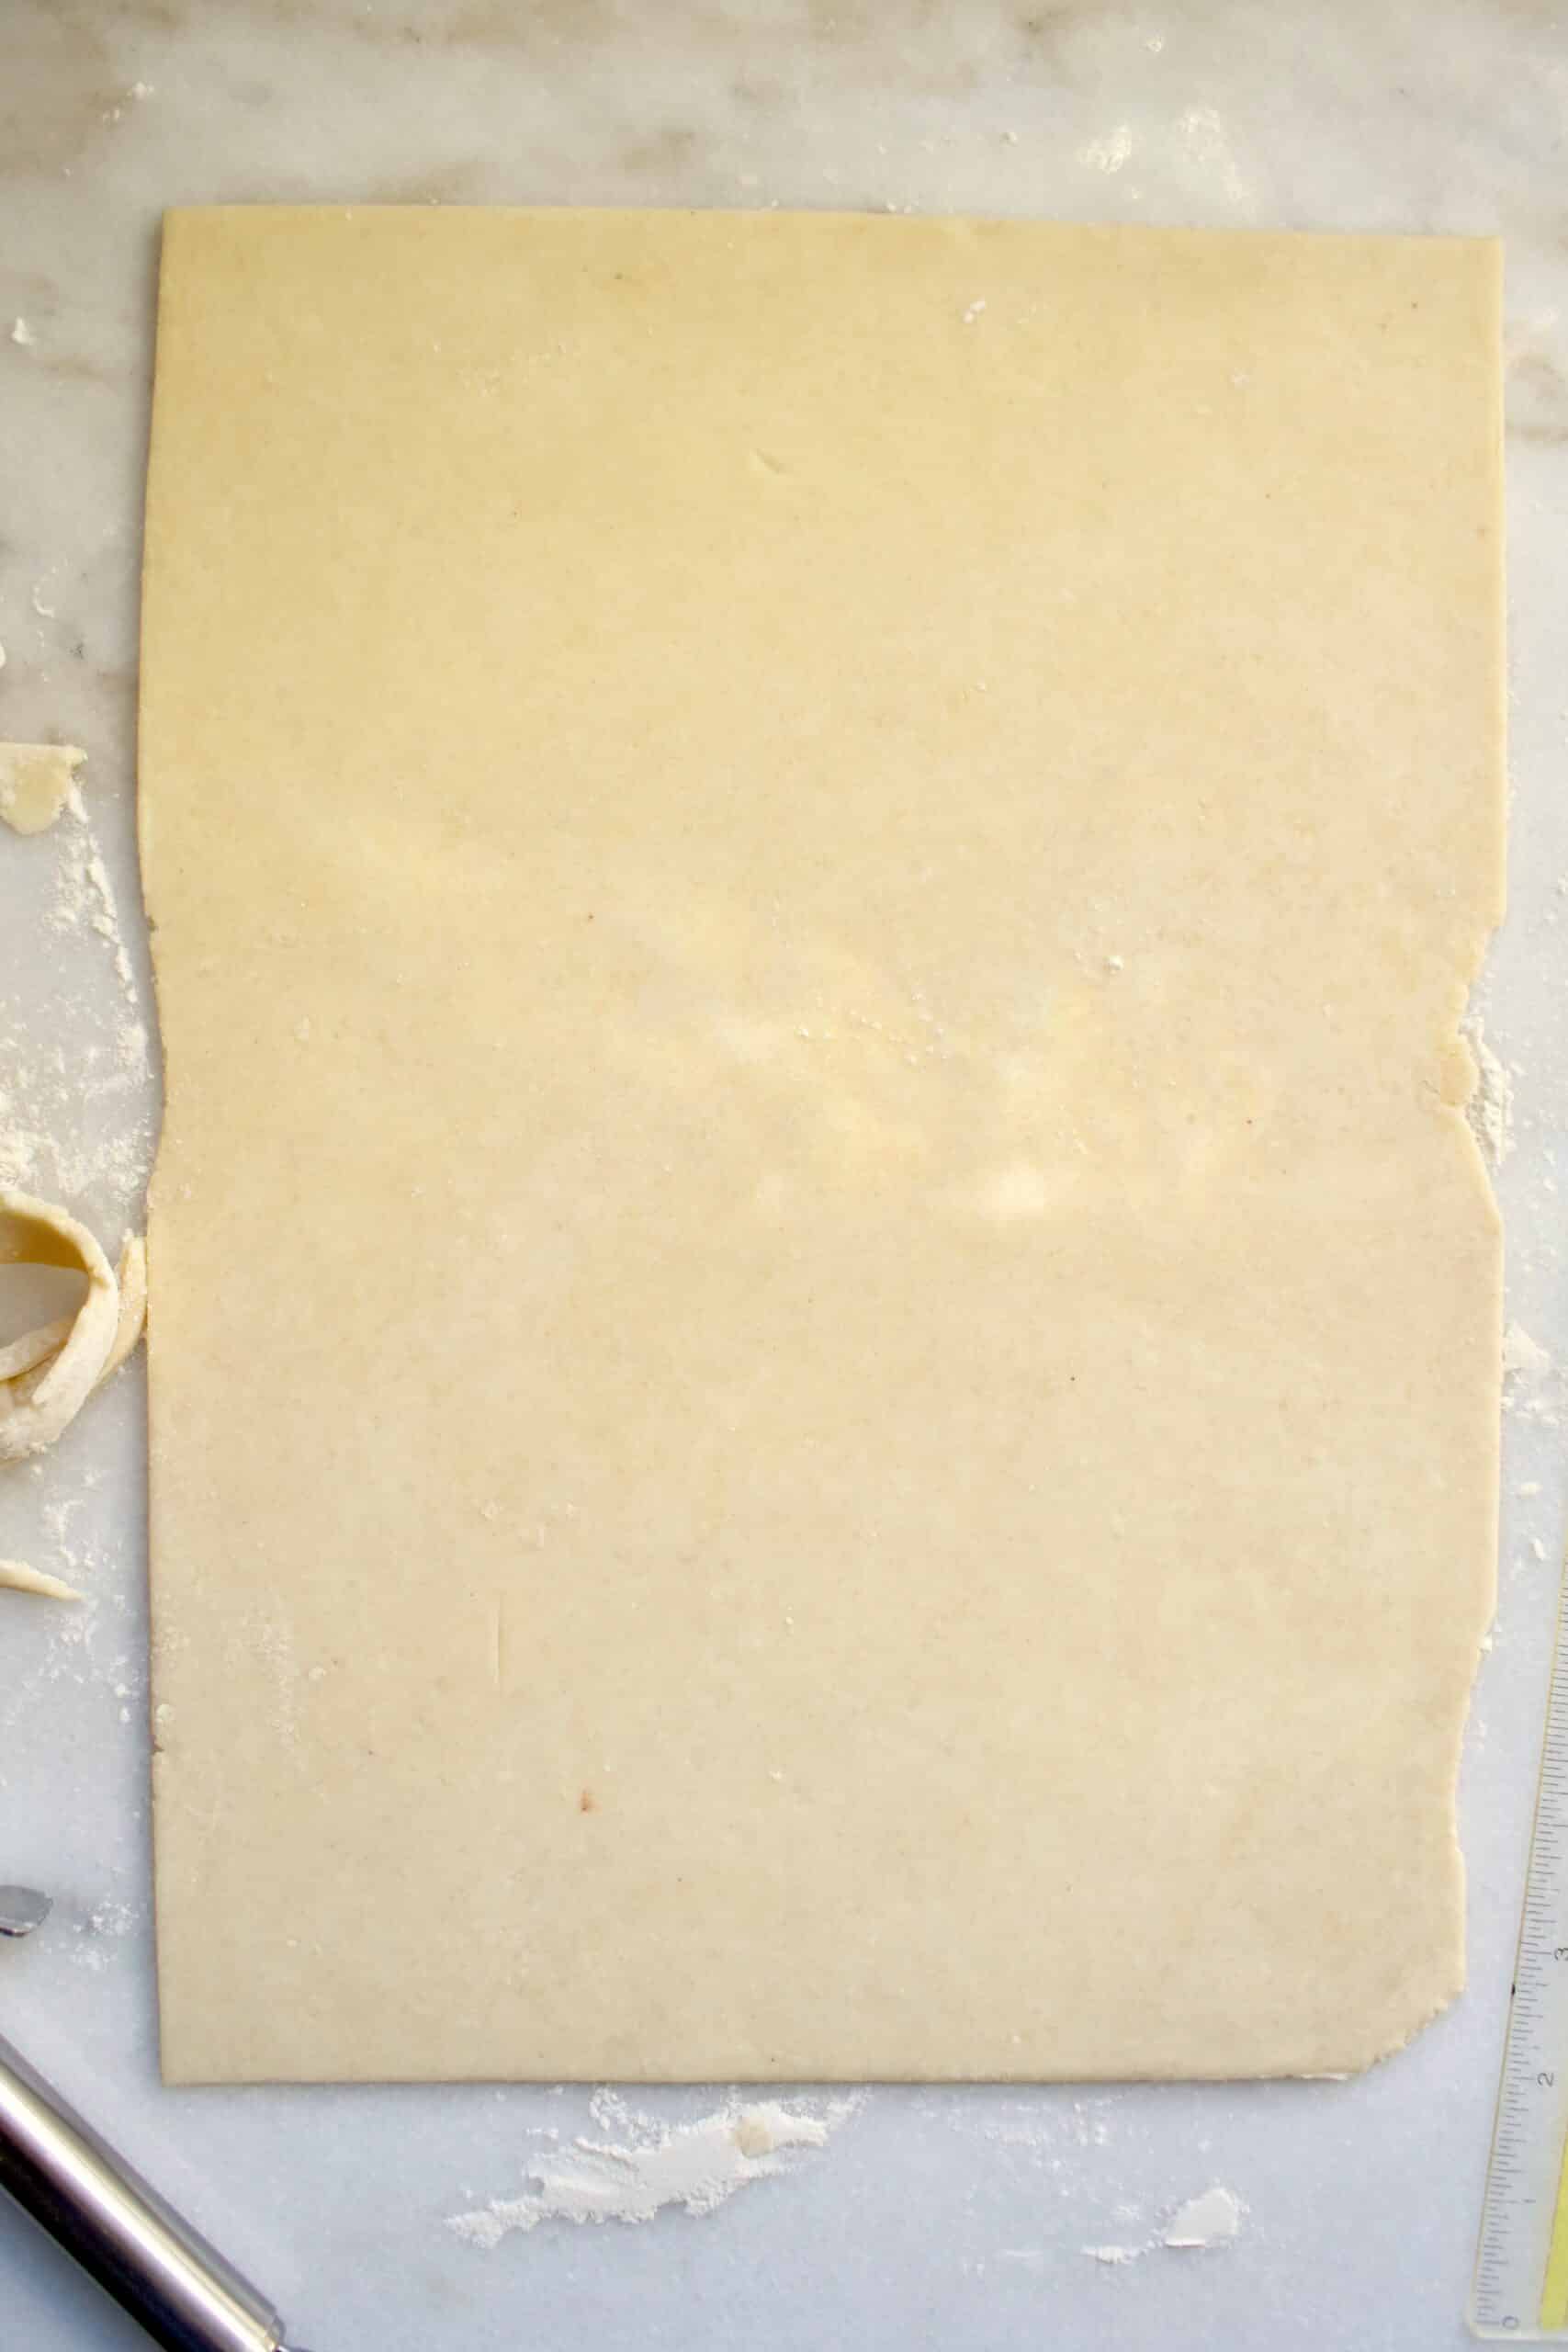
After the dough has chilled, bring one section out of the refrigerator and roll it out into a rectangle that measures roughly 10” x 14” and is about 1/8th inch thick. I find myself wanting to be somewhat precise at times, so I got out my ruler to mark rectangles that measured about 2.5” x 3.5”. These measurements will yield 16 pop-tarts. You can also just wing it and it will be perfectly fine! Use a pizza cutter or sharp knife to cut the rectangles, and then place them on a parchment lined baking sheet. Place the tray in the refrigerator to stay cool and repeat the process with the other rectangle of dough.
You should now have 16 rectangles for the bottoms and 16 for the tops of the pop-tarts. Make an egg wash [crack 1 egg into a small bowl, add 1 teaspoon of water, and whisk together with a fork], and lightly brush the bottom 16 pieces. Add 1 tablespoon of the desired filling to the center of the rectangle. Spread the filling out, but leave about 1/3 inch of space around the edge. Gently place the top piece of dough on and press the edges together with your fingers. Using a fork, work your way around the edges of the pastry pressing down to crimp the two pieces of dough together. Place the assembled pop-tarts back in the refrigerator for about 30 minutes so the pastry is nice and chilled before baking.
Before baking, brush the tops of the pop-tarts with the egg wash and use a tooth pick to poke a few small holes in the top for steam to escape. Then, bake for about 25 minutes at 350 degrees. Let them cool on the pan for about 5 minutes and then transfer to a cooling rack to cool.
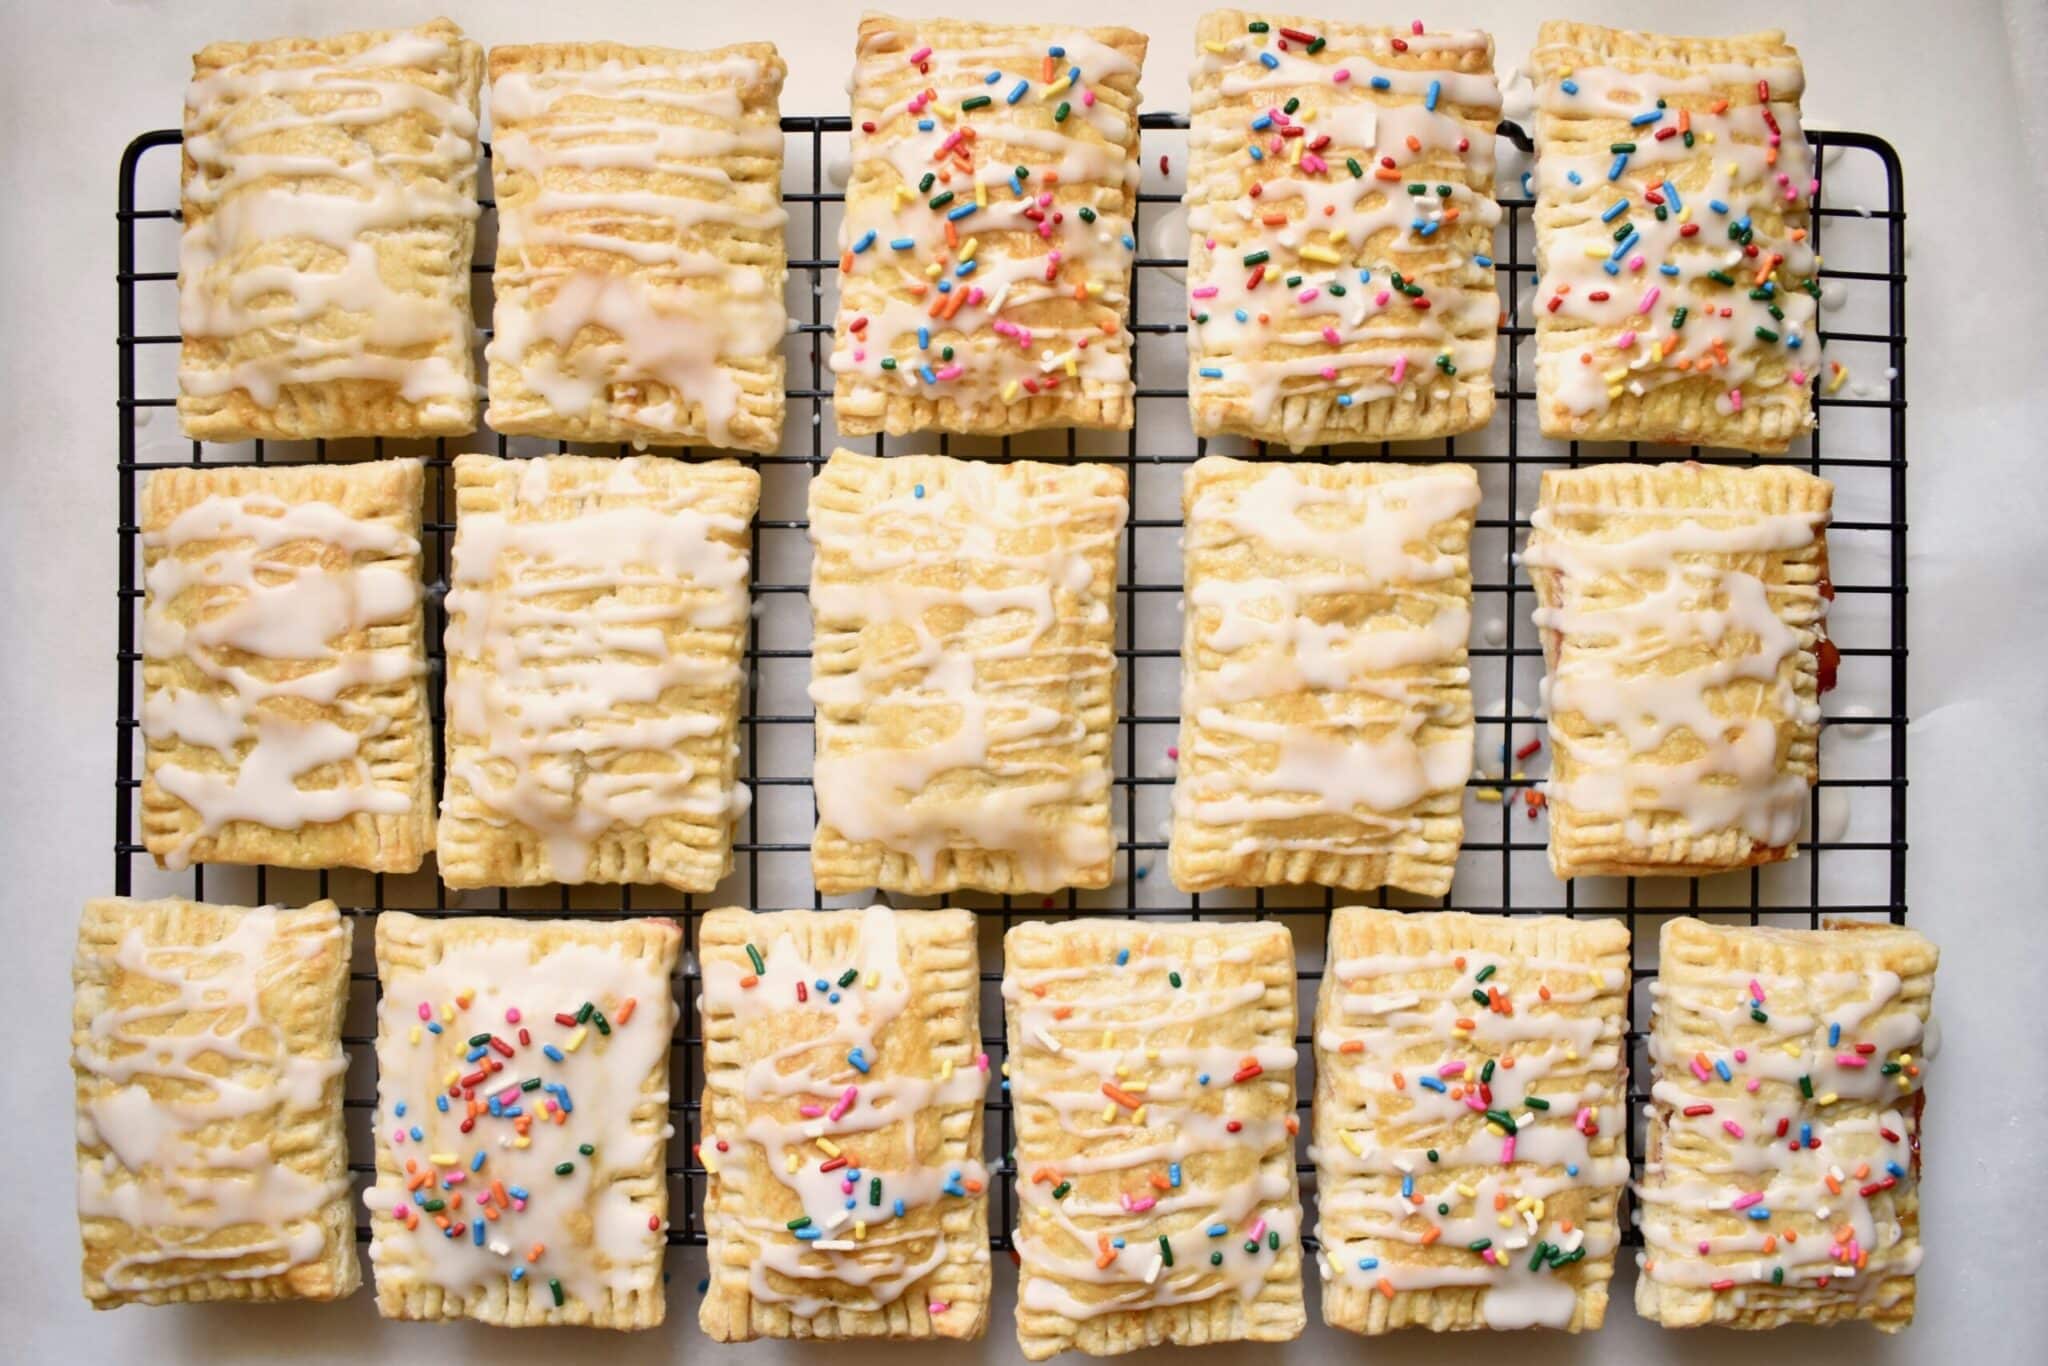
If you choose to frost the pop-tarts, be sure that they are completely cooled first. To make the icing, combine 1 cup of powdered sugar, a dash of vanilla, and 4 teaspoons of water. Drizzle the icing on top, and you can even add a few sprinkles!
I hope you all have so much fun with these!
Anna
Homemade Pop-Tarts
These small hand pies are a fun and fresh take on Pop-Tarts. Made with a crisp, flaky crust and your choice of filling, these are a fun addition to breakfast or as individual desserts for your next get together!
Source: The Little Blue Mixer
Course: Breakfast
Cuisine: American
Prep Time: 1 hr 40 min
Cook Time: 25 min
Total Time: 2 hr 5 min
Yield: 16
Serves:
Ingredients
- Pastry
- 2 2⁄3 cup all purpose flour
- 3 teaspoons sugar
- 1 1⁄2 teaspoons salt
- 1 1⁄2 cup unsalted butter chilled
- 8 tablespoons water iced
- 1 egg
- Apple Filling
- 1 granny smith apple peeled, cored, & diced
- 2 tablespoons sugar
- 1⁄4 teaspoon cinnamon
- Pinch apple pie spice
- 2 tablespoons flour
- Brown Sugar Cinnamon Filling
- 1 cup brown sugar
- 4 teaspoons ground cinnamon
- 2 tablespoons flour
- Strawberry Filling
- Strawberry jelly
- Icing
- 1 cup powdered sugar
- 1⁄4 teaspoon vanilla
- 4 teaspoons water
Directions
- In a bowl, whisk together the flour, salt, and sugar. Cut the butter into large, thin slabs and gently toss in the flour mixture until coated.
- Pour the mixture out onto your work surface. Using a rolling pin, roll the butter out until thin and flat. The mixture will be crumbly and not cohesive at all yet, and that is ok.
- Use a bench scraper to gather everything back into a pile. Pour 8 tablespoons of ice water on the pile and gently mix it together with your hands.
- Sprinkle the counter and rolling pin with flour and roll out the mixture again. Using a bench scraper, do your best to fold the dough over on itself in thirds, just like you would fold a letter. Gently slide the scraper under the dough and rotate it by 90 degrees.
- Roll the dough out again, fold it in thirds, and then rotate 90 degrees.
- One last time, roll the dough out, fold it in thirds and then fold in half to make a thick square. Using a bench scraper, cut the square in half so that you have two rectangles. Wrap each section of dough in plastic wrap and chill in the refrigerator for 30 minutes.
- While the dough is chilling, make your preferred filling. (Scale the filling recipe down if planning to make more than one filling.) Apple Filling – Peel, core, and finely dice a large granny smith apple. Mix with 2 tablespoons sugar, 1/4 teaspoon cinnamon, a pinch of apple pie spice, and 2 teaspoons flour. Brown Sugar Cinnamon Filling – Mix together 1 cup brown sugar, 4 teaspoons ground cinnamon, and 2 tablespoon flour. Strawberry Filling – Use your favorite homemade or store-bought strawberry jelly.
- On a lightly floured surface, roll out one section of dough into a large rectangle that measures 10” x 14” and is 1/8th inch thick. Trim the outside edges to be straight and then cut into small rectangles that measure about 2.5” x 3.5”. This will yield 16 pop-tarts. Place on a parchment lined baking sheet and keep in the refrigerator until needed.
- Repeat the same process with the other rectangle of dough.
- Make an egg wash – in a small bowl whisk together 1 egg and 1 teaspoon of water.
- Brush the bottom 16 rectangles with the egg wash. Add 1 tablespoon of filling to the center of the rectangle and spread, leaving 1/3 inch of space around the edge. Gently place the top piece of dough on and press the edges together with your fingers. Using a fork to crimp the edges of the pastry together. Place the assembled pop-tarts back in the refrigerator for about 30 minutes to chill.
- Before baking, brush the tops with egg wash and use a tooth pick to poke a few small holes for steam to escape. Bake for about 25 minutes at 350 degrees. Let cool on the pan for 5 minutes and then transfer to a cooling rack.
- To make the icing, stir together 1 cup of powdered sugar, 1/4 teaspoon of vanilla, and 4 teaspoons of water. Drizzle the icing on top of the completely cooled pop-tarts.
- Enjoy!


