Blog /

So…here we are again, new year, new cycle. A great time to decide to do one thing differently—maybe one for the year, or one every month. Over the years, I have found that making ONE change is manageable—not asking too much, not overwhelming. Maybe it is learning how to fit traditional foods into your busy life! I encourage you to pick one thing you would like to do differently this year—whether it is making fermented foods like sauerkraut, learning to make homemade yogurt, or starting to cook with traditional fats like tallow, duck fat, and lard. Hopefully, this blog will help you do some of this!
Many people I have met over the years have told me that they “don’t have time” to cook real food for their families. I would reply with: how did they fit all of their appointments into their lives? Didn’t they use a calendar (who remembers Day-Timers?) or a planner to keep track?
Inevitably, they did. So, I suggested that part of eating well and cooking real food was giving it the same importance as a visit to the dentist or regular maintenance for their vehicles. Schedule time in! You and your family are worth it. Plan it! Plan what you are going to eat, plan where and when you are going to shop or source your ingredients.
Lucky for us, the Plan to Eat folks came along and built the Plan to Eat app! It makes everything simpler for us, with its recipe clipper, meal planning calendar, and automated grocery list maker! Plan to Eat is designed to help us eat, because we plan what we will eat, on a weekly basis.
What I am suggesting in this blog is that you also plan to make one change this year (or this month), and that change will be to increase the amount of nourishing, traditional foods in your diet. That means to choose to add one new type of food or learn one new cooking technique this year (or this month). Here are some ideas for you. Making homemade will not only save you money, but really does not take that long! Promise!
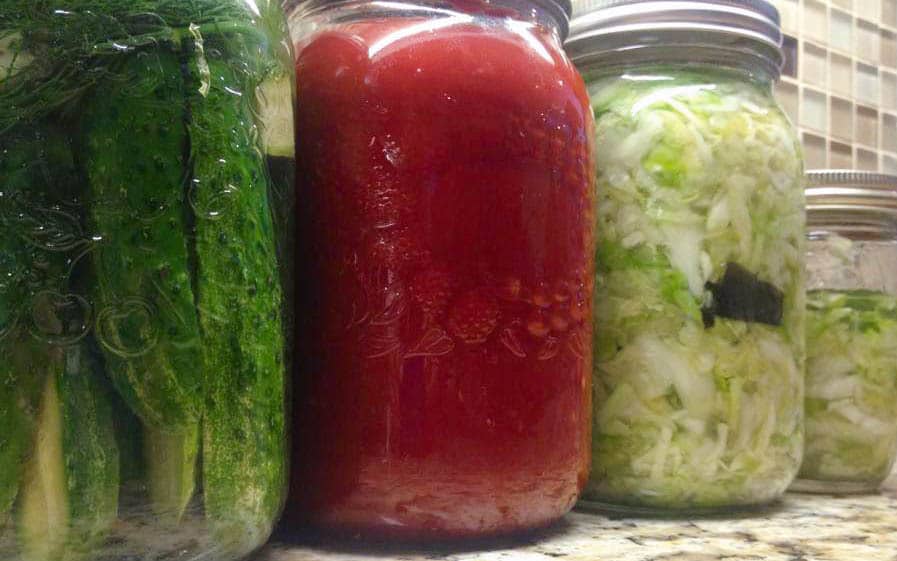
Let’s take ferments. Lacto-fermented foods like sauerkraut, pickles (not “pickled” pickles, but fermented ones), kimchee, and fermented beet juice (aka beet kvass, or “Gut Shot” if you buy it in the store) are incredibly good for you. They provide beneficial bacteria, lactic acid, lots of vitamin C, some B vitamins, enzymes, and so much more. All of these things are critical to your digestive system function and to your immune system. Sure, you could buy them in the store (and in a pinch, I suggest that you do, in order to keep them in your diet should you run out of your own)—but it is far more economical and fun to make them at home. With some prior planning, you can have these nutrient powerhouses in your diet on a regular basis.
Truth be told, putting up ferments takes very little time—the bulk of the time is spent while Mother Nature does the work of fermentation. You purchase and prep and put together. Then you wait for the magic to take place. Here is what I suggest if you would like to add lacto-ferments to your life. How to fit making ferments into your busy life? I have found that if you ferment once a month you will have enough. Block about 2-3 hours for prepping and putting them up once a month. That’s all it will take!

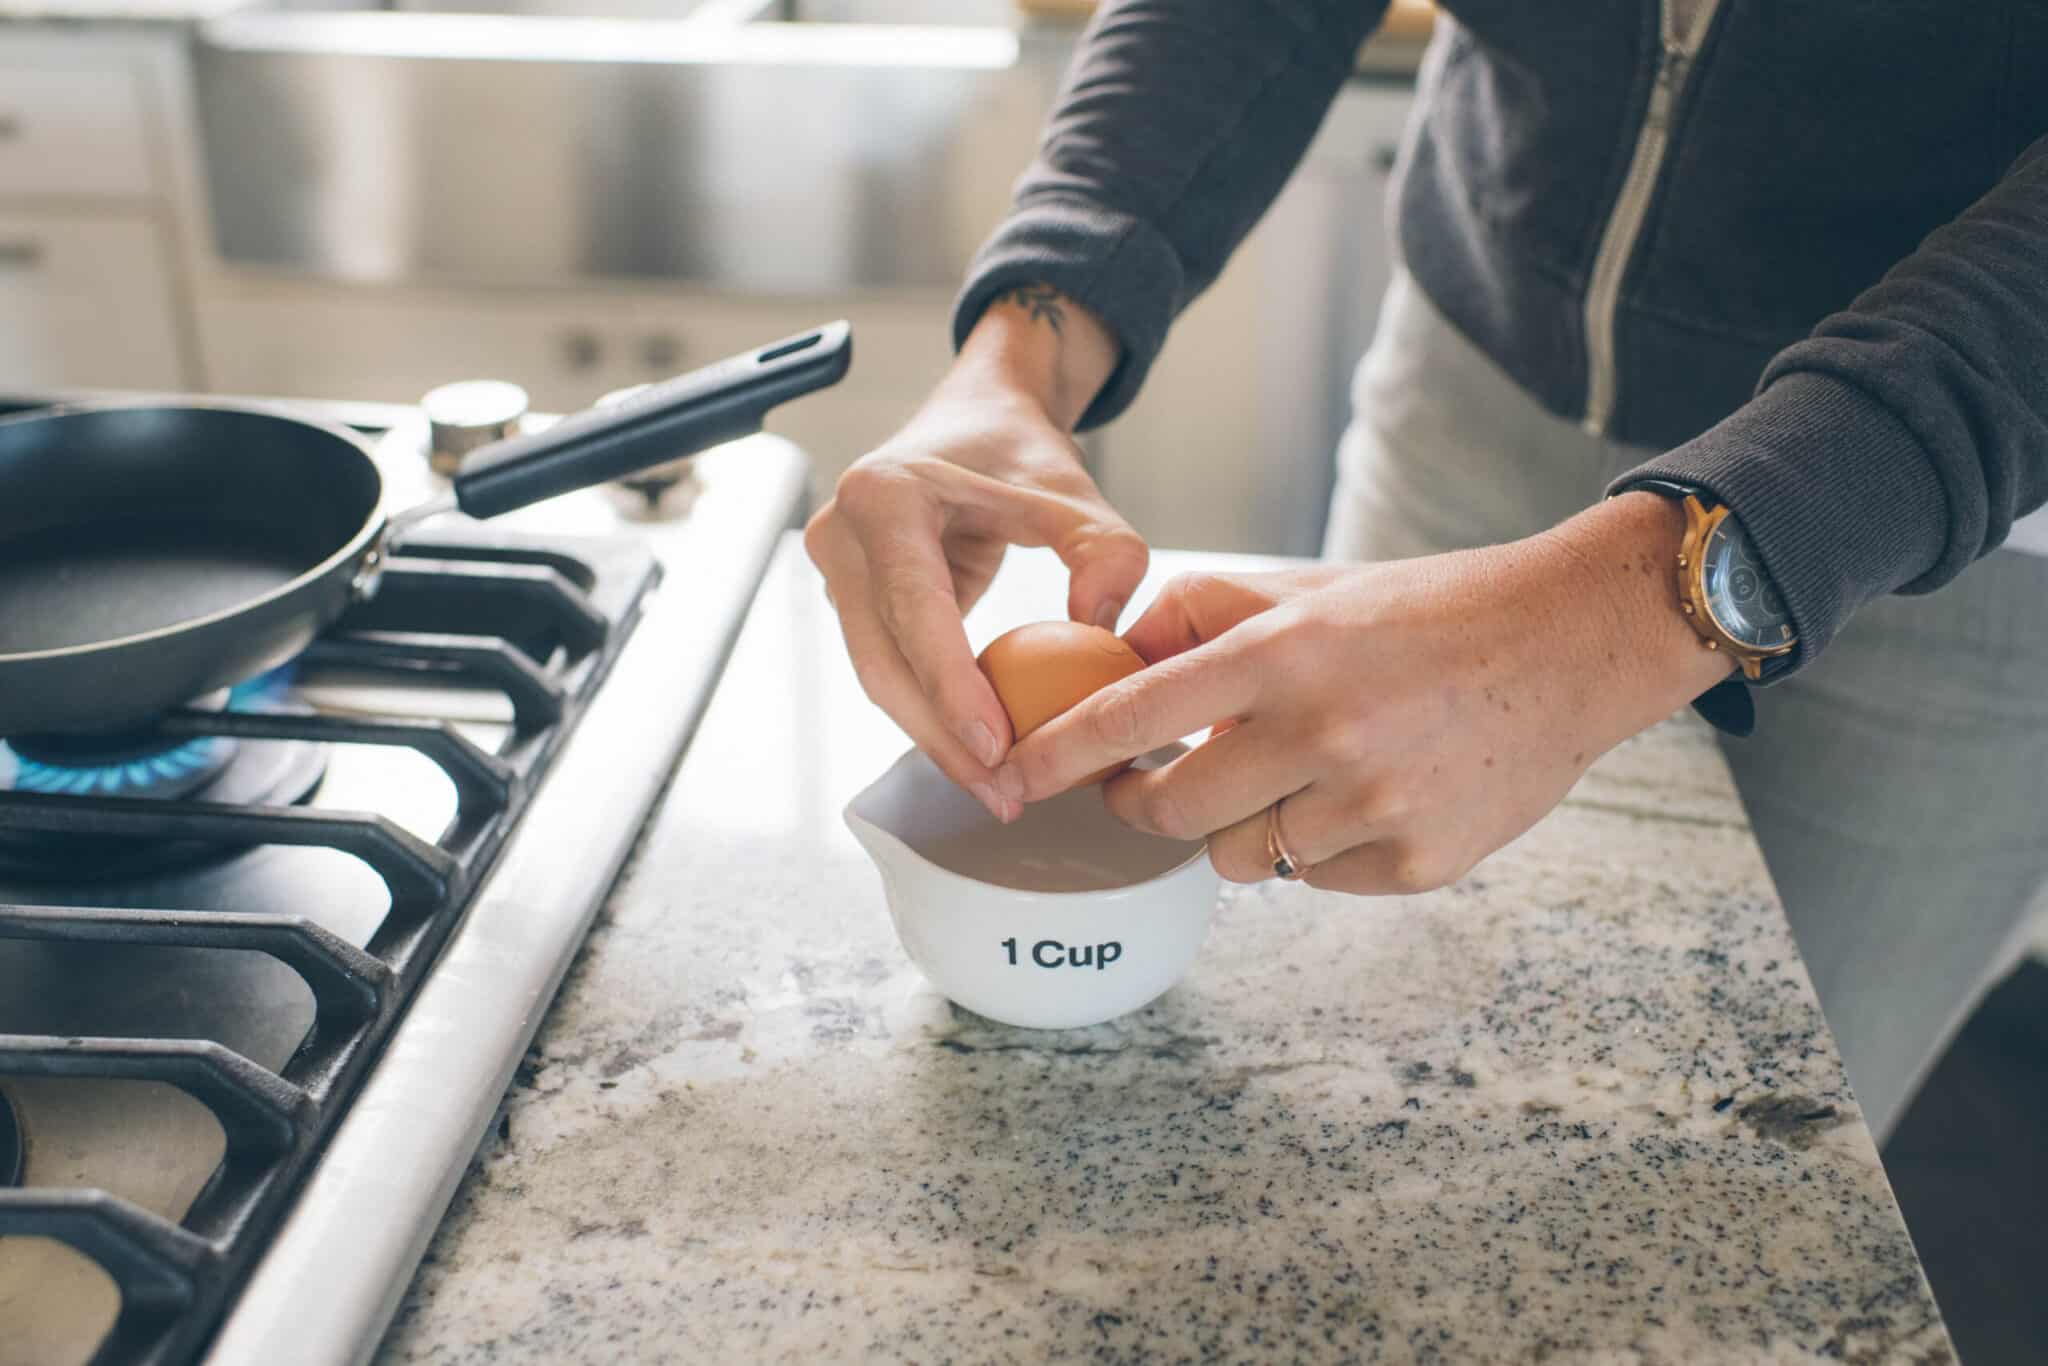
How about making your own yogurt? I know, with so many yogurts available commercially, why would you bother? Because you can control the quality of the yogurt you are eating. Because so many yogurts have fillers in them, like pectin and locust bean gum due to the inferior quality of the milk they are using (yes, even organic brands add thickeners!). Because the vast majority of commercially made yogurt is not cultured long enough to be free of milk sugar, lactose!
So, if the one thing that you would like to do differently this year is to make homemade yogurt, how would you fit that into your schedule? Depending upon how much yogurt you eat, and/or how big your family is, I have found that making yogurt once a week or every other week is enough. How long does it take to make yogurt? Again, like lacto-fermentation, the bulk of the time is spent waiting for the milk to culture—on your counter in a thermos or in a yogurt maker. (If you would like to be sure that the yogurt you make is free of lactose, plan for 24 hours of culturing.)
Making yogurt consists of heating the milk. If it is pasteurized milk, this step will take longer because you will first need to heat it to 180°F/82.2°C, and then cool it down to 110°F/43.3°C before you can add the cultures. This takes time to do. Add 20-30 minutes to your process if you use pasteurized milk. If you are using raw milk for your yogurt, you will only heat it to 110°F/43.3°C. (You can learn more about why this is, as well as multiple techniques for making yogurt and other cultured dairy in my book The Complete Cooking Techniques for the GAPS Diet.) After the heating or heating and cooling 15-30 minutes, culturing takes less than a minute or so. Then, 24 hours on the counter.
So…how much time do you have to allow for to provide nutritious, delicious, homemade yogurt to your family and yourself? A maximum of 45 minutes, I would say! Including clean up! In a cost-benefit analysis, making homemade yogurt wins! (and did I mention it is a lot cheaper than its store-bought cousin, too? Win! Win! Win!) Lacto-fermentation and making yogurt are just two of the traditional cooking techniques you could add into your repertoire this year if you have not done so already.
I hope I have busted the myth that making lacto-ferments or yogurt is too time-consuming. (Making crème fraiche aka cultured cream, or kefir would take even less time!) Again, I encourage you to try a new technique this year—for the fun of it, for the ease of it, for the money-savings of it…and most of all, to add precious nutrient-dense foods to your and your family’s diet.
The following is a recipe for homemade yogurt. It uses yogurt as a starter. You may also use whey (dripped from yogurt) or cultured cream/crème fraiche as your starter. Different textures (using whey will yield runny yogurt) but yogurt, nonetheless!
Homemade Yogurt
Makes a bit more than 1 quart
Ingredients:
1 quart raw milk, or organic milk from grass-fed cows (pasteurized okay, but not UHT)
1/3 cup yogurt, store-bought or previous batch
Instructions:
Thermos (40 oz., wide mouth is best):
1. Heat raw milk to 110°F. Alternatively, heat pasteurized milk to 180°F, then cool to 110°F.
2. Pour yogurt into the thermos. When the temperature of the milk is 110°F, add it to the thermos. Cap tightly and hold at 110°F for a minimum of 24 hours. When done, pour into a glass jar, cap tightly and place in refrigerator.
Yogurt maker:
1. Whisk milk and starter together well.
2. Place in yogurt maker for a minimum of 24 hours.
3. When done, pour into glass jar and refrigerate.
Until next time, all the best to you on your journey to well-being!
Monica
Monica Corrado, MA, CNC, CGP is a teaching chef, Certified Nutrition Consultant, and Certified GAPS Practitioner who is passionate about illuminating the connection between food and well-being. A member of the Honorary Board of the Weston A. Price Foundation for almost 20 years, Monica is a dynamic teacher, speaker, consultant, and author who lives to share the tools, knowledge and inspiration to cook nourishing, traditional food. Monica is also The GAPS (Gut and Psychology Syndrome™) Chef”, and teaches cooking for the GAPS diet for Dr. Natasha Campbell-McBride’s GAPS Training team.
www.simplybeingwell.com
FB: Simply Being Well: Cooking for Wellbeing
Twitter: @simplybeingwell
IG: mcsimplybeingwell
Homemade Yogurt

Source: Monica Corrado
Course: Cultured Dairy
Yield: 1 quart
Serves:
Ingredients
- 1 quart raw milk or organic milk from grass-fed cows (pasteurized okay, but not UHT)
- 1⁄3 cup yogurt store-bought or previous batch
Directions
- Thermos (40 oz., wide mouth is best):
- 1. Heat raw milk to 110°F. Alternatively, heat pasteurized milk to 180°F, then cool to 110°F.
- 2. Pour yogurt into the thermos. When the temperature of the milk is 110°F, add it to the thermos. Cap tightly and hold at 110°F for a minimum of 24 hours. When done, pour into a glass jar, cap tightly and place in refrigerator.
- Yogurt maker:
- 1. Whisk milk and starter together well.
- 2. Place in yogurt maker for a minimum of 24 hours.
- 3. When done, pour into glass jar and refrigerate.
Powered by![]()