Blog /

In this article, we are going to learn about lacto-fermentation by making sauerkraut—a very healthful food for this season. In future articles, we will explore the topic of lacto-fermentation further.
Autumn is just around the corner, and for many people, the change of season can mean sniffles and sneezes! Moving from summer to fall, and all the transitions it brings can usher in immune challenges. Back to school increases our exposure to germs. Our bodies need to “recalibrate” from hot weather to cooler and damper weather. Spores and mold from falling leaves can stress our respiratory tract.
In Chinese medicine, autumn is the season of the lungs and large intestine, organs that are about detoxification and letting go. Fall weather can be challenging to our lungs and upper respiratory systems and give us symptoms that are not comfy—such as sniffles, sneezes, and mucous— as our immune system copes with all the changes. Luckily, this season is also time to start “putting up” or preserving the bounty from our gardens. Lacto fermentation is perfect for this season, for so many reasons. Yes, it’s time to make the sauerkraut…but first, what is lacto-fermentation?
What is Lacto-fermentation?
Lacto-fermentation is a traditional method of preserving food. It is one of the OLDEST ways of doing so…dating back to about 6,000 BCE, when someone thought to throw (or accidentally threw) some salt on vegetables, and the veggies did not rot. Since those times, humans have invented fancier (and more expensive) ways to preserve foods…most notably the refrigerator and freezer. But before refrigeration, there was lacto-fermentation. (Even canning is a “newbie” on the food preservation front, having started in 1809, to preserve food for army and navy use. Canning has nothing on lacto-fermentation in terms of health benefits. After all, “shelf-stable” means “sterilized”, or dead. But more on that later.)
Lacto-fermentation preserves food by way of lactic-acid producing bacteria. (That’s where the “lacto-“ comes from. It does not mean “lactose”, a milk sugar which some people try to avoid.) Lactic-acid producing bacteria are also known as “lacto-bacilli” or “LAB”. They are what I have, for years, called “gut good guys”, aka beneficial bacteria. These beneficial bacteria eat the sugar in your vegetables or fruits and partially digest them, and in exchange give off lactic acid and carbon dioxide. The lactic acid preserves the food.
Why Ferment?
We lacto-ferment food to preserve it, but that is not all! Lacto-fermentation is also a “value added” process! That means you get more out than you put in. Extra value to your veggies. We already know that vegetables are good for us, but how about making them “extra good”? Lacto fermentation adds “gut good guys” for your GI tract that help you digest your food and aids your immune function. How about some extra vitamin C for those sniffles? Yep! B vitamins? Yes-sir-ee! Enzymes? Yes again. Some lacto-ferments are even anti-carcinogenic and can help stabilize blood pressure.
What else does lacto-fermented food do? It can increase hydrochloric acid (HCl) in the stomach, which you need to digest protein, and can help break down fats in the liver. Sounds like a lot of good reasons to ferment. (For more information about the benefits of lacto-fermentation, see The Complete Cooking Techniques for the GAPS™ Diet, page 156.)
How to Lacto-ferment!
It’s easy! At its base, all you need is the vegetable, salt, and pure water, and something to put the vegetable in while keeping air (and physical contaminants like dust, dog or cat hair, or bugs, etc.) out. You may choose to use a “starter” or something to inoculate the vegetables, but it is not necessary.
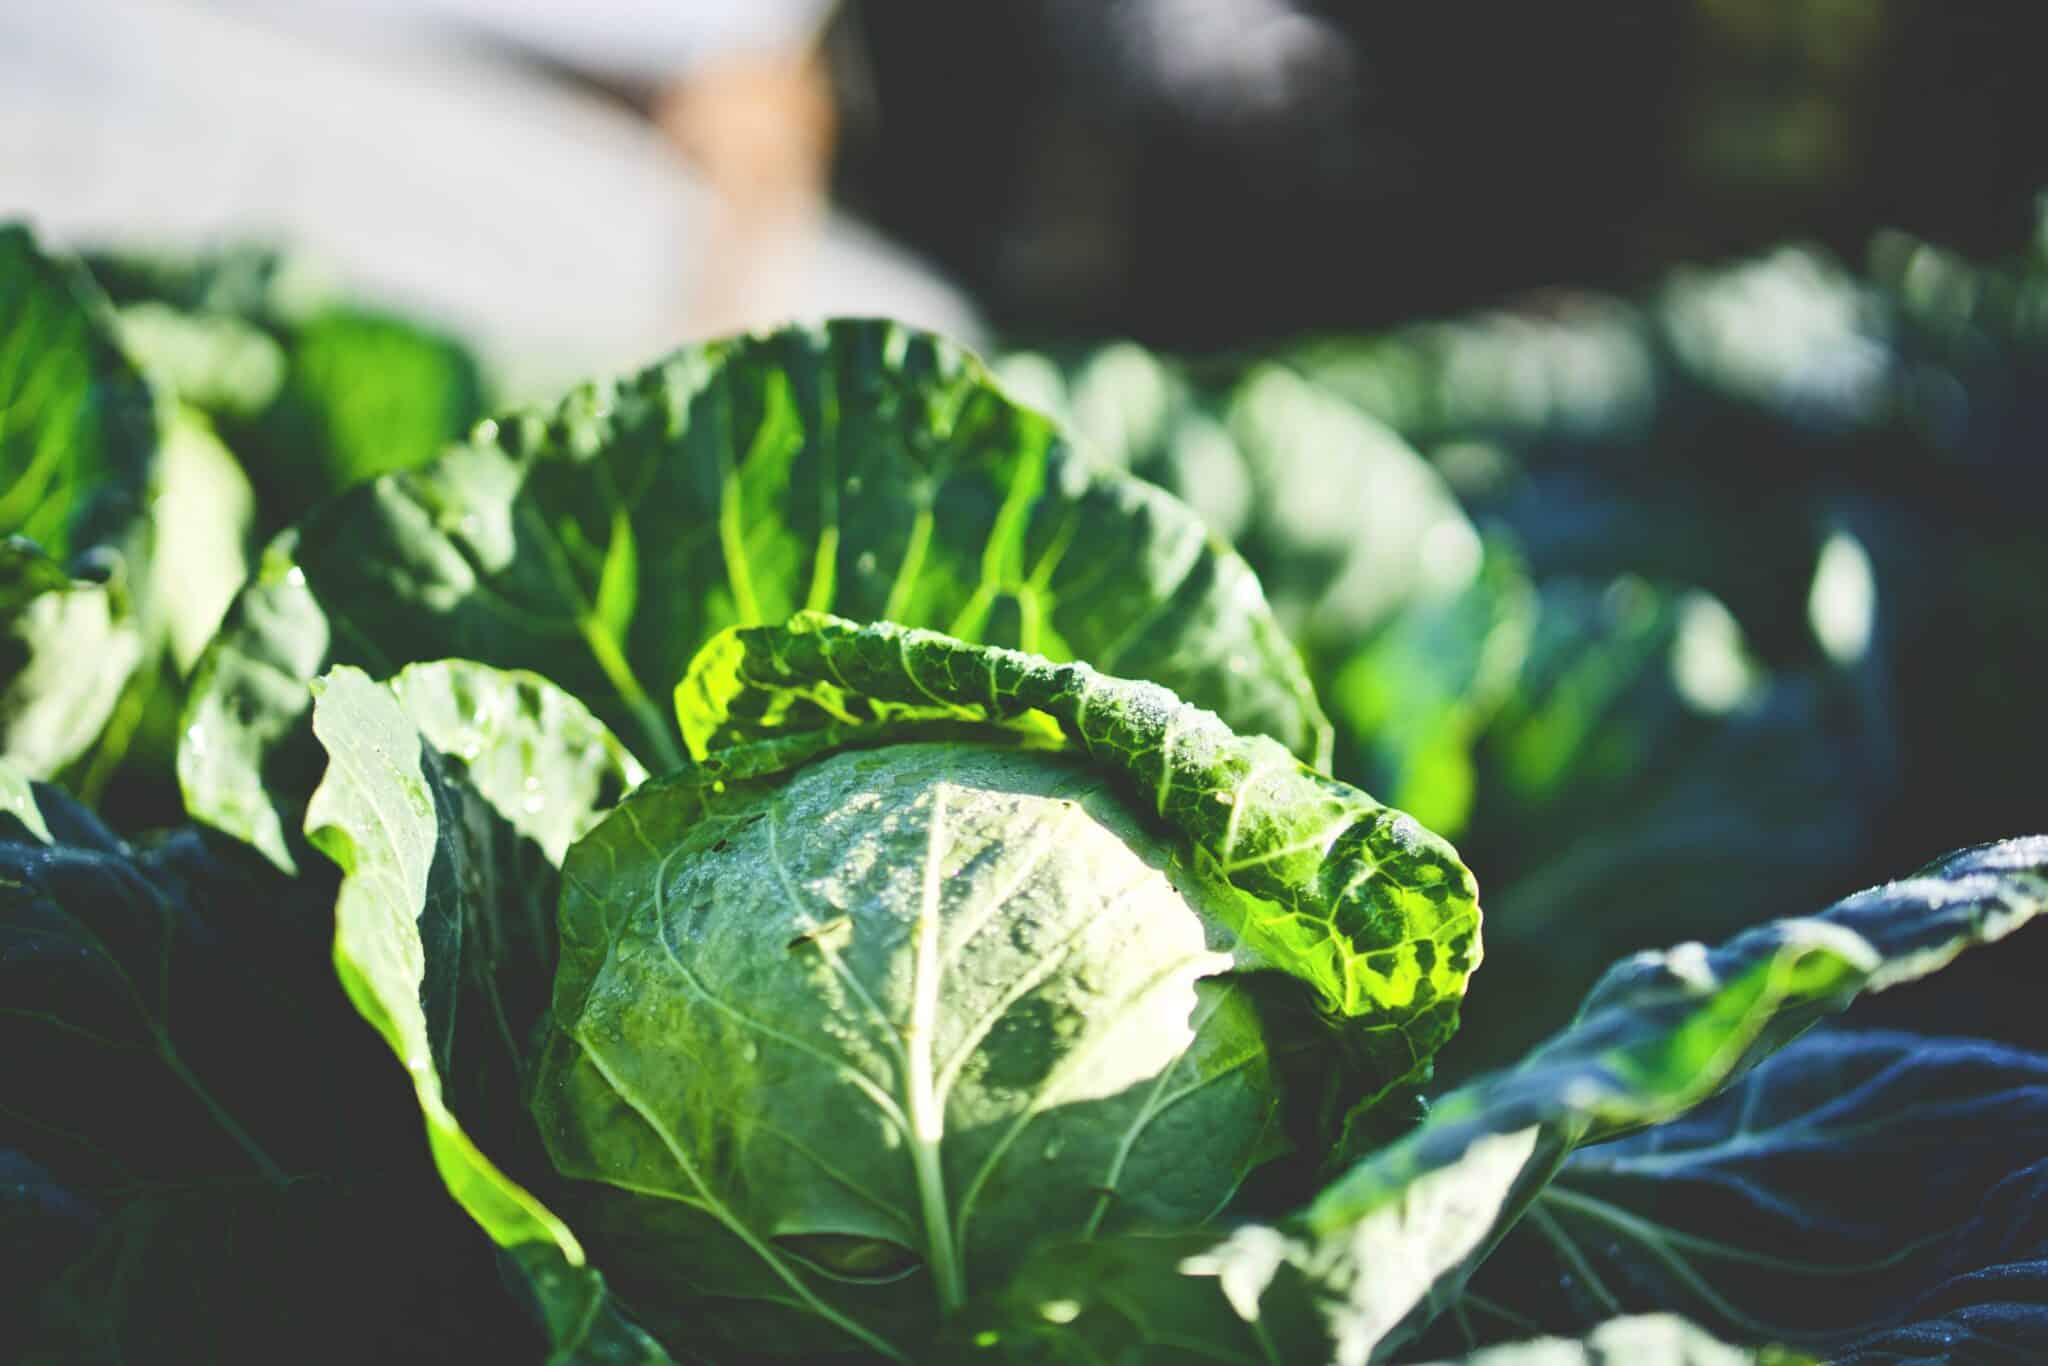
First, I will go through the equipment you need, and then I’ll go through a few ways to lacto-ferment. You can choose whichever method you would like. Just start somewhere! It’s fun, it’s easy, it’s inexpensive, and the benefits are great! I am going to start with sauerkraut, because cabbage is naturally remarkably high in real vitamin C that is easy for the body to use (aka “bioavailable”) and fermenting it makes it even more so!
Equipment for Lacto-fermenting Vegetables:
- Wide-mouth mason jars with canning lids (2 piece) to fit—1 quart for the recipe below
- A tablespoon-measuring spoon
- Stainless steel bowl—for the recipe below (in which to pound cabbage)
- Wooden or bamboo cutting board, medium to large is best
- Sharp knife (I like Santoku knives; easy to handle)
- Meat pounder
- Canning funnel
Sauerkraut Recipe
Note: do not over-pack the cabbage because it will expand as it ferments. Leave about 2 inches of space between the cabbage and the lid, and it will have plenty of room. This will prevent the jar from leaking onto your counter, as well as the need to “burp” your ferment.
Fermentation is an anaerobic process – lactobacilli do not like oxygen, so be sure to tighten the cap well when you put it up on your counter.
This recipe yields one quart of sauerkraut.
Ingredients
1 medium cabbage (any color or type)
1 tablespoon caraway seeds (optional)
1 tablespoon sea salt
4 tablespoons whey (optional, see below for sources)
No whey option: Increase salt to 2 tablespoons, leave out the whey
Instructions
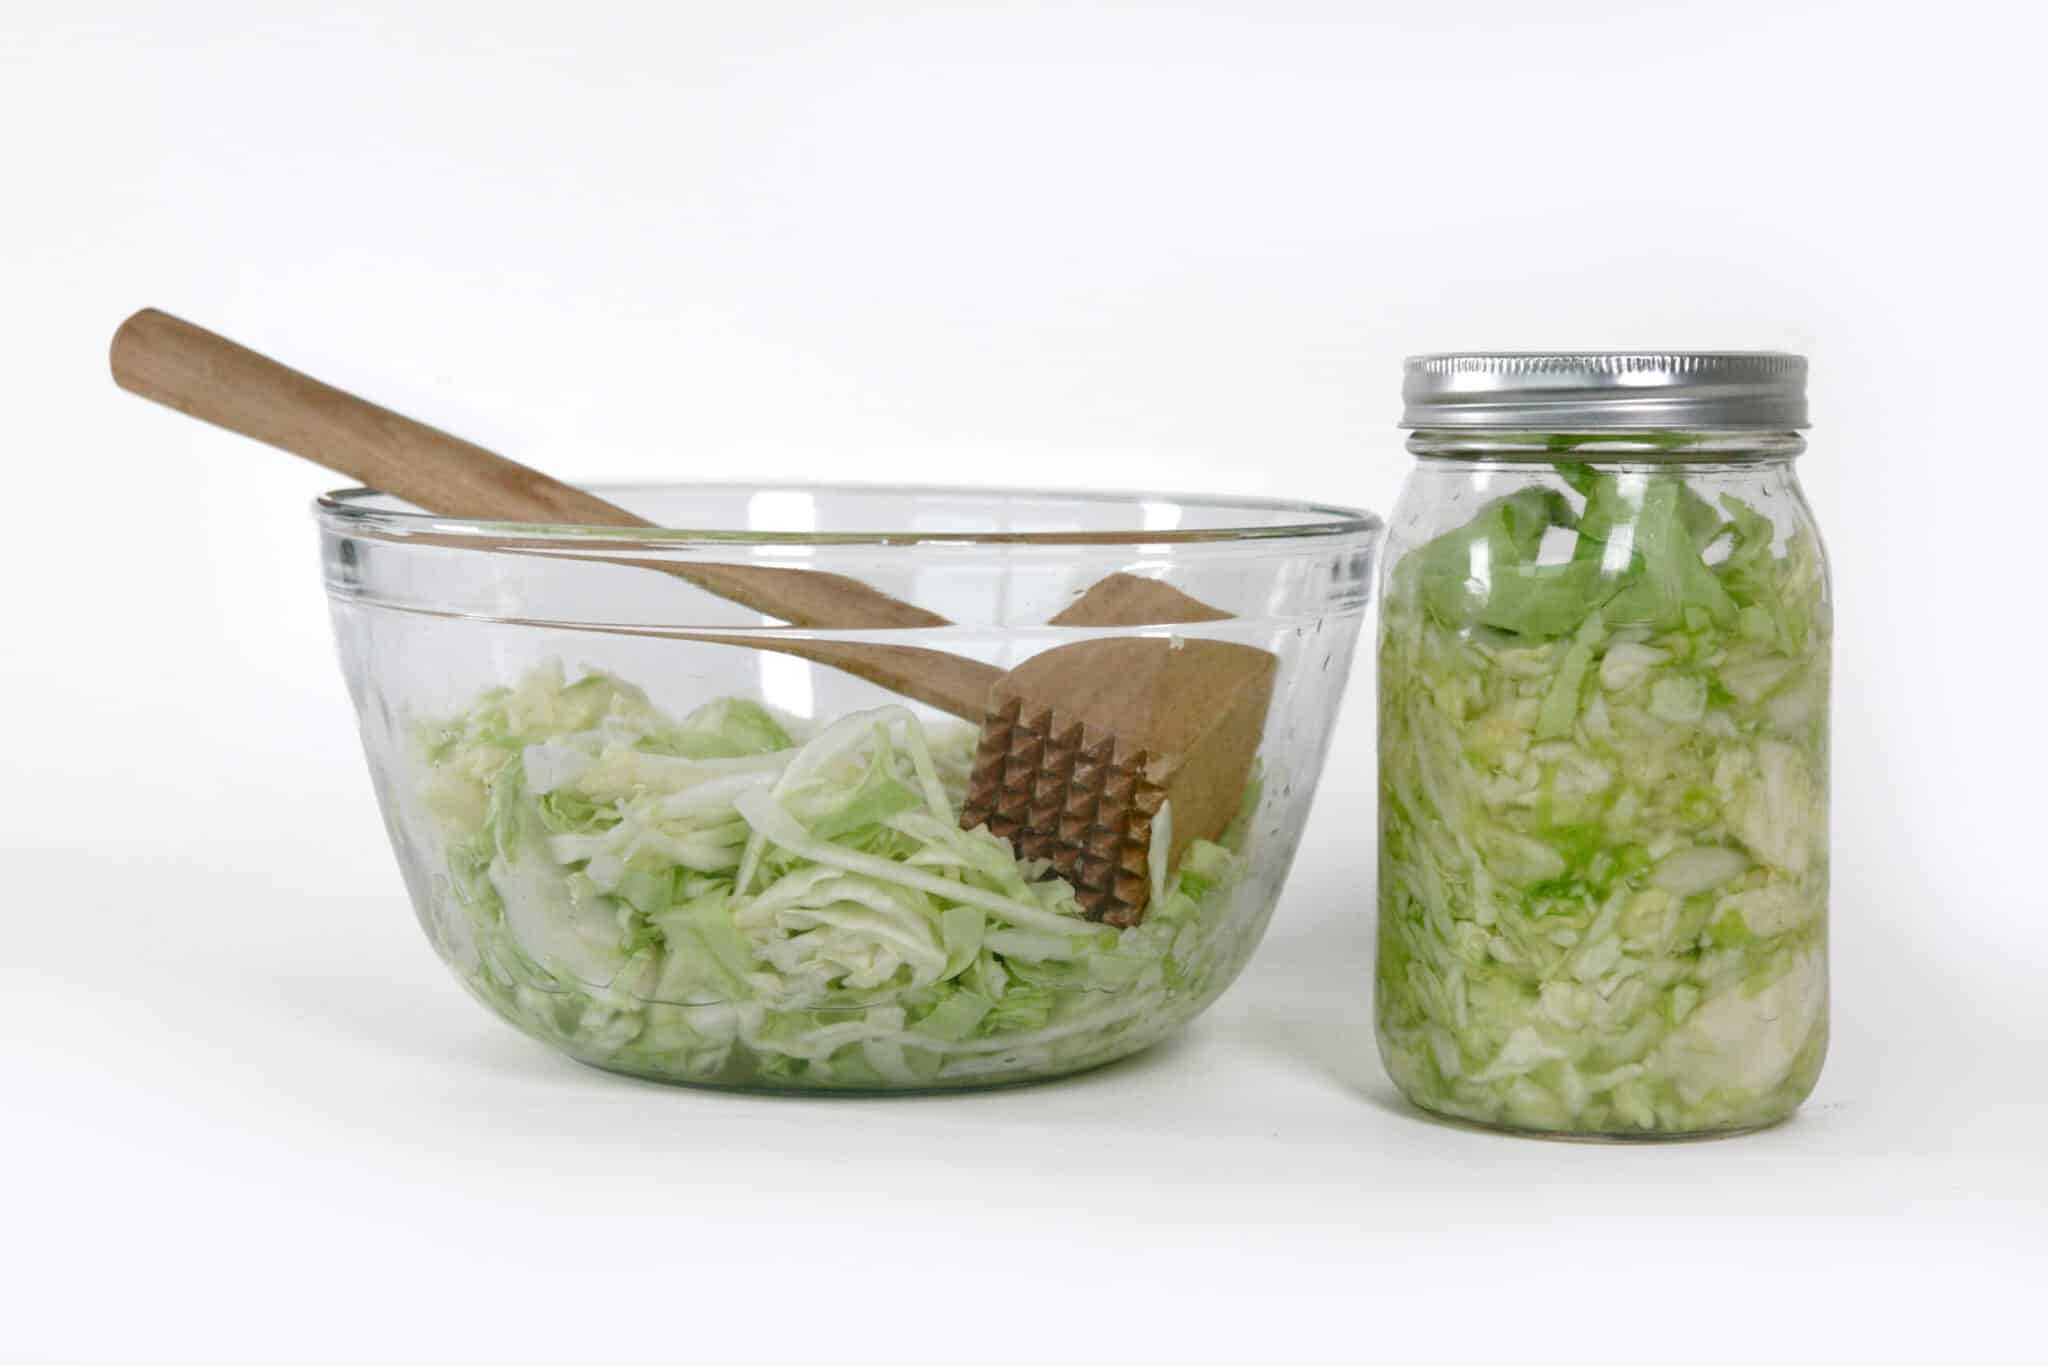
- Using a very sharp knife or mandolin, cut cabbage fine. Retain an outer leaf of the cabbage to cover it after you have packed it in the jar.
- Place shredded cabbage in a large, stainless steel bowl.
- Add salt or salt and whey if you are using it.
- Pound with a meat pounder or massage between your clean hands for 10 minutes. The cabbage will become limp and very bright in color as the water is drawn out of the leaves and into the bowl.
- Alternatively, you may sprinkle the cabbage with the salt, cover with a plate, and let it sit on the counter for 6-8 hours or so. The salt will draw out the water from the cabbage and into the bowl.
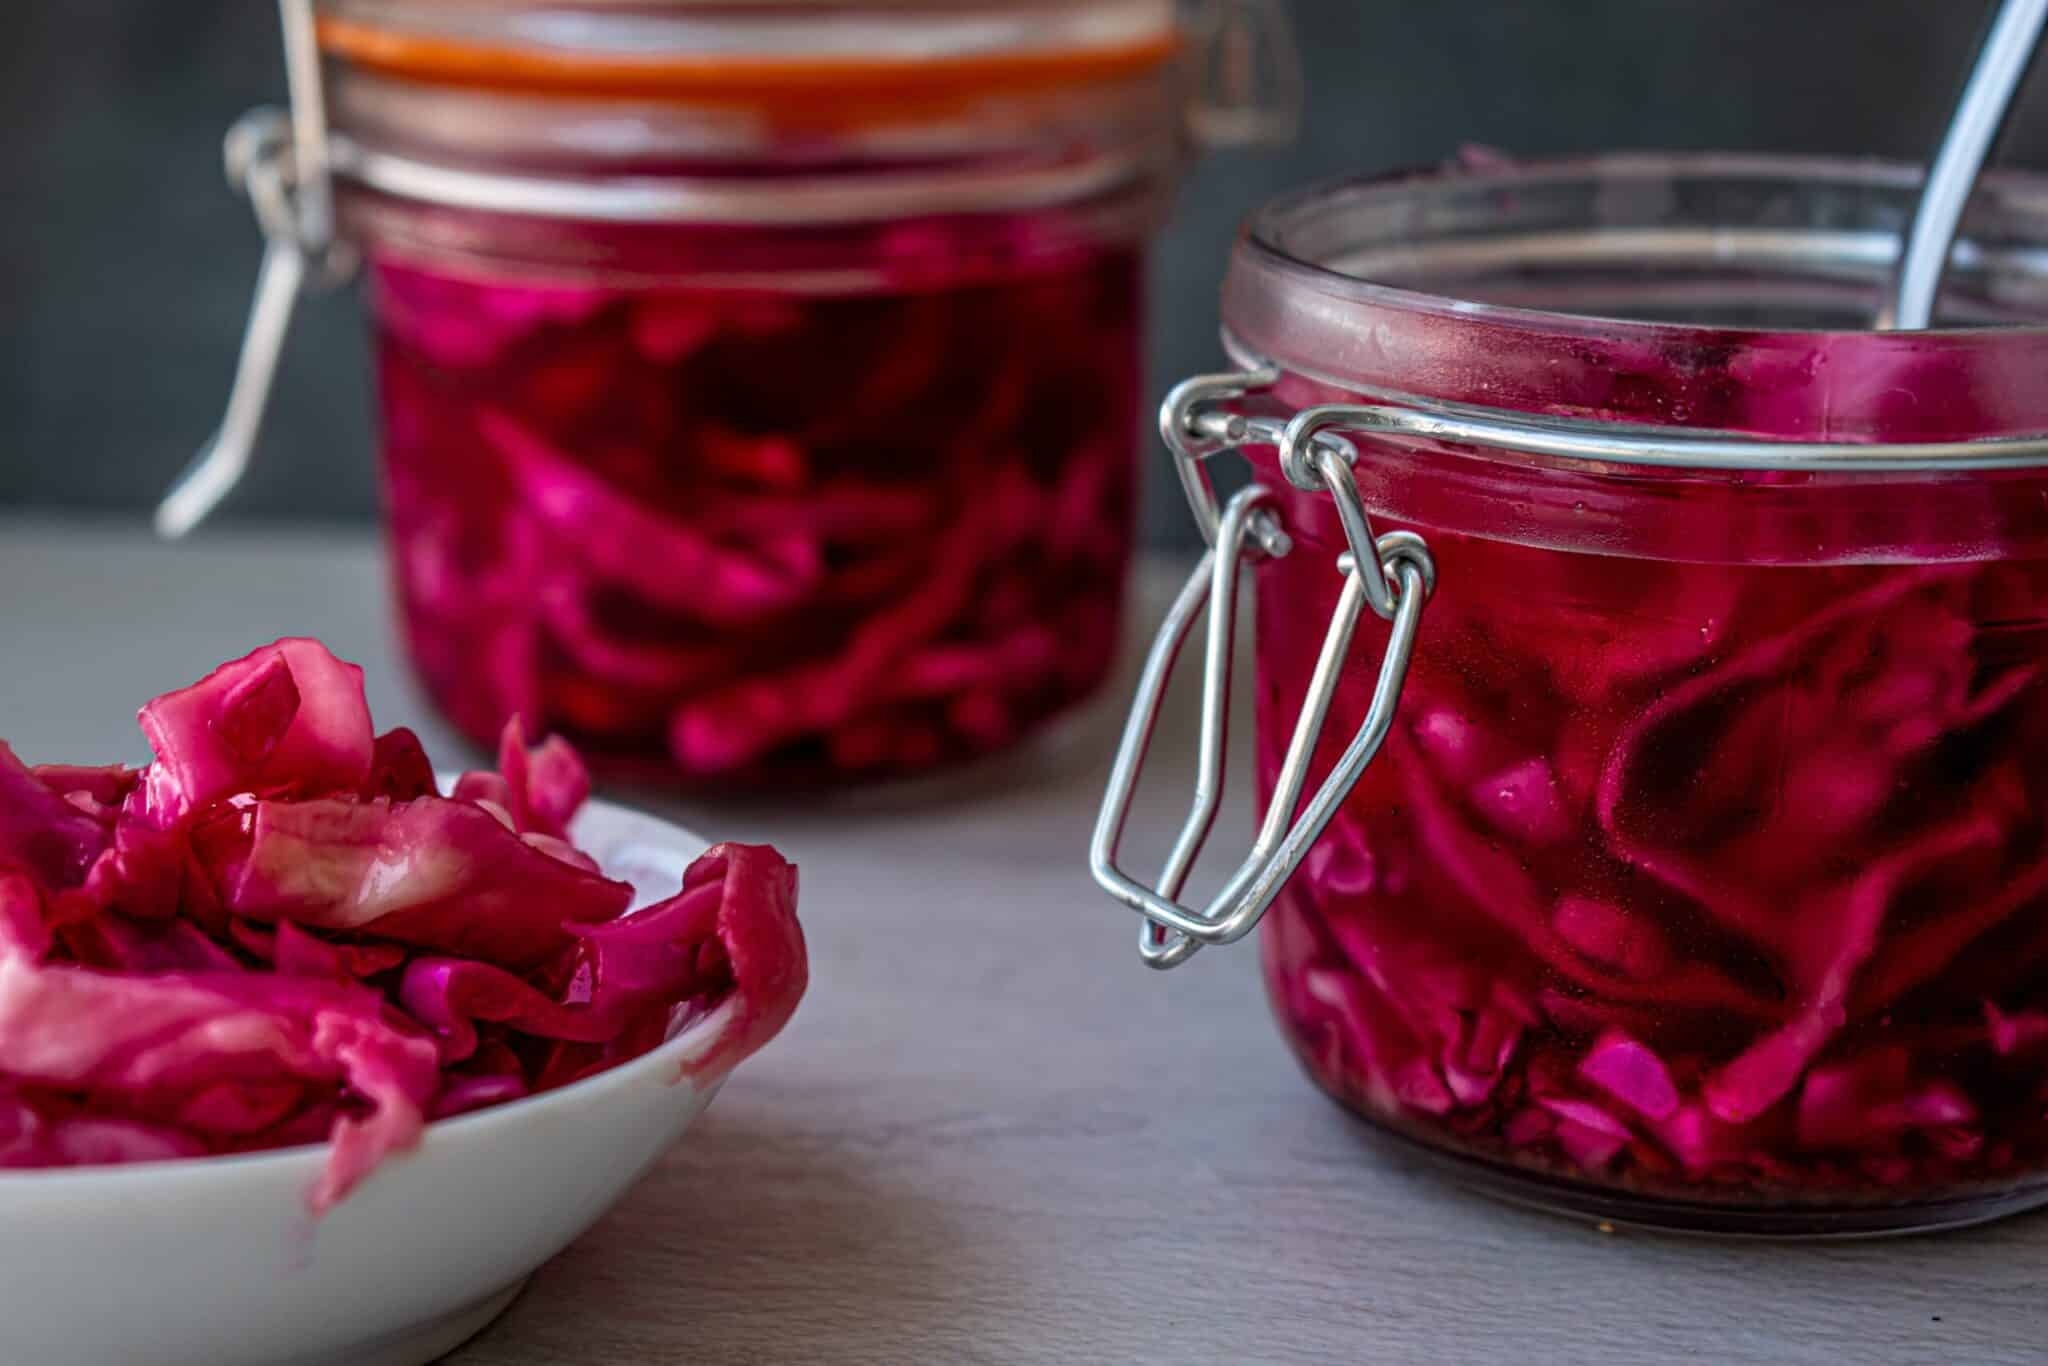
- Place the cabbage and all the liquid in a wide-mouth quart jar, leaving 2 inches of space from the top. Be sure cabbage is submerged below the liquid. Cover the cabbage with the reserved cabbage leaves, to help keep it under the brine (you may also use fermentation weights if you have them).
- Cap with lid and seal tightly.
- Leave on the counter at room temperature (68-72°F) a minimum of 3–5 days, or until the lid becomes taut under the pressure of your finger (if you prefer a milder sauerkraut, you may leave it for up to 2 weeks). When it is done, place in the refrigerator—top shelf, or in other cold storage, at about 40°F.
Note: the longer cabbage ferments, the milder the kraut. You can leave unopened jars of sauerkraut in your refrigerator for several months to a year or more.
Histamine Hint: If you have histamine intolerance, ferment the cabbage longer – for a year or more. The longer cabbage ferments, the lower the histamine in the sauerkraut. Also, storing the kraut at 37-38°F will prevent the formation of histamines.
How to Make Whey the Easy Way
The easiest way to obtain whey is to strain a good quality yogurt or kefir through a linen napkin or towel, several layers of cheesecloth, or through a nut milk bag. What is the best quality yogurt or kefir? One you make yourself from raw milk. (For more about that, see pages 65-72 in the Culturing Dairy section of The Complete Cooking Techniques for the GAPS™ Diet.) If you cannot obtain raw milk in your area, the next best is organic, grass-fed, whole, plain or kefir, with no fillers or additives. You may use cow, goat, sheep, or yogurt or kefir made from any other mammal milk to drip whey.
Another way to make whey is to allow raw milk to separate on the counter at room temperature for several days. Do NOT try this with pasteurized milk of any kind. It will make you extremely sick!
Do not use powdered whey. It is a highly processed food fraction and will not work for our purposes.
Let’s Talk about Time, Temperature and Oxygen
Fermentation is a bit of an art because we are dealing with live bacteria. However, there are some guidelines that will help you successfully ferment. These have to do with time and temperature, and how they are related.
In general, the warmer the temperature of the room, the faster the fermentation. The cooler the room, the slower the rate of fermentation. For most vegetable ferments (and low sugar fruits, such as tomatoes and cucumbers), it will take 3-5 days at room temperature (68-72°F) to ferment.
How do you know when a ferment is “done”? That’s where those two-piece canning lids come in. A ferment is ready when you cannot press the lid down with your finger. That can range from 3-5 days or more, depending upon the temperature of the room, the vitality of the lactobacilli in the whey, and the amount of sugar in the vegetables.
As mentioned above, lacto-fermentation is an anaerobic process. That means “no oxygen”. Those gut good guys—the bacteria that are beneficial—grow without oxygen. Be sure to tightly cap your ferments to limit the oxygen in the jar so the beneficial bacteria can grow.
Good luck putting up your sauerkraut! And keep up the “fermentum”!
Monica Corrado, MA, CNC, CGP
Fermented Sauerkraut Recipe

Source: Monica Corrado
Course: Fermented Fruits and Veg
Yield: 1 quart
Serves:
Ingredients
- 1 medium cabbage (any color or type)
- 1 tablespoon caraway seeds (optional)
- 1 tablespoon sea salt
- 4 tablespoons whey (No whey option: Increase salt to 2 tablespoons, leave out the whey)
Directions
- 1. Using a very sharp knife or mandolin, cut cabbage fine. Retain an outer leaf of the cabbage to cover it after you have packed it in the jar.
- 2. Place shredded cabbage in a large, stainless steel bowl.
- 3. Add salt or salt and whey if you are using it.
- 4. Pound with a meat pounder or massage between your clean hands for 10 minutes. The cabbage will become limp and very bright in color as the water is drawn out of the leaves and into the bowl. Alternatively, you may sprinkle the cabbage with the salt, cover with a plate, and let it sit on the counter for 6-8 hours or so. The salt will draw out the water from the cabbage and into the bowl.
- 5. Place the cabbage and all the liquid in a wide-mouth quart jar, leaving 2 inches of space from the top. Be sure cabbage is submerged below the liquid. Cover the cabbage with the reserved cabbage leaves, to help keep it under the brine. (You may also use fermentation weights if you have them.)
- 6. Cap with lid and seal tightly.
- 7. Leave on the counter at room temperature (68-72°F) a minimum of 3–5 days, or until the lid becomes taut under the pressure of your finger. (If you prefer a milder sauerkraut, you may leave it for up to 2 weeks.) When it is done, place in the refrigerator—top shelf, or in other cold storage, at about 40°F.
- Note: do not over-pack the cabbage because it will expand as it ferments. Leave about 2 inches of space between the cabbage and the lid, and it will have plenty of room. This will prevent the jar from leaking onto your counter, as well as the need to “burp” your ferment.
- Fermentation is an anaerobic process—lactobacilli do not like oxygen, so be sure to tighten the cap well when you put it up on your counter.
- The longer cabbage ferments, the milder the kraut. You can leave unopened jars of sauerkraut in your refrigerator for several months to a year or more.
Powered by![]()